X301, The Ultimate Rebuild
Rebuilding and overclocking the Thinkpad x301
June 8, 2019
Introduction
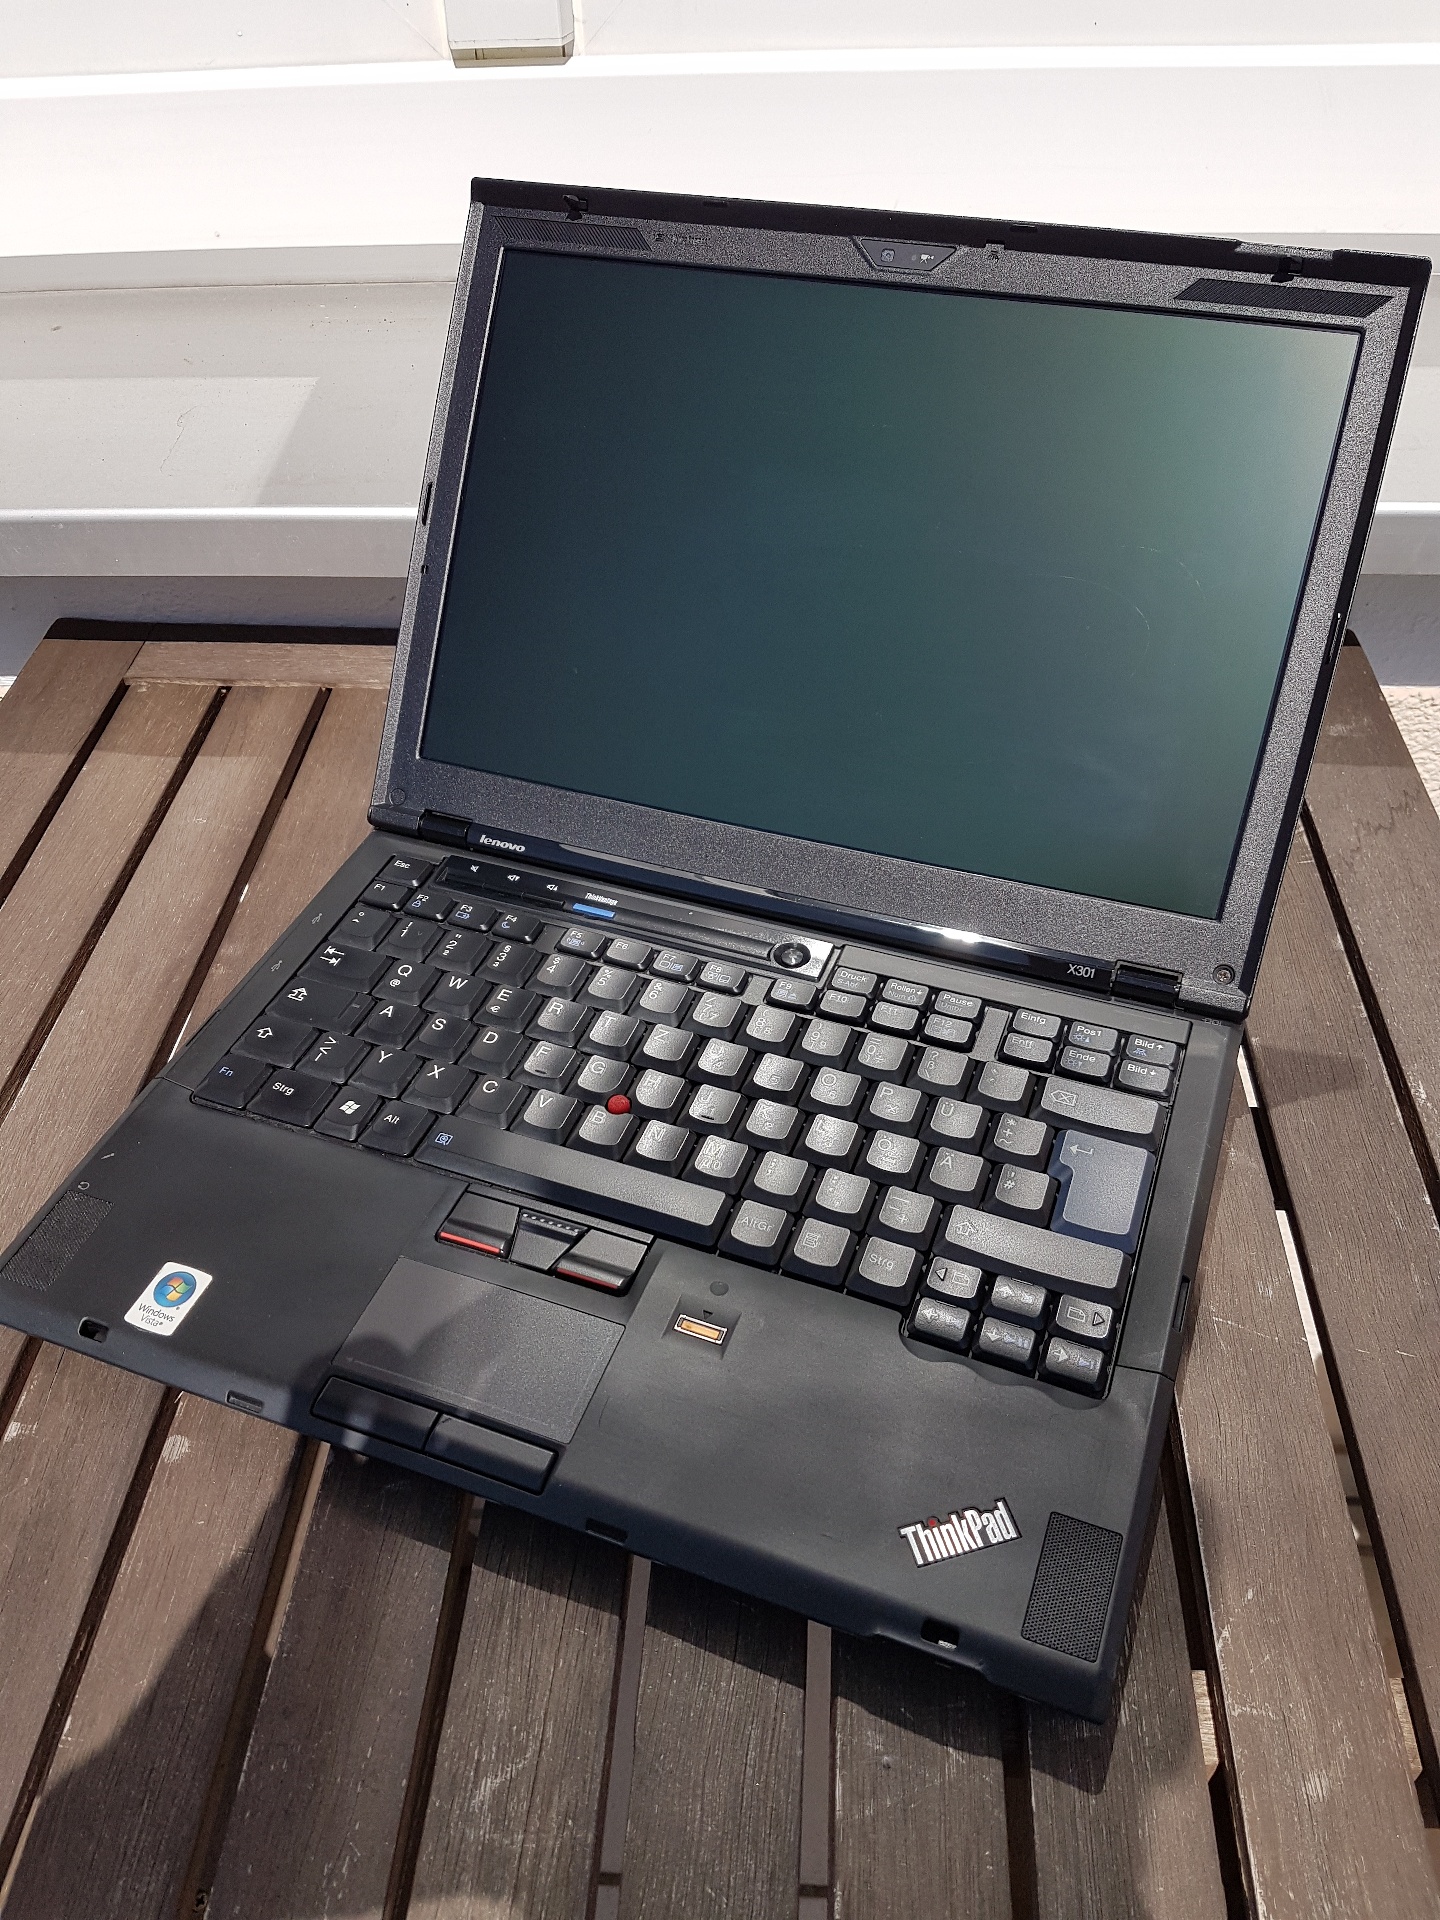
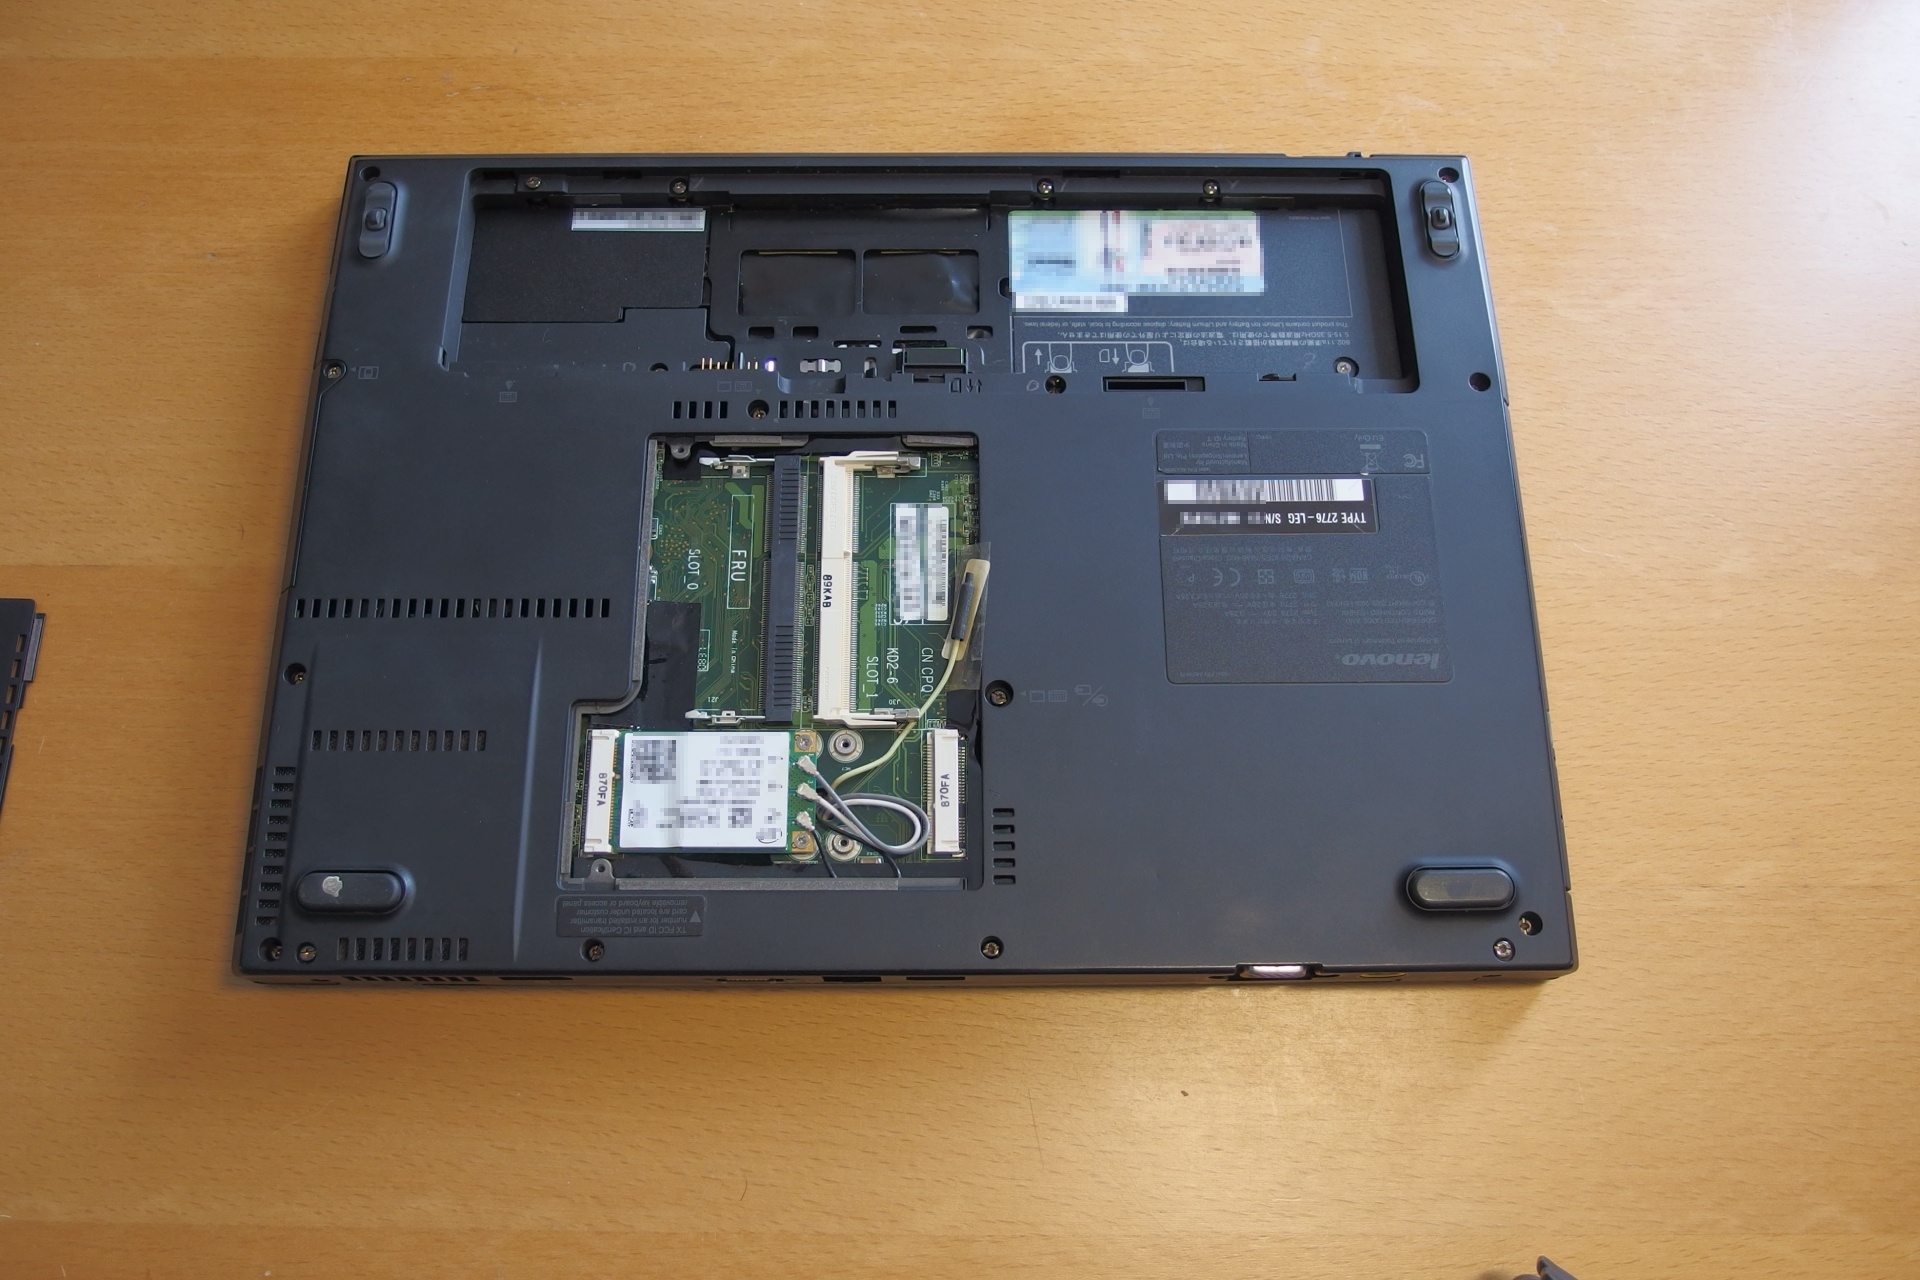
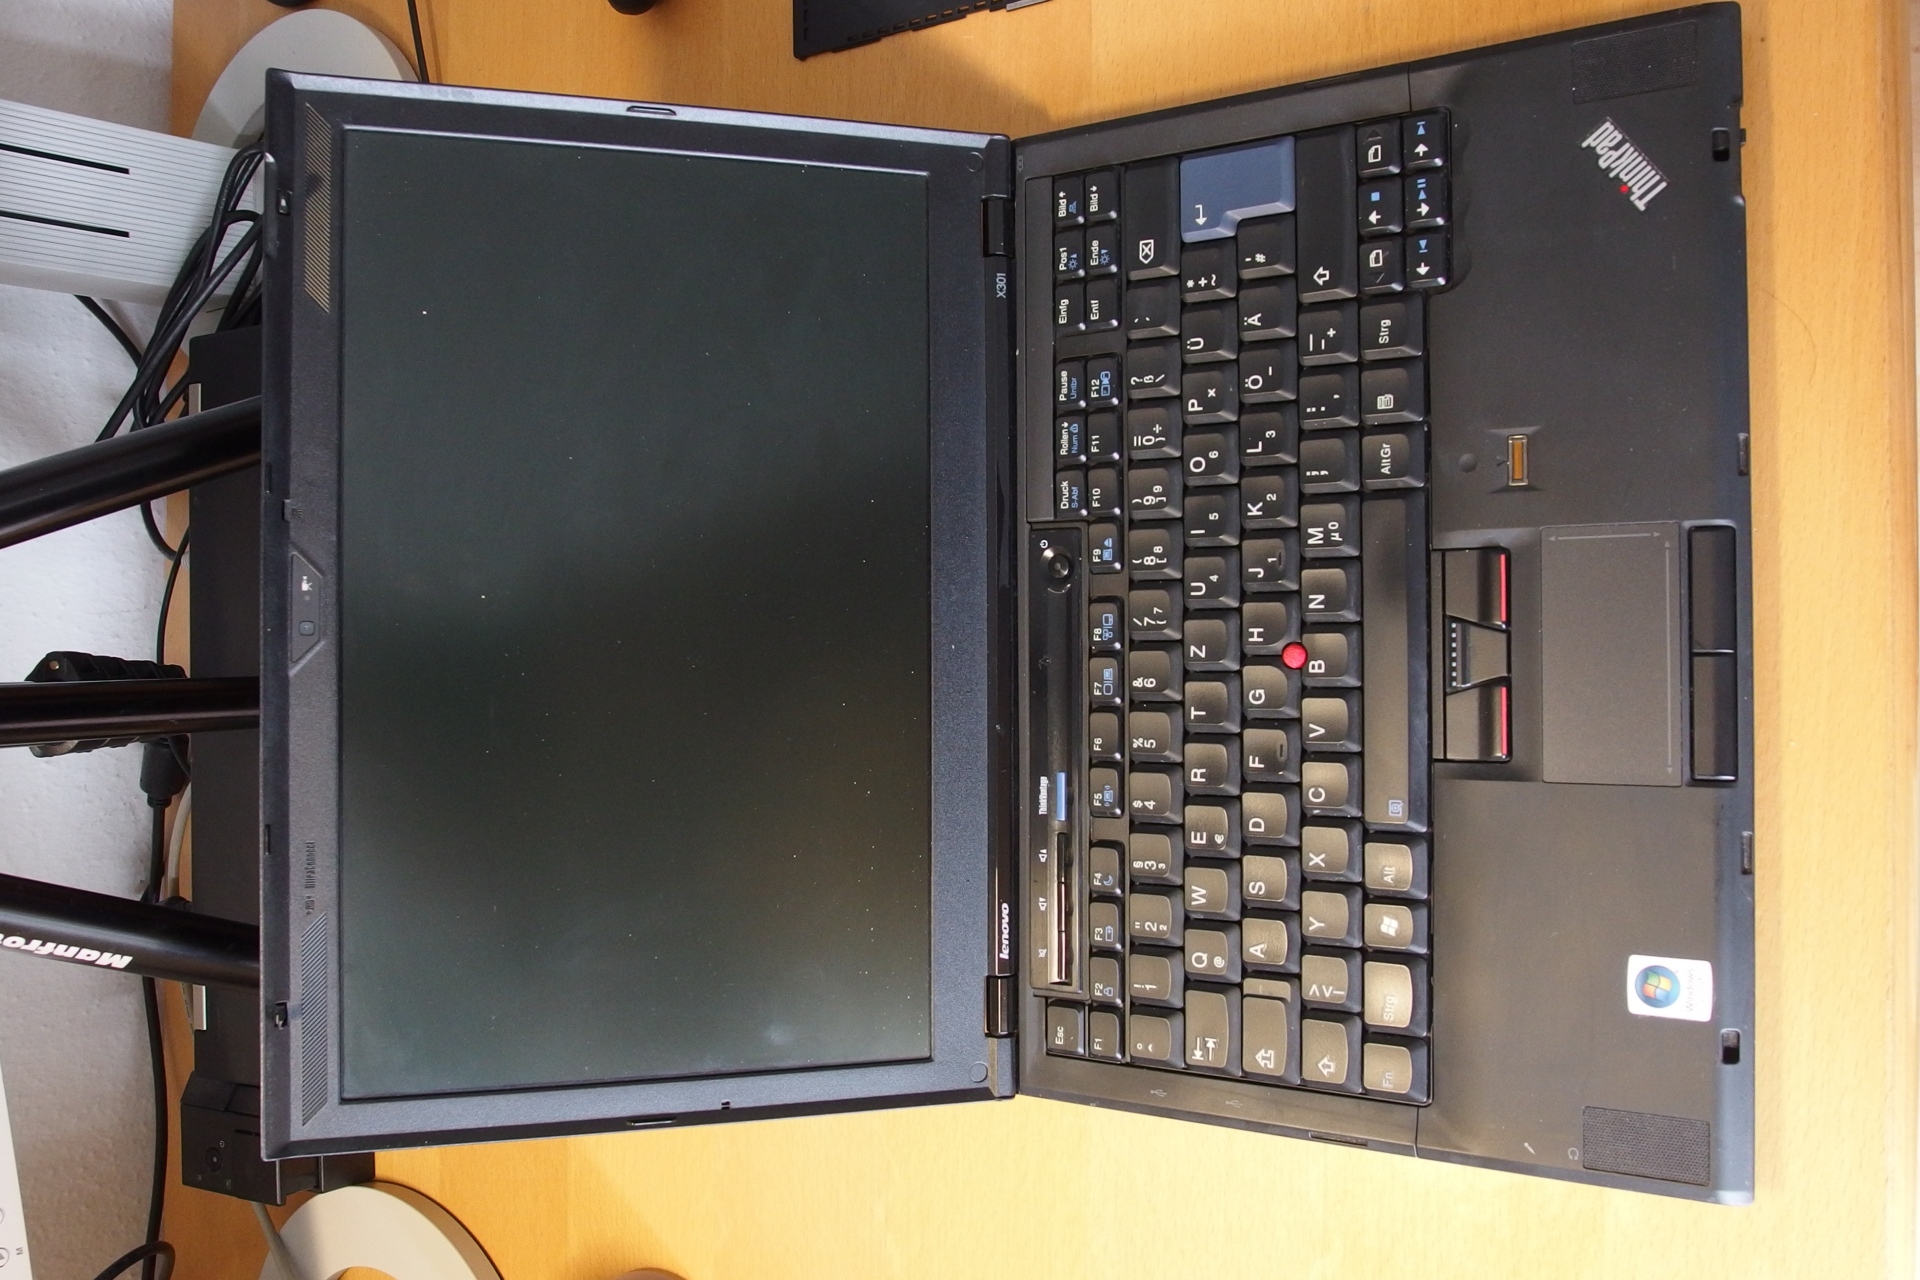
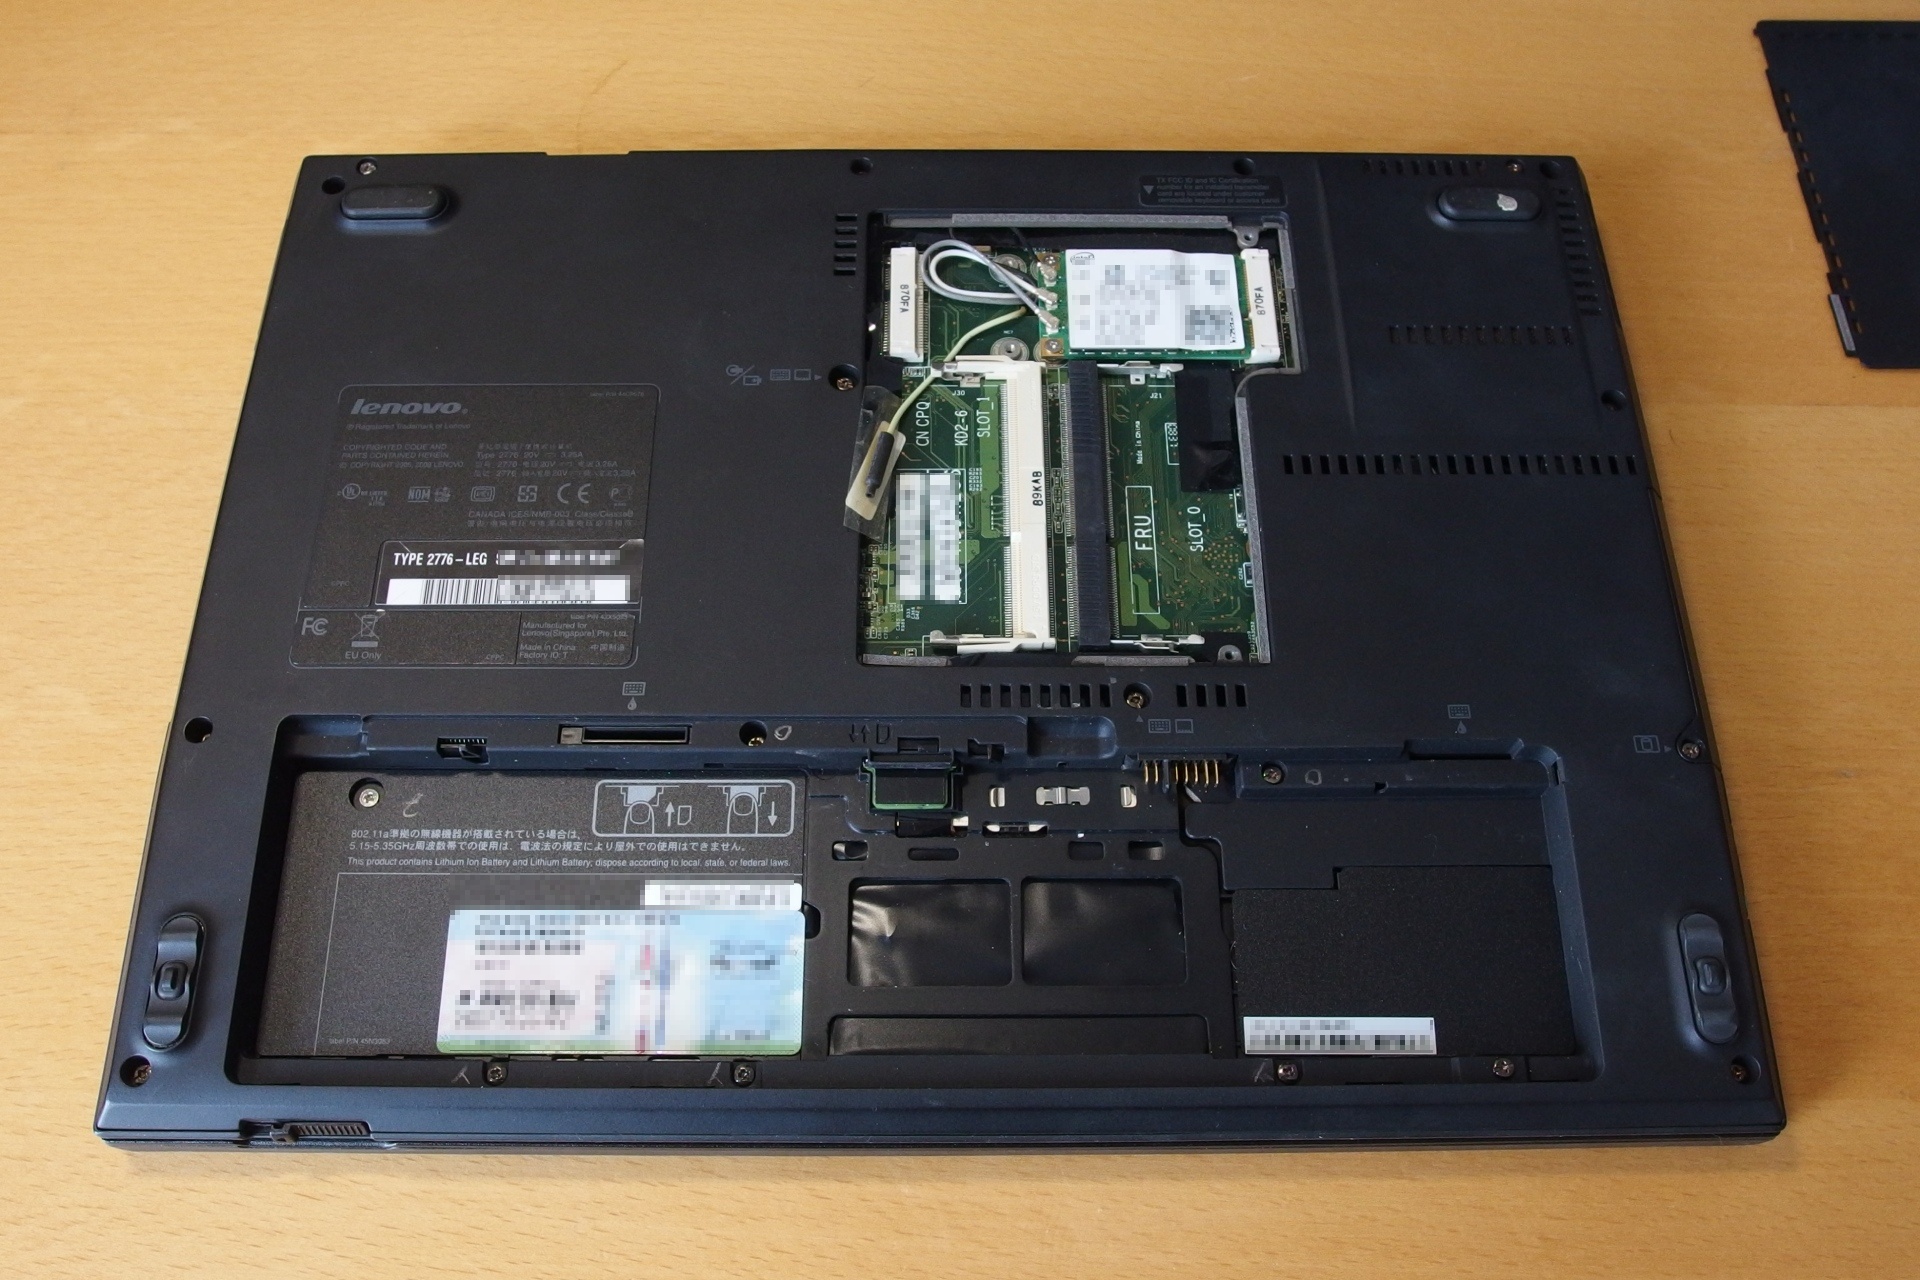
The Thinkpad x301 is one of the most attractive Thinkpads ever made. However, the release during the financial crisis, ULV processor and the price tag starting at 2500$ prevented this high-end machine from getting more popularity. I always wanted to get my hands on it and for this reason, I bought one unit with the 1.4 GHz CPU from eBay. It was listed as faulty and I was able to find out why right after it arrived. Somebody literally tore apart the first memory slot. It is beyond my understanding how this could happen. The machine refused to boot with the memory module in the second slot and the first one was broken… What to do? A repair!
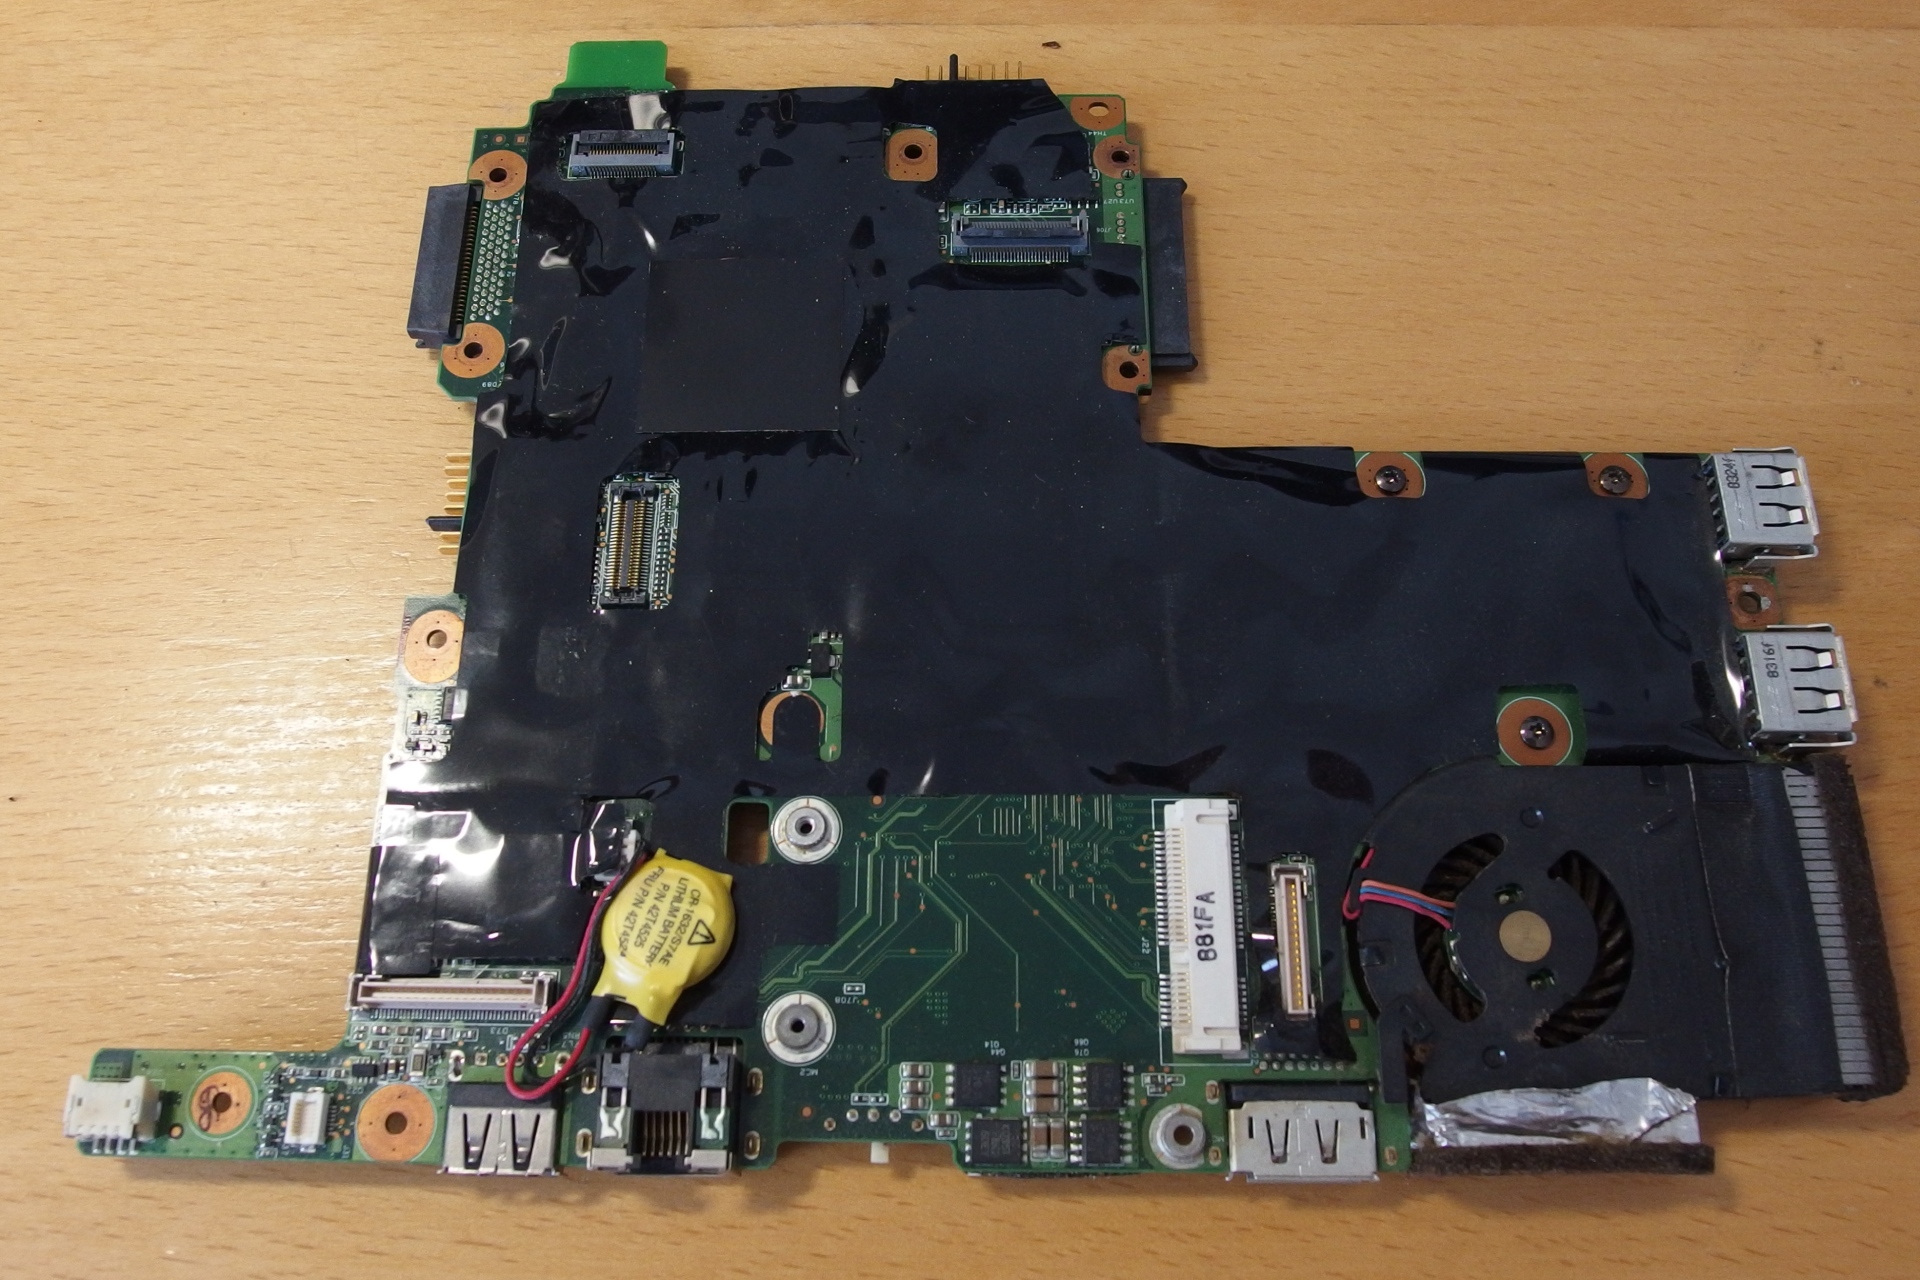
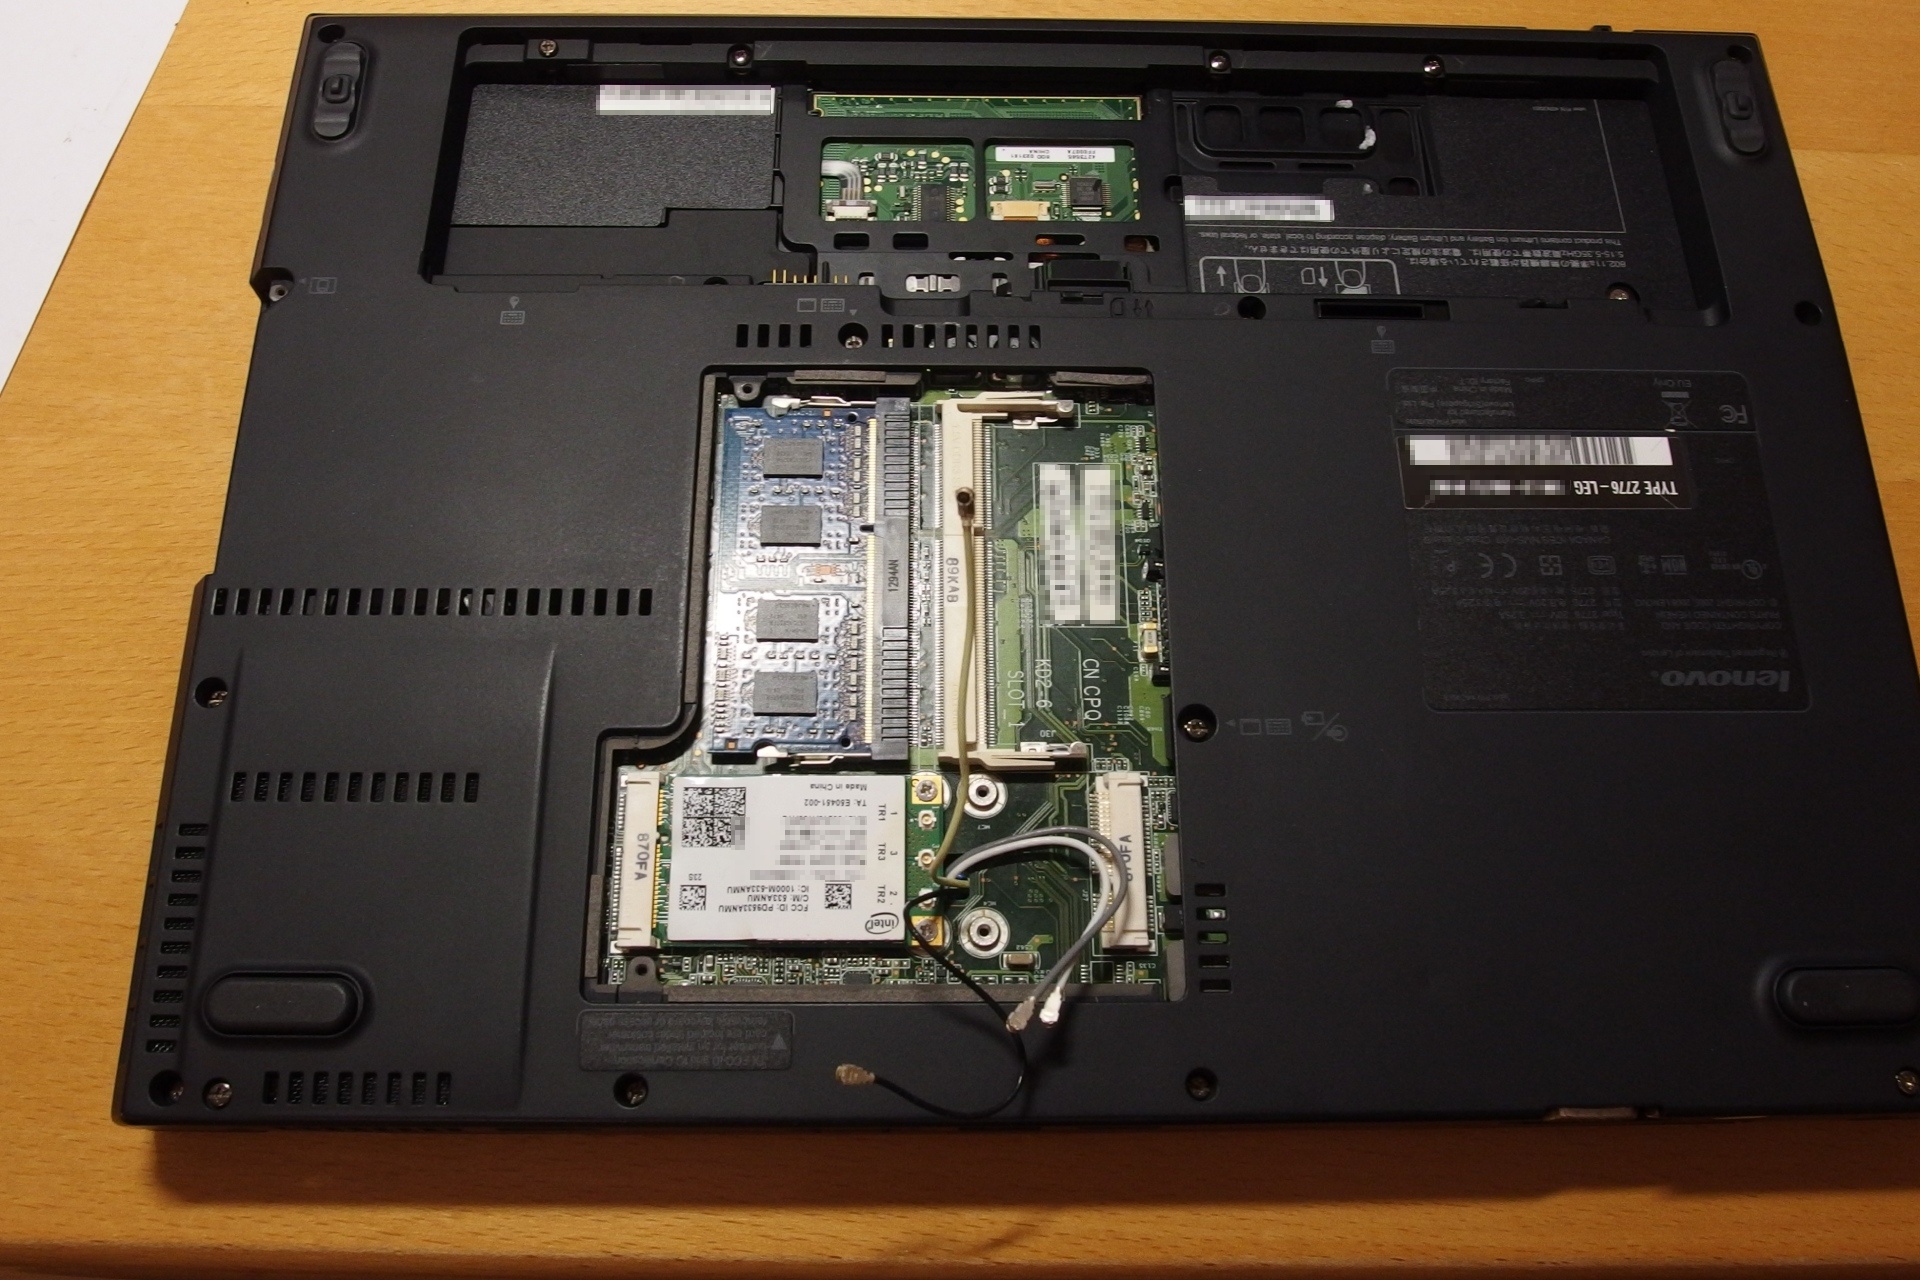
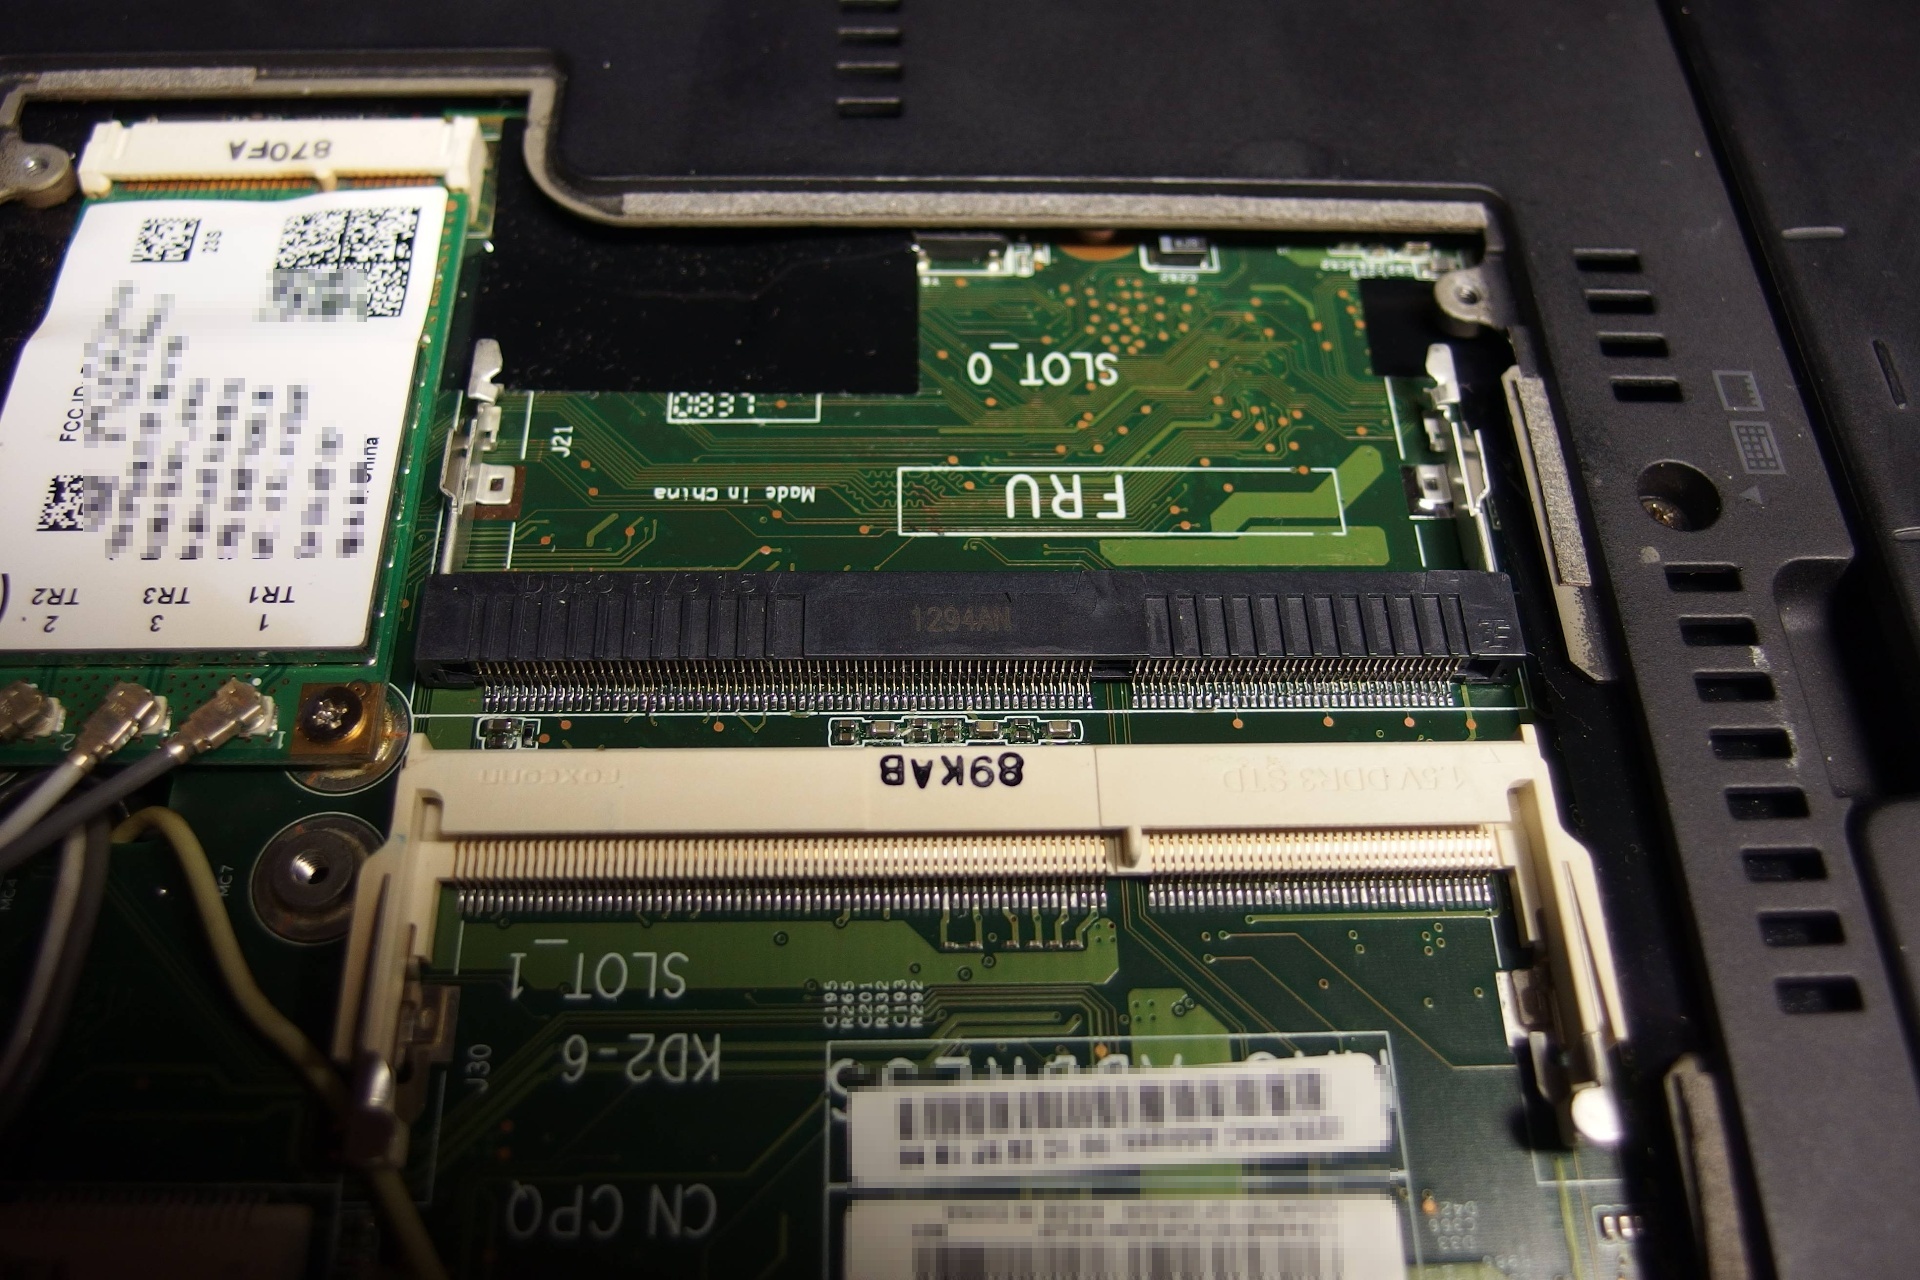
Repairing the memory slot
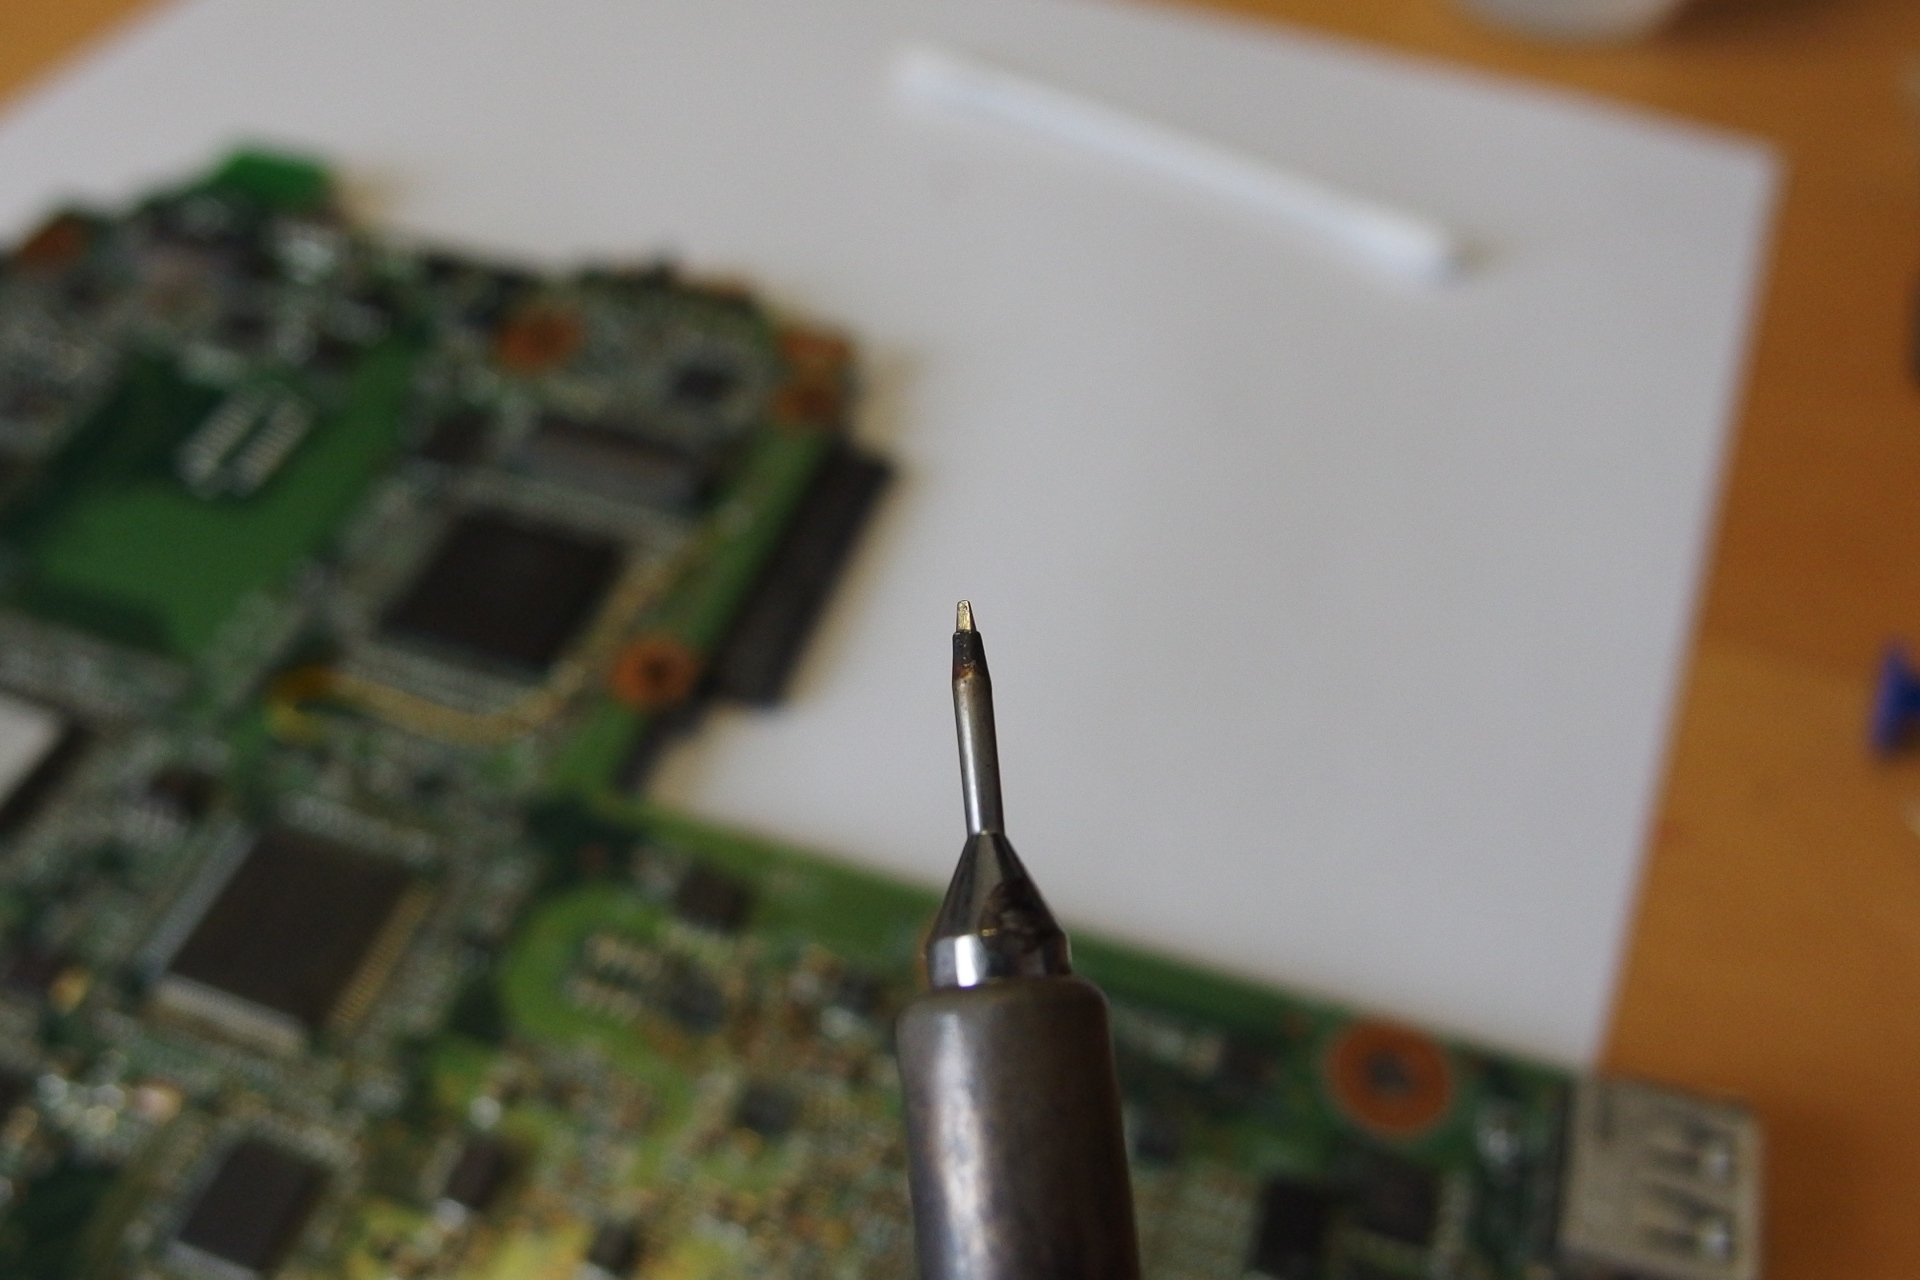
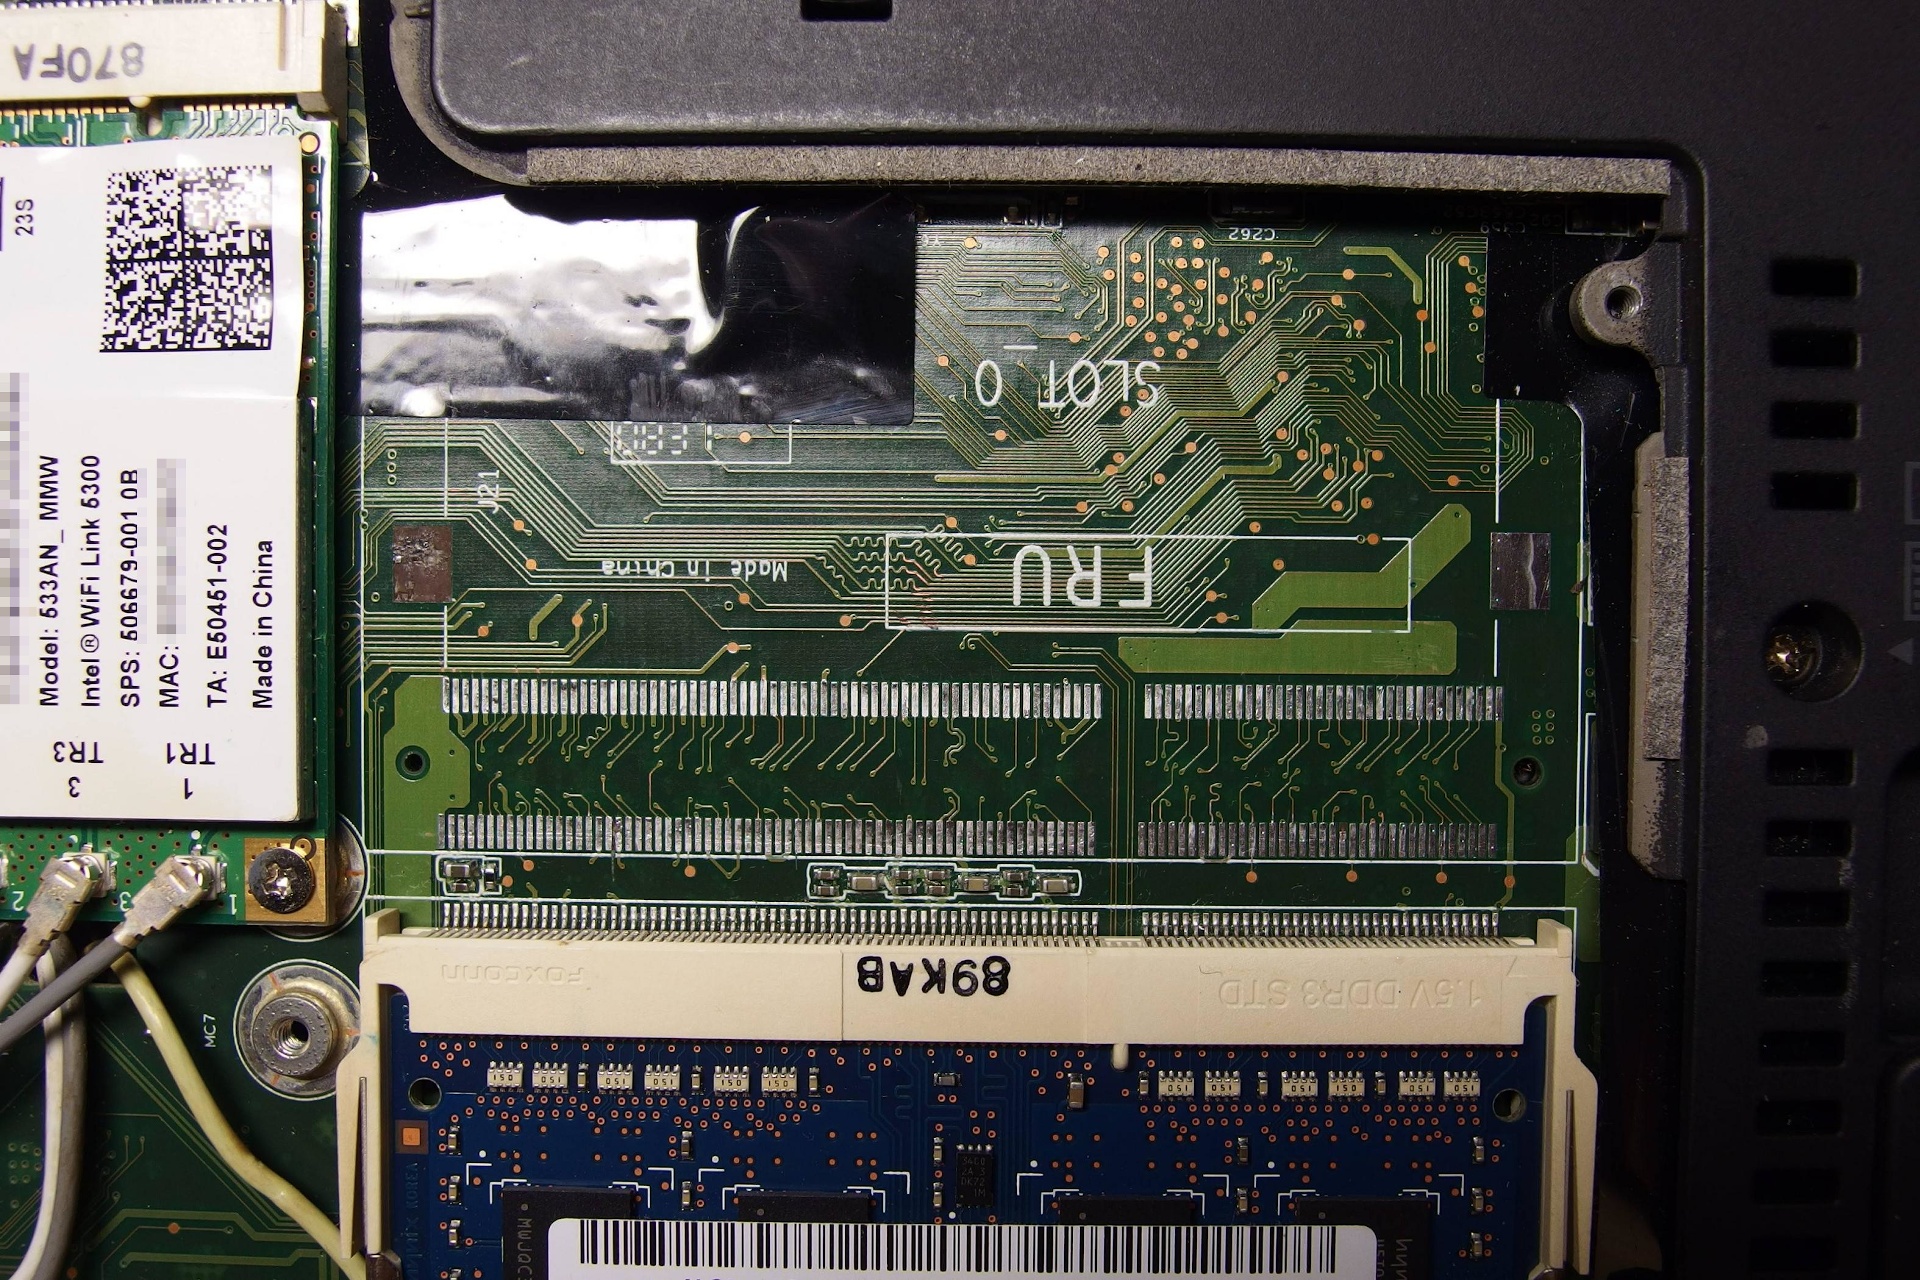
Desoldering connectors from any multilayer PCB without damaging it is always challenging. However, removing the +200pin socket for the DDR memory is a real deal. I was so focused that I even did not take any pictures of the procedure. I simply took the soldering station, tweezers and started removing the socket pin-by-pin. It went surprisingly well. Definitely better than I expected. It took me about thirty minutes but it was worth it. The one missing pad one left is the result of previous abuse.
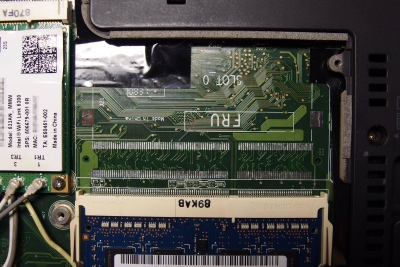
When I saw that the PCB is intact, I ordered a new DDR memory slot from RS-components. It was surprisingly cheap (~3€). Just make sure that you order the right one (left or right). Soldering the socket to the PCB was just a piece of cake in contrast with desoldering it.


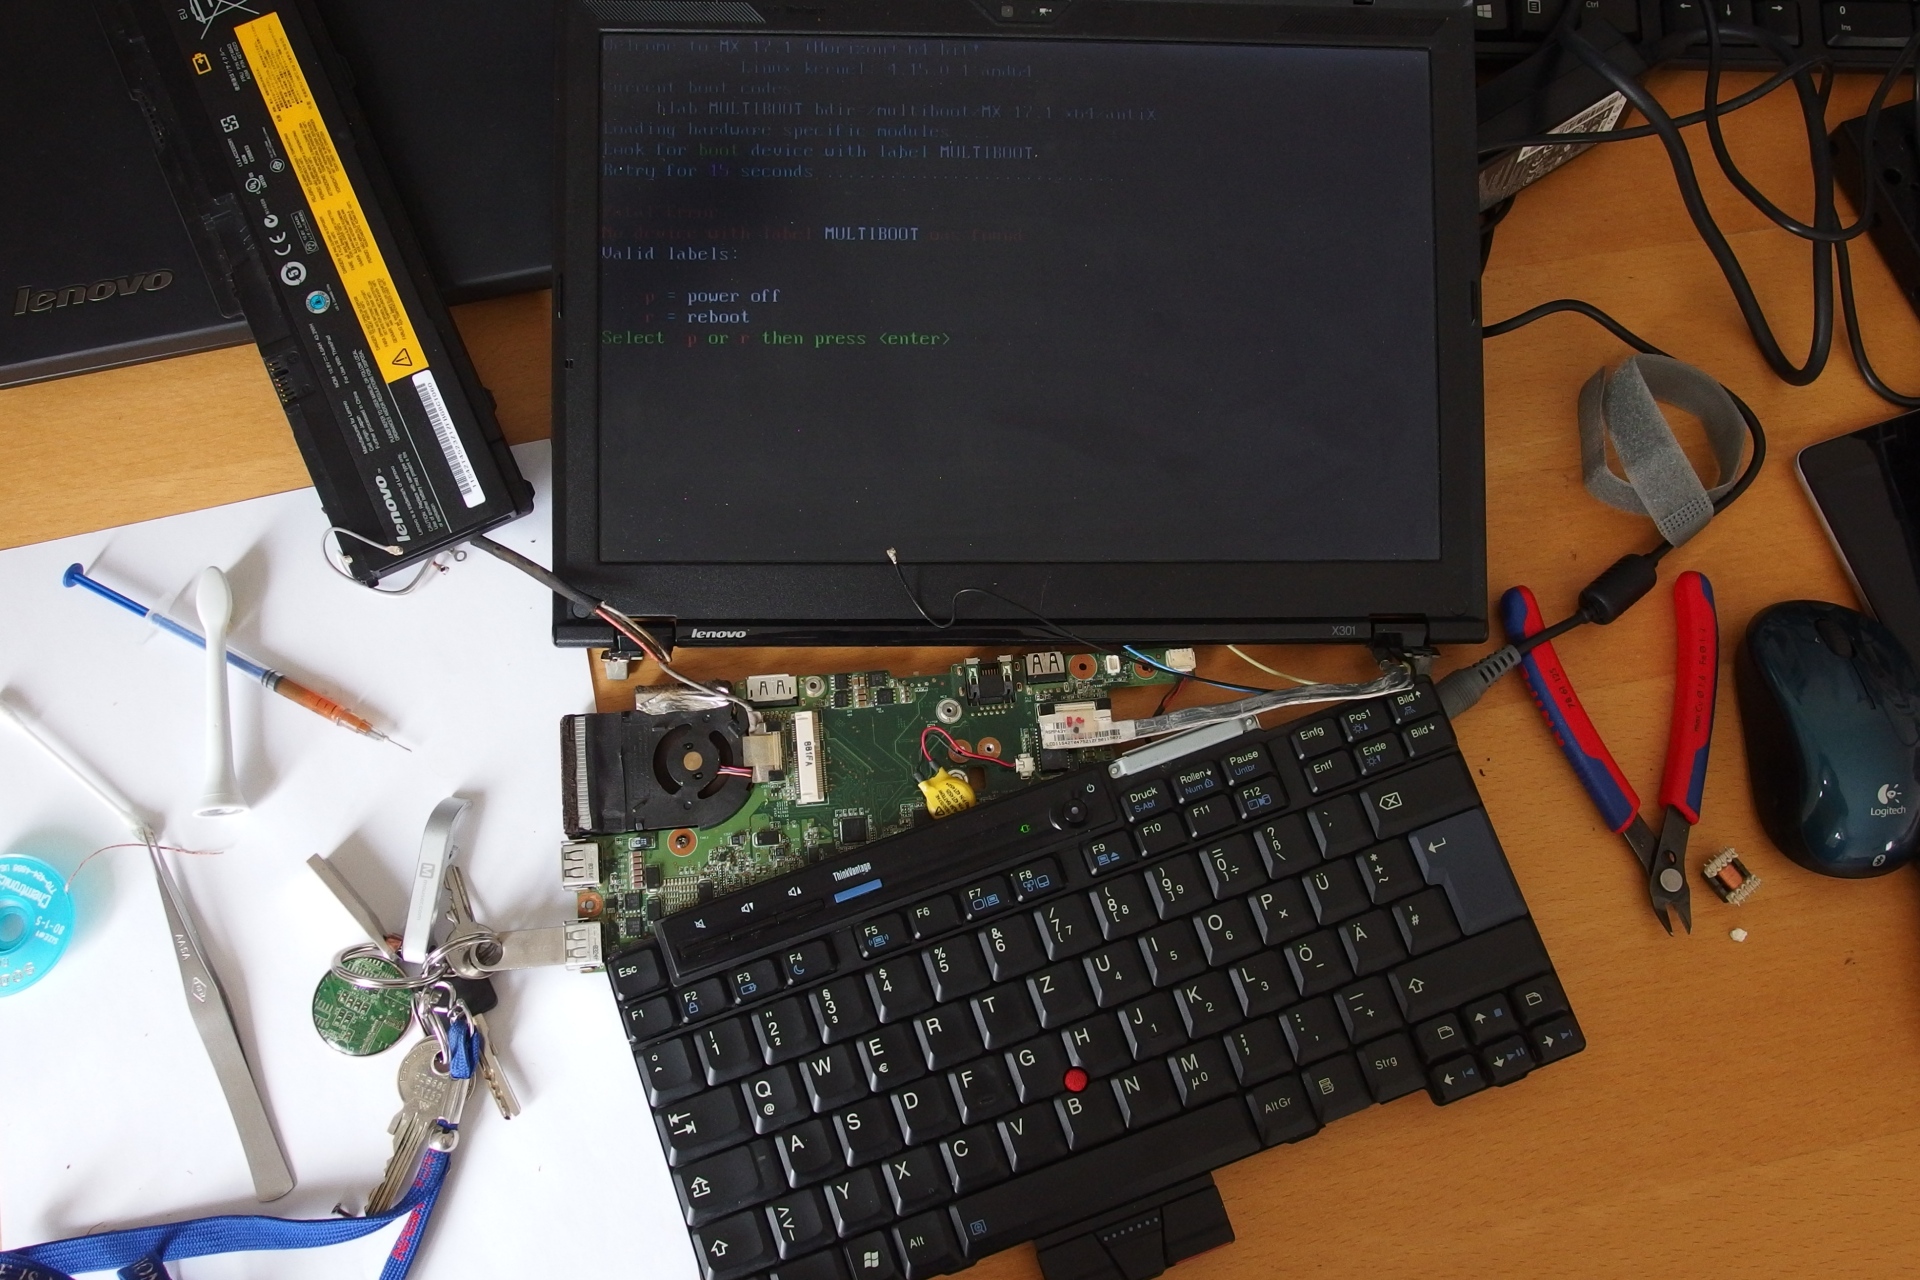
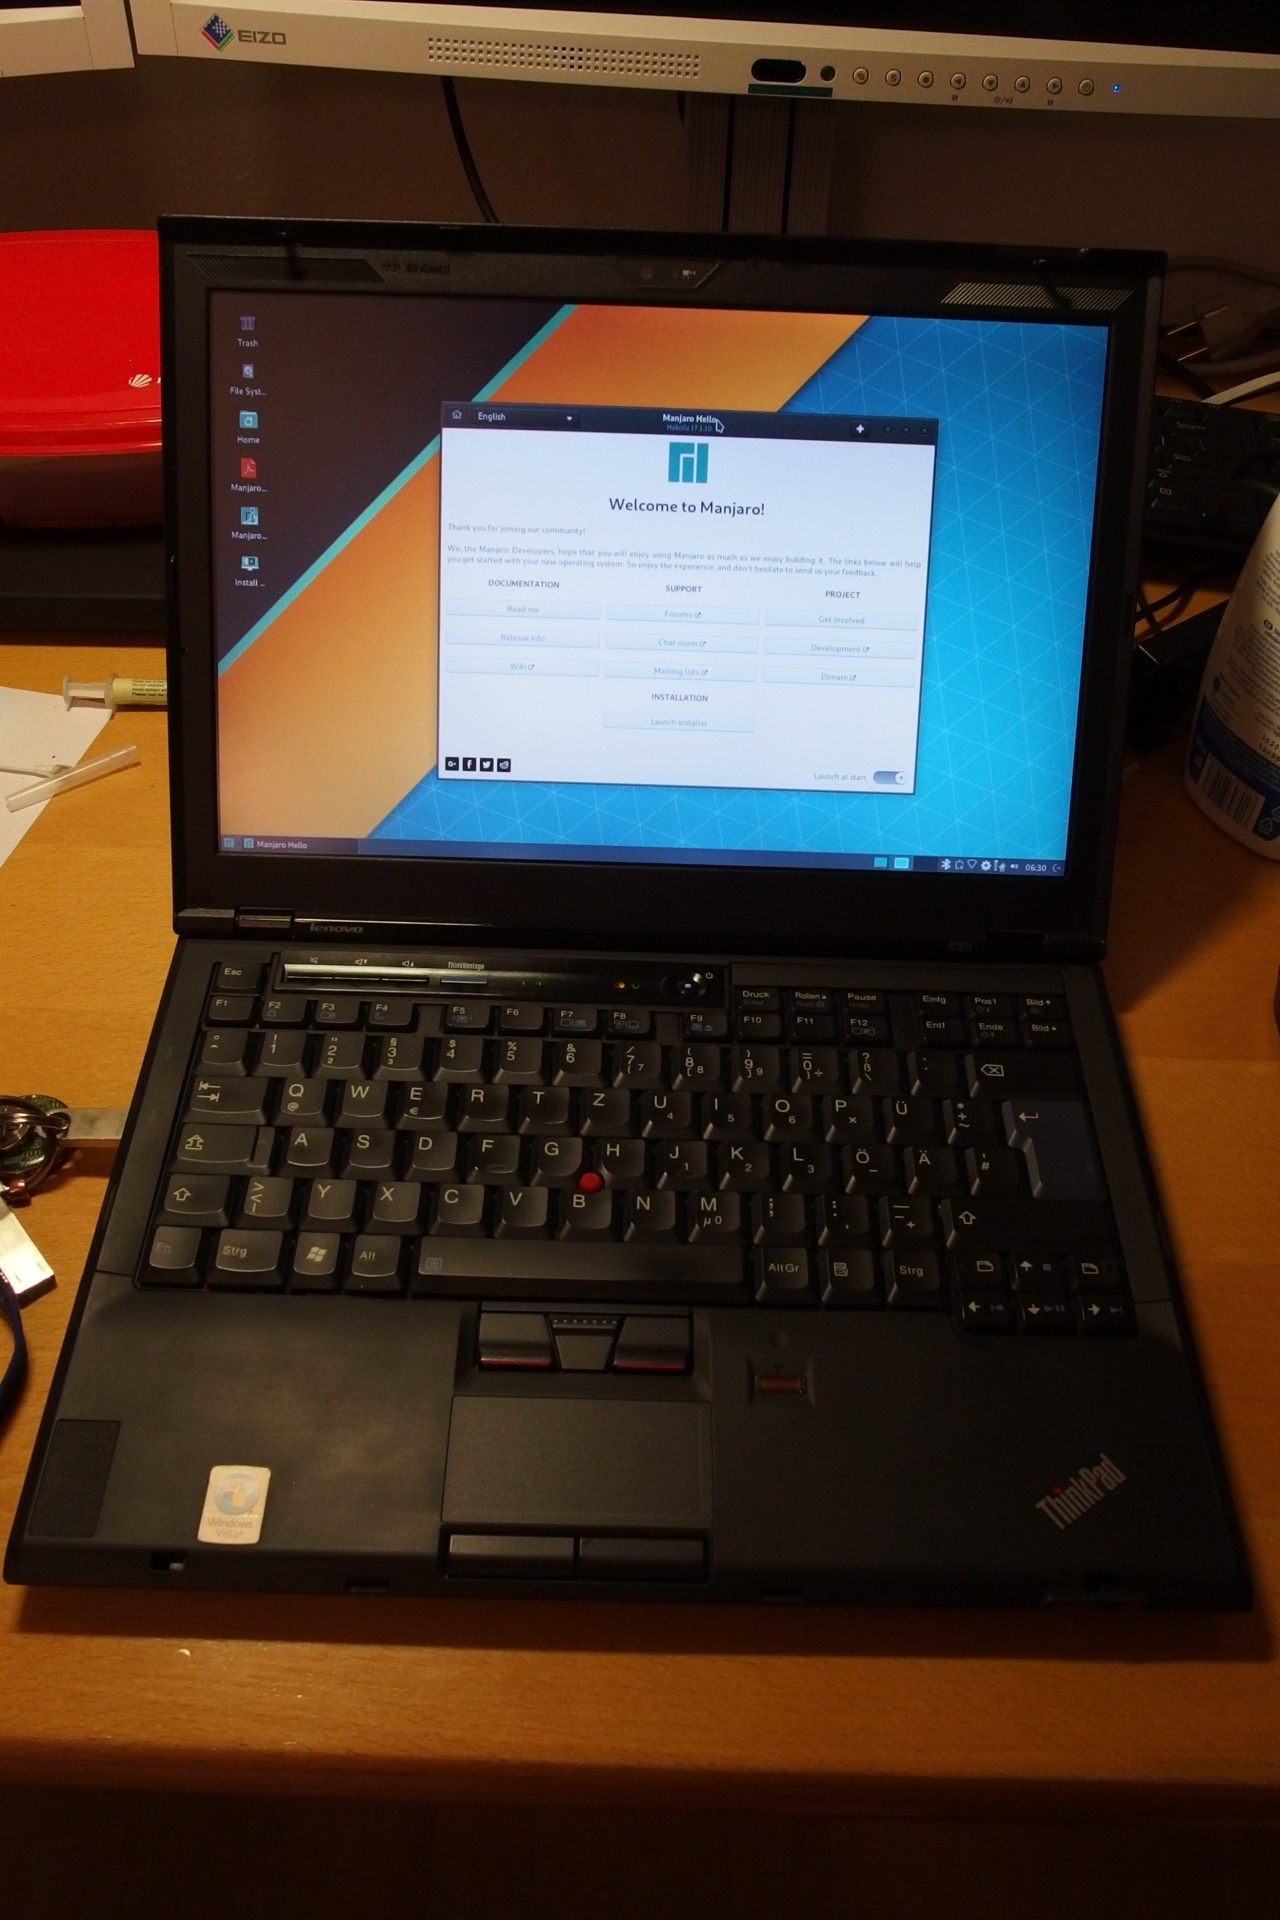
Believe or not, after replacing the socket, the x301 booted.
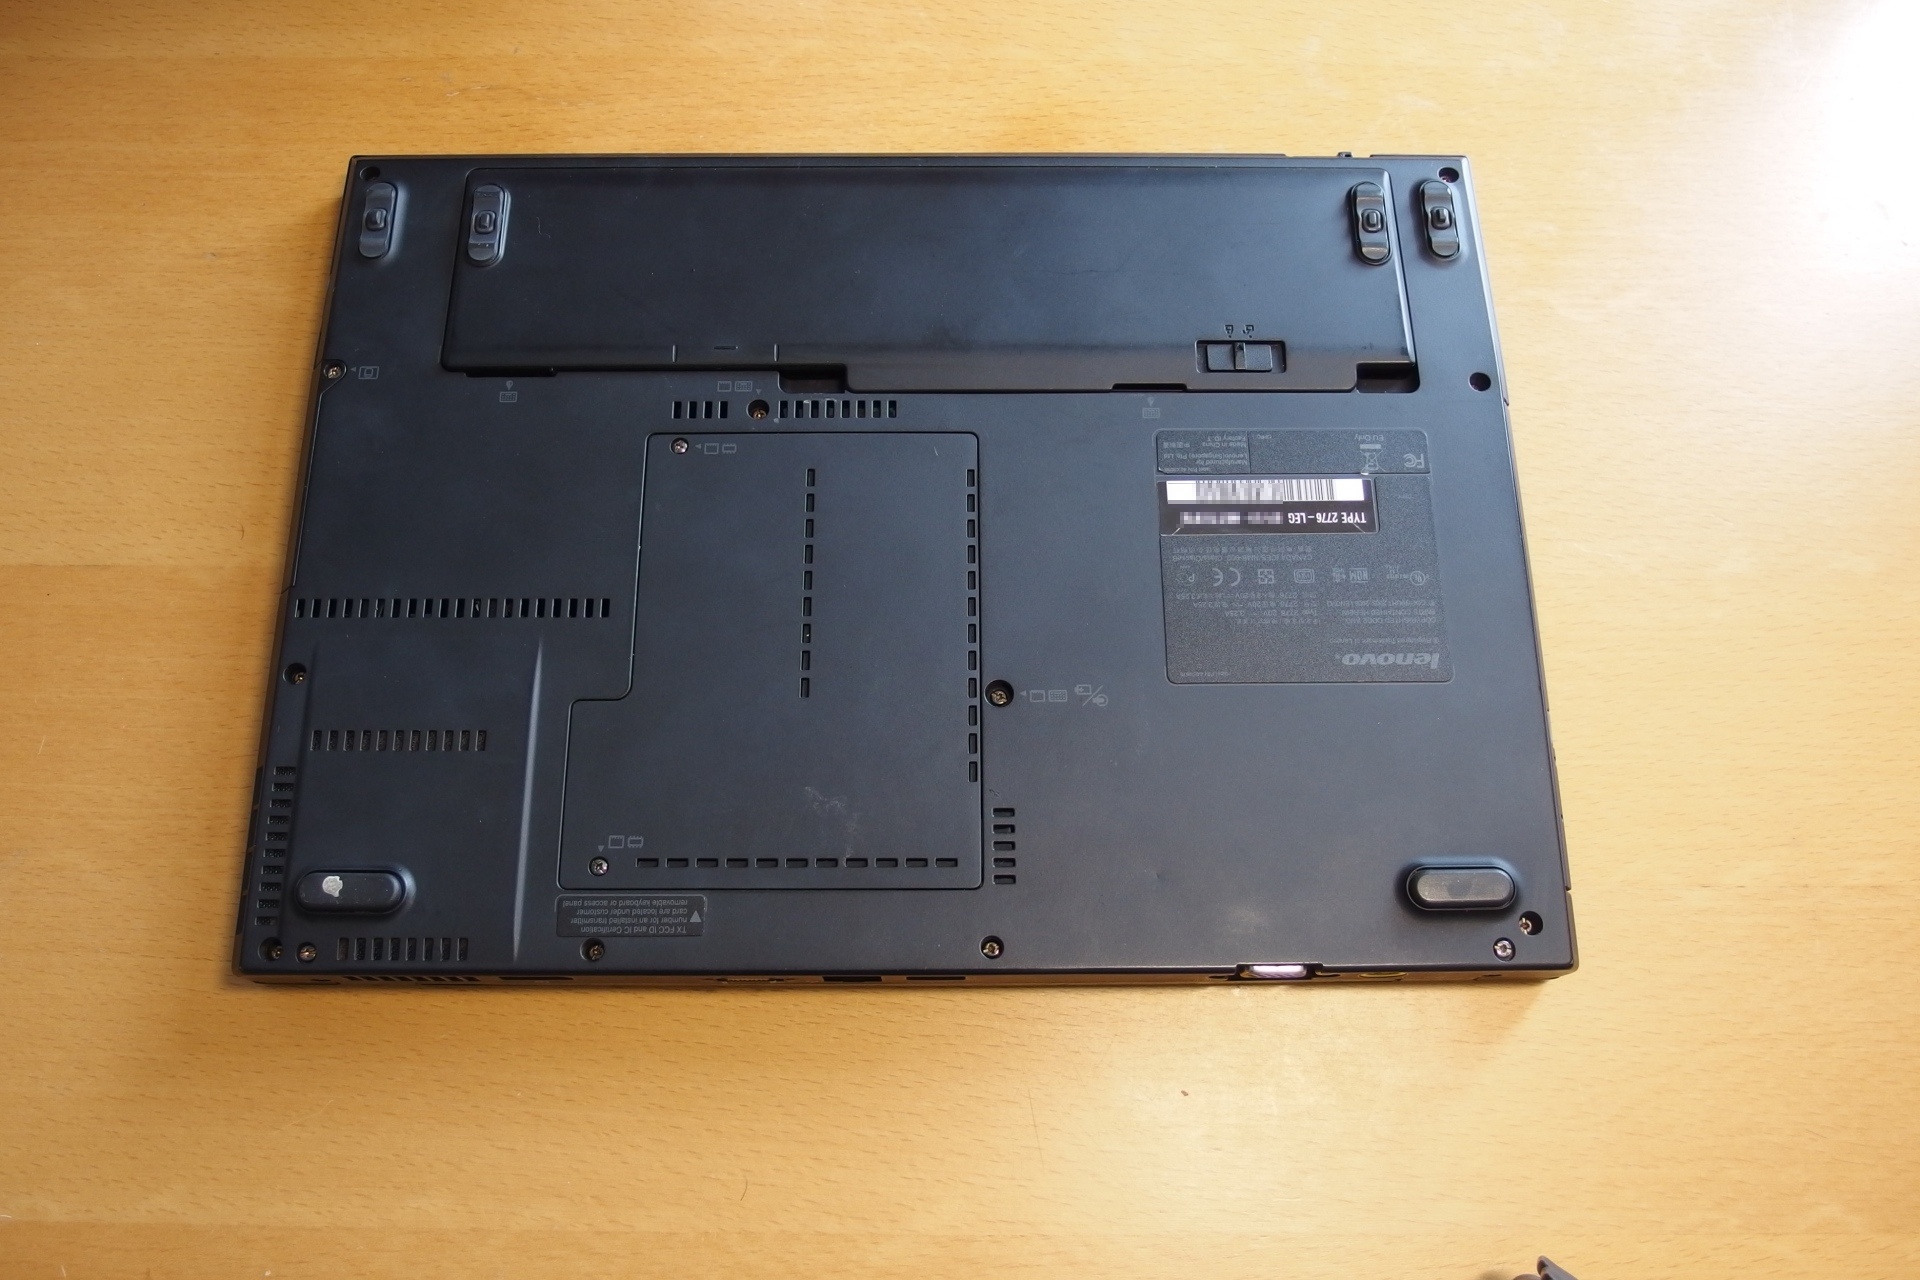
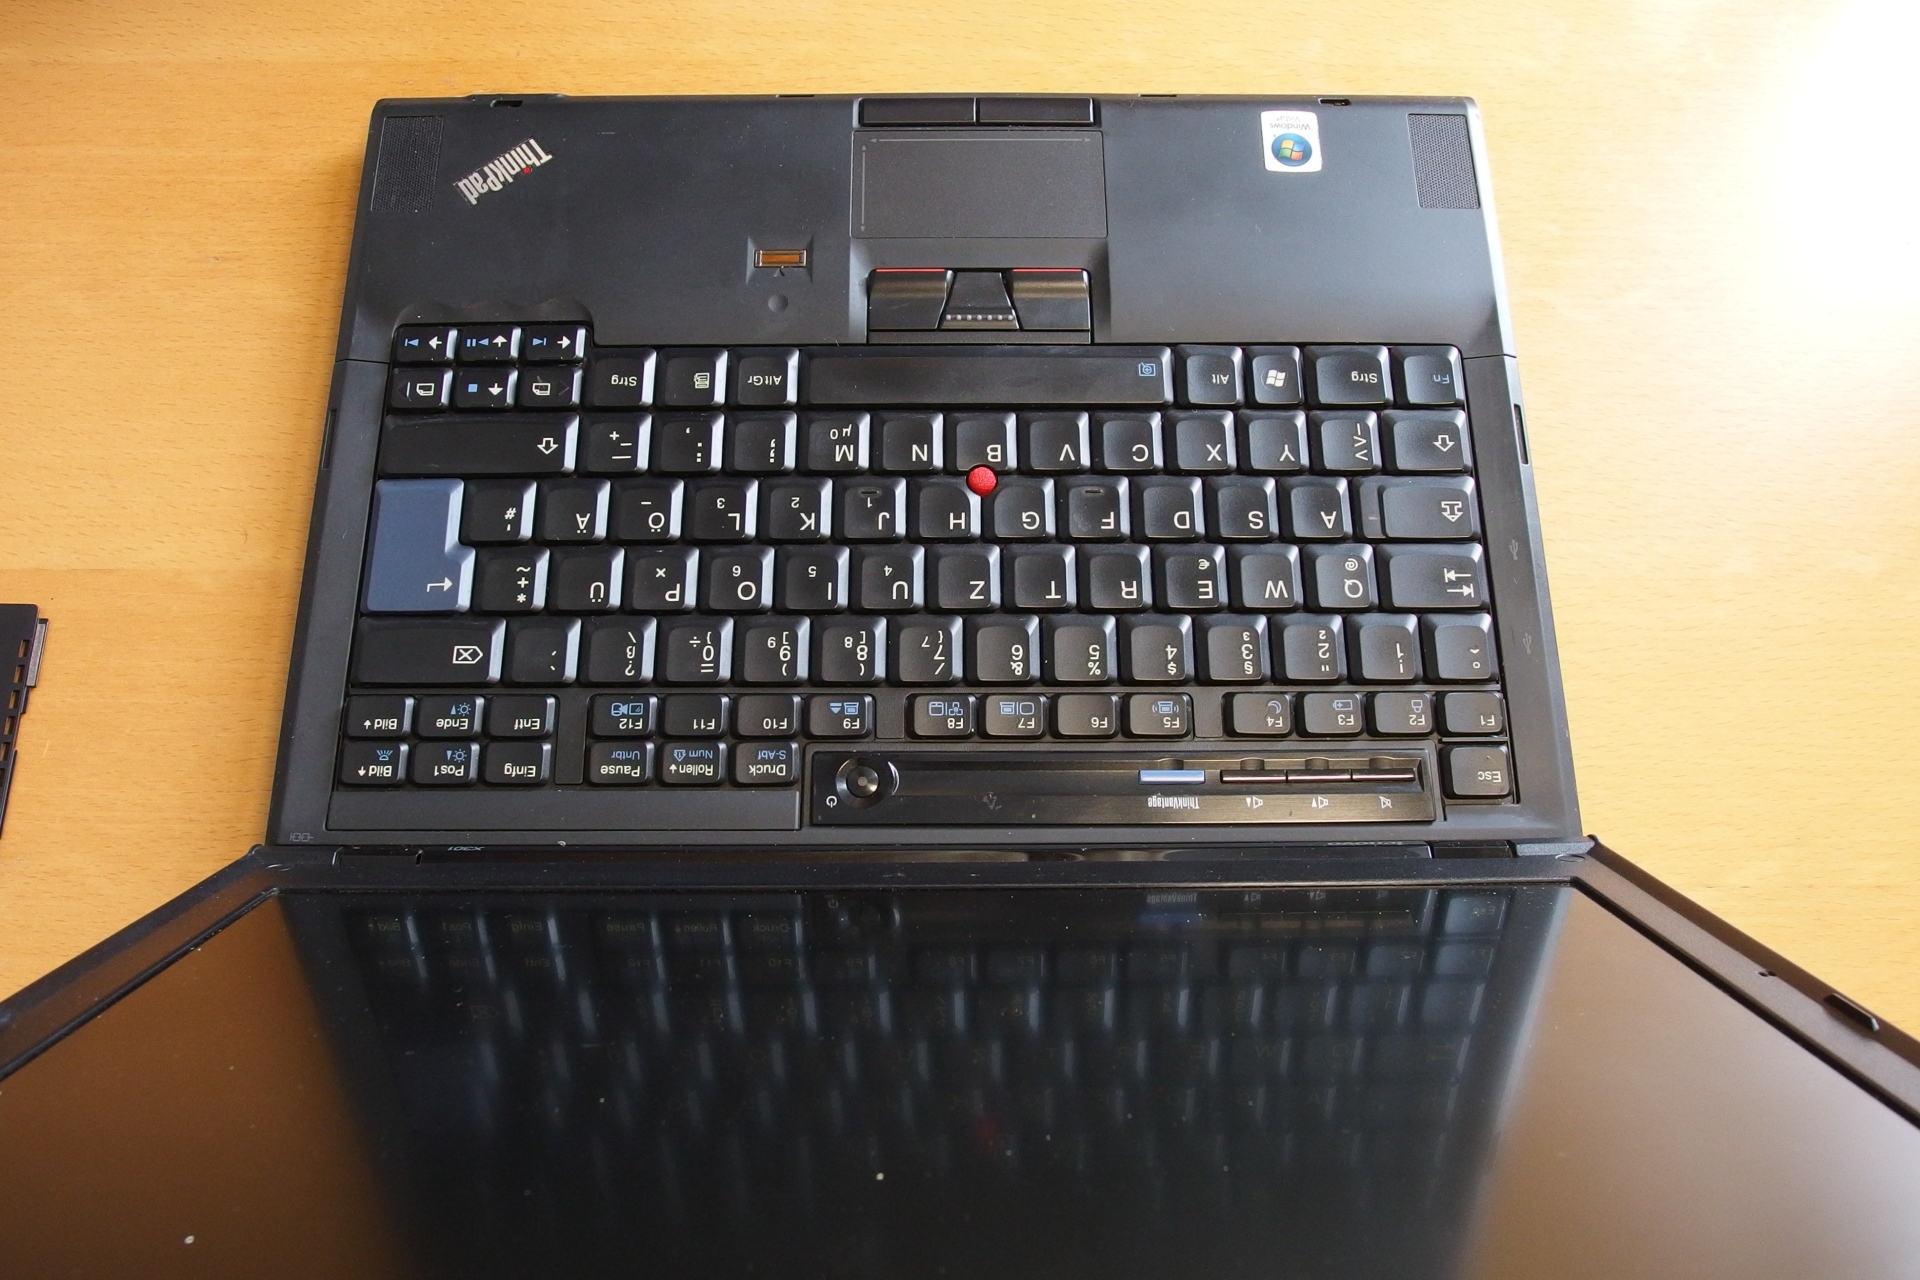
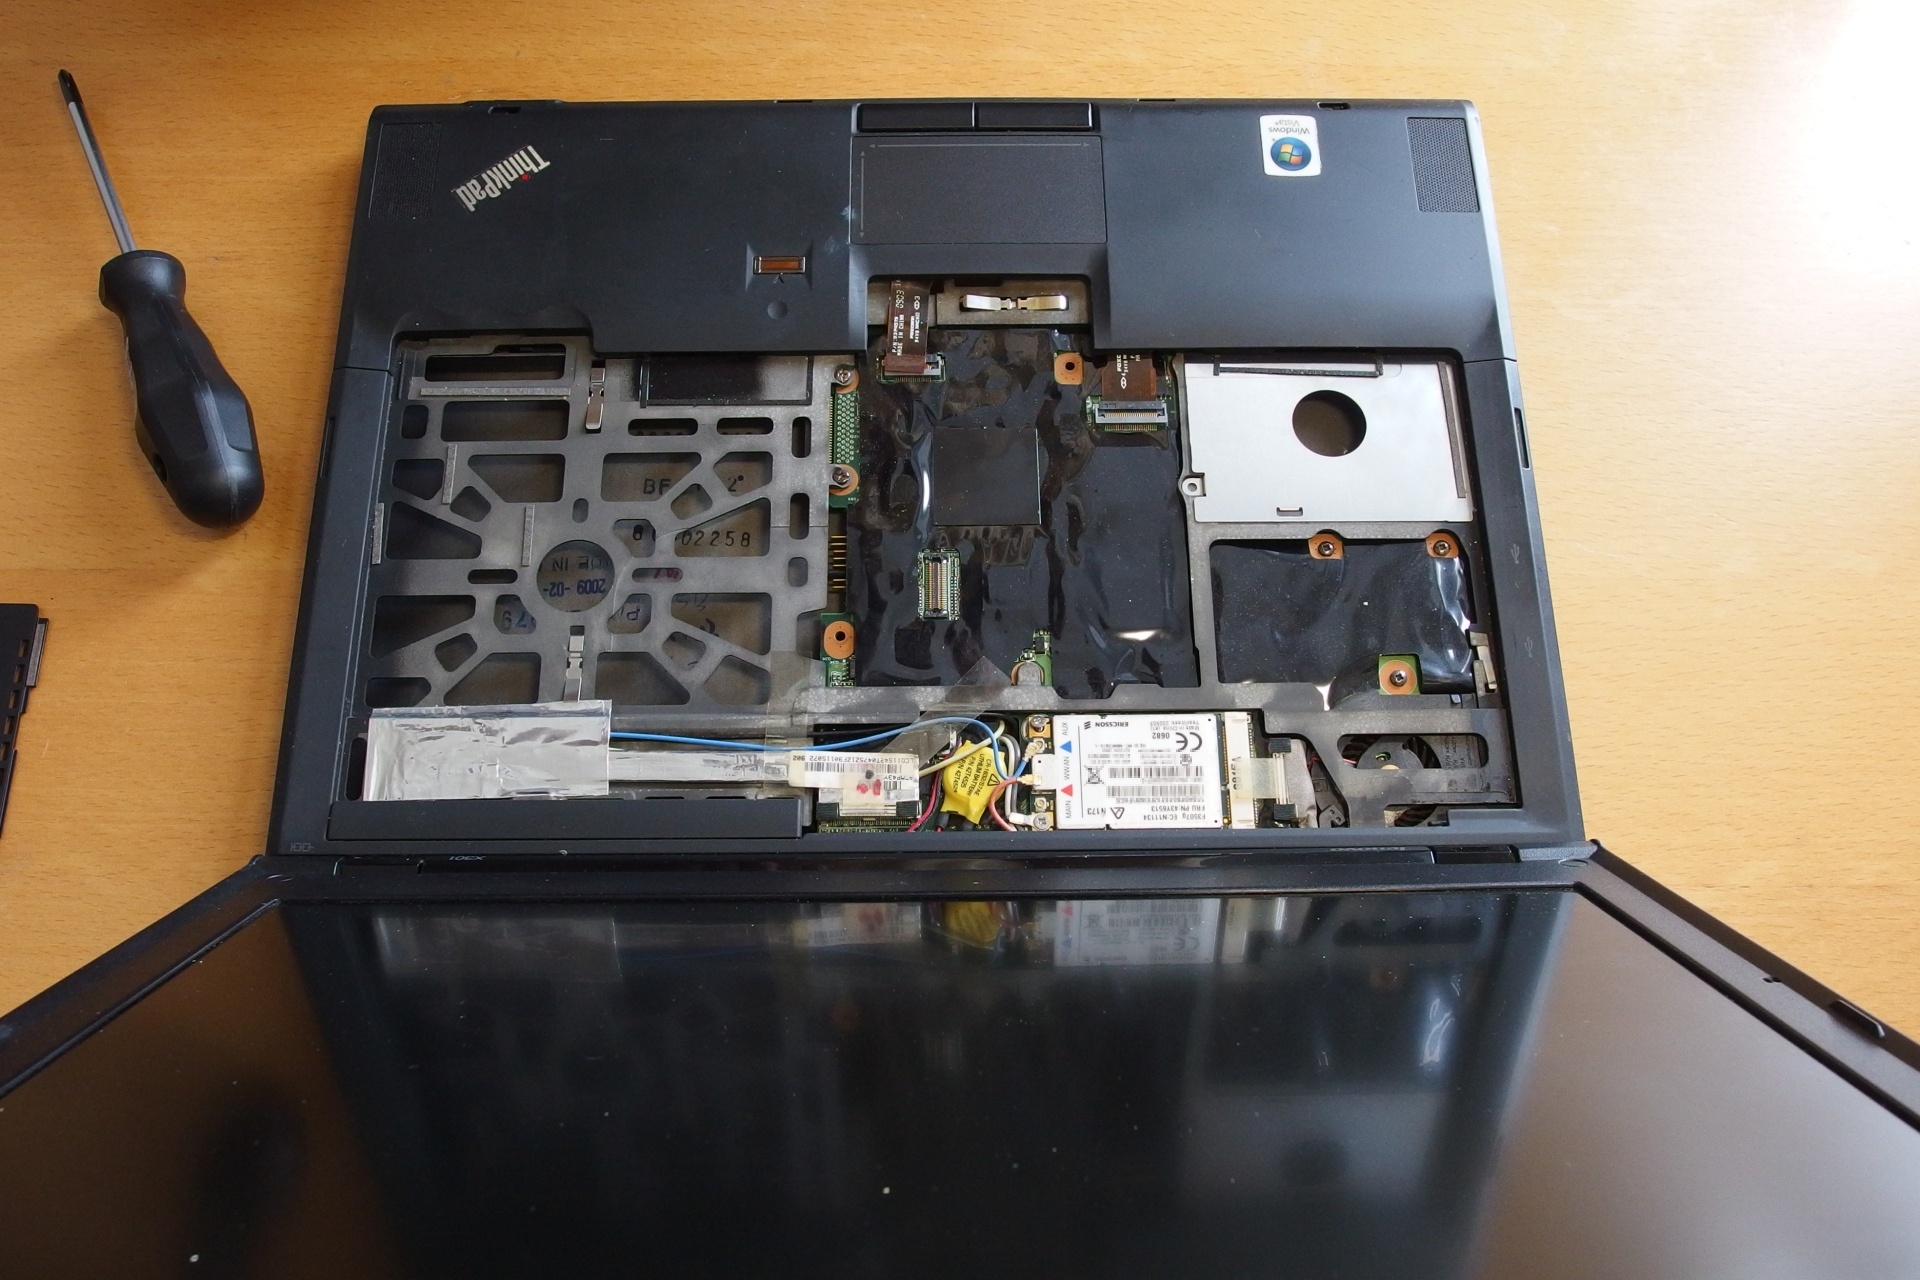
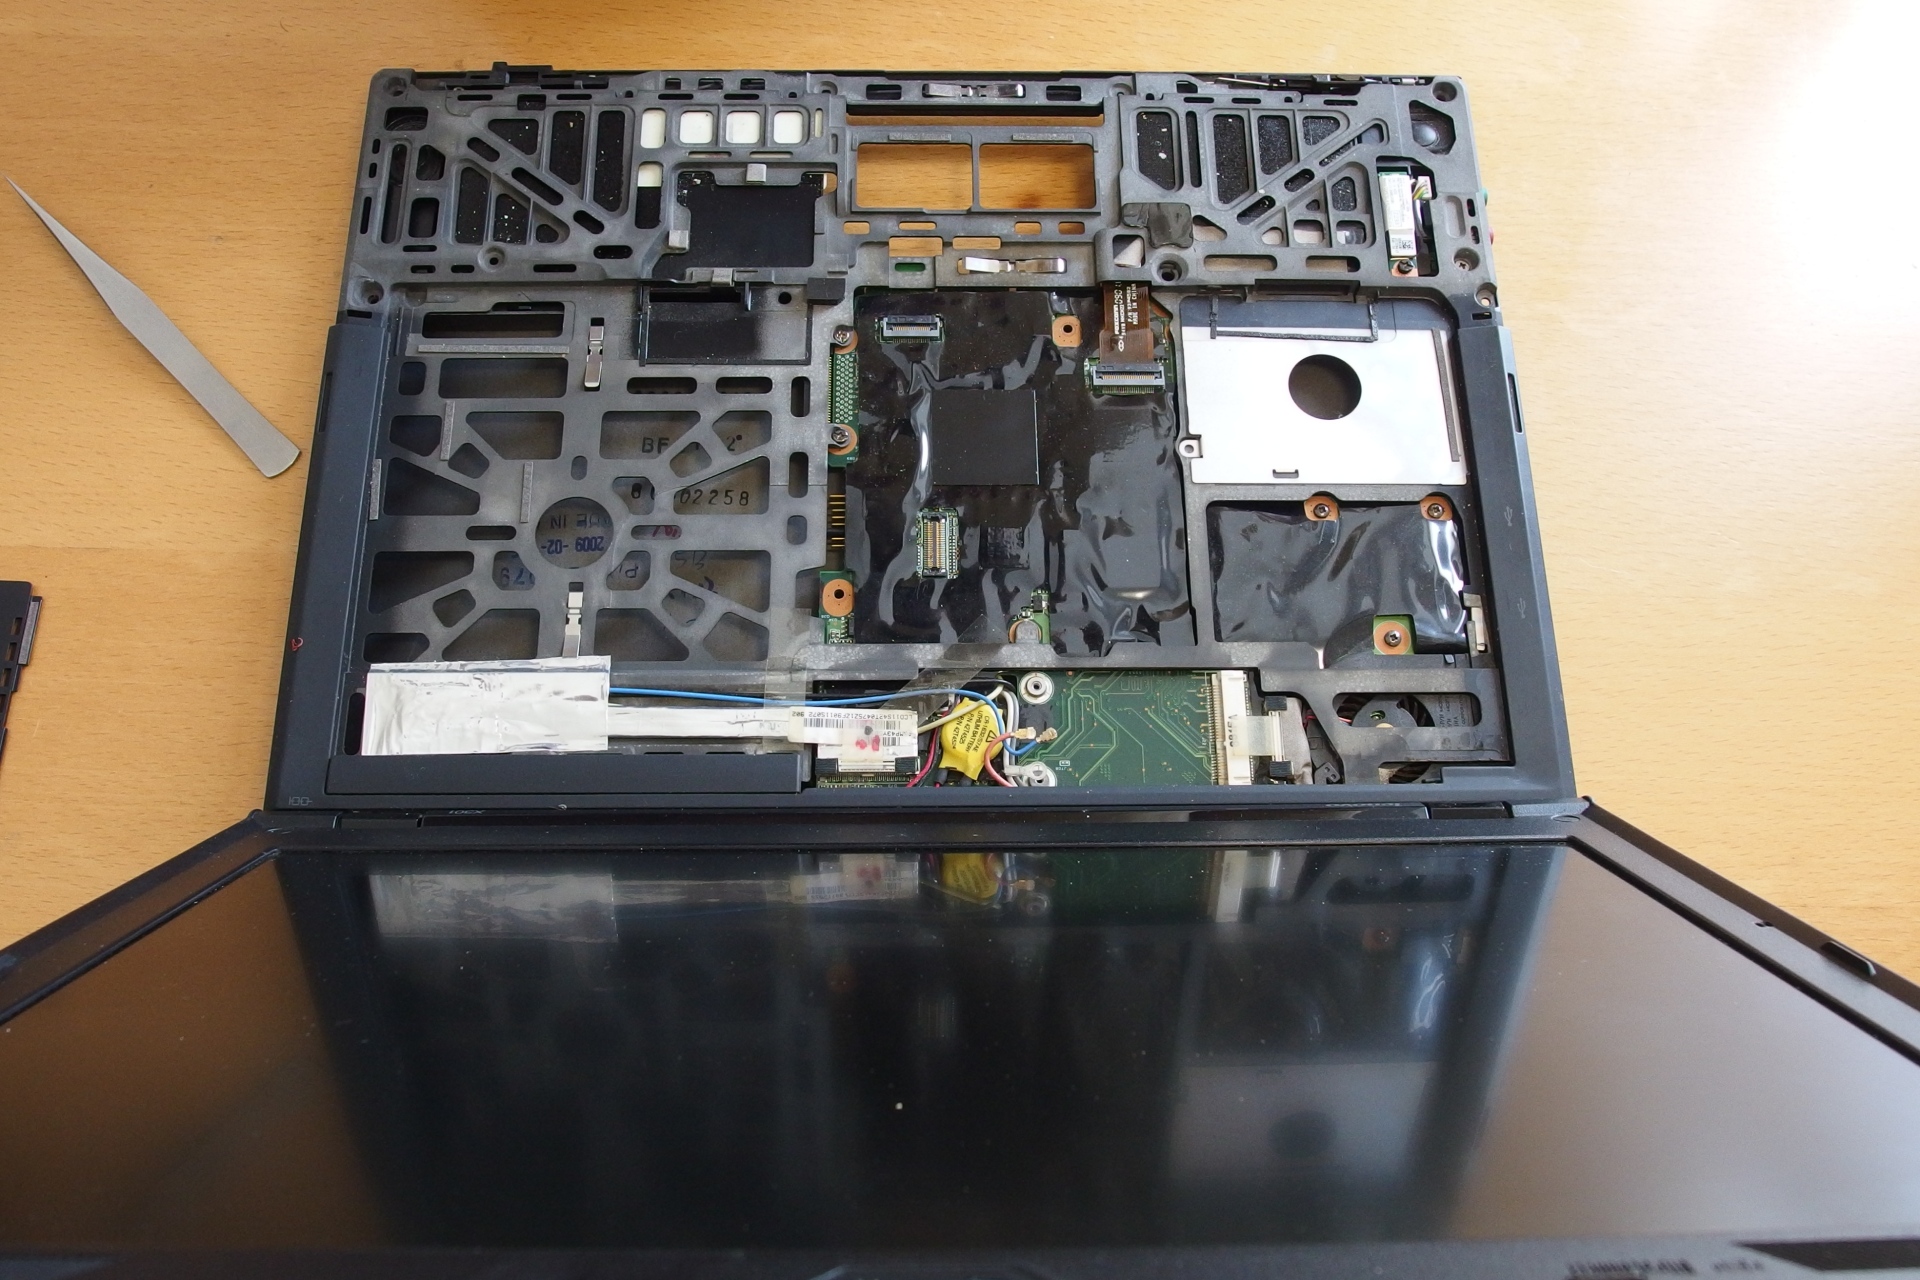
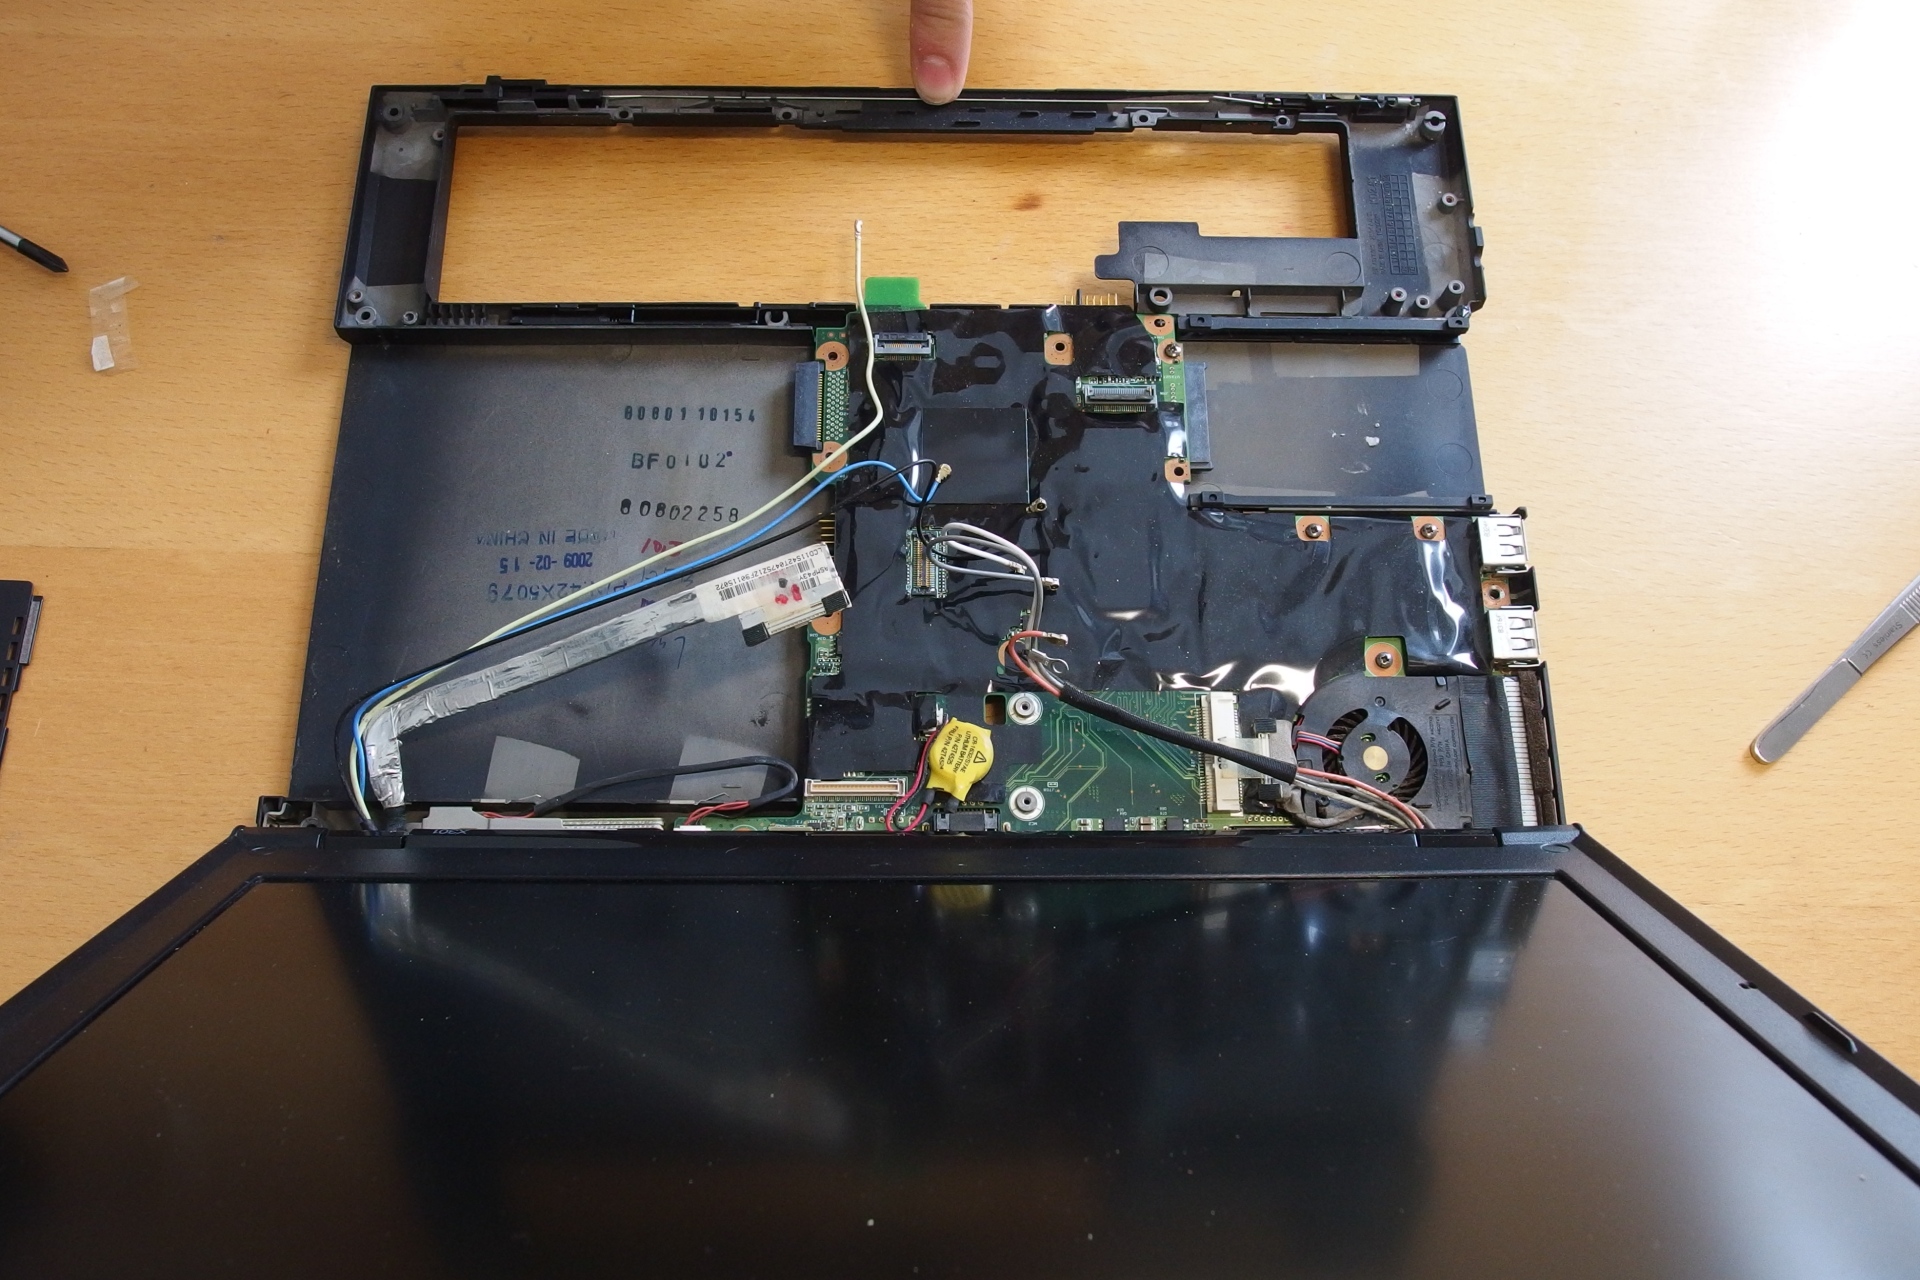
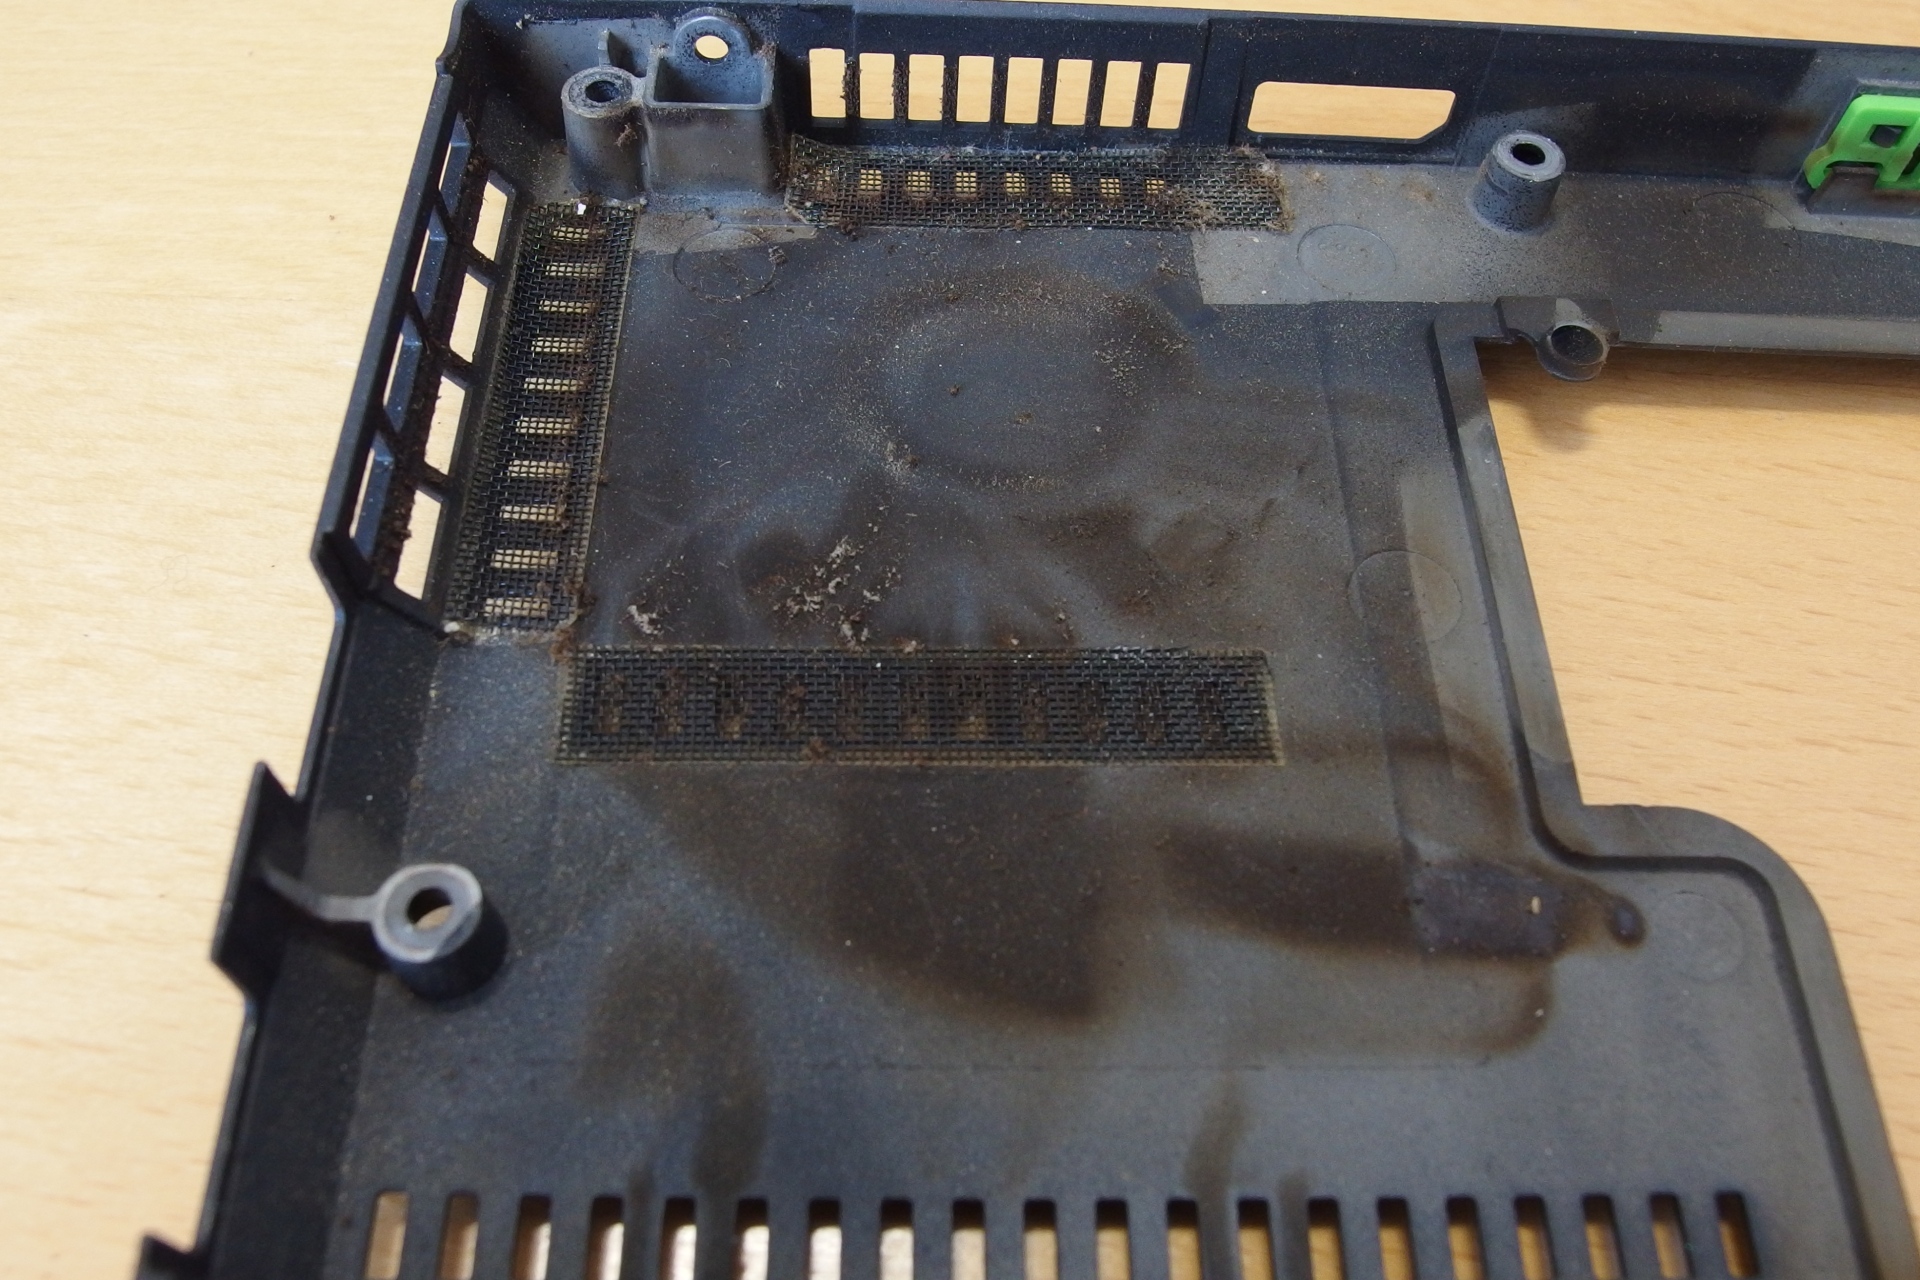
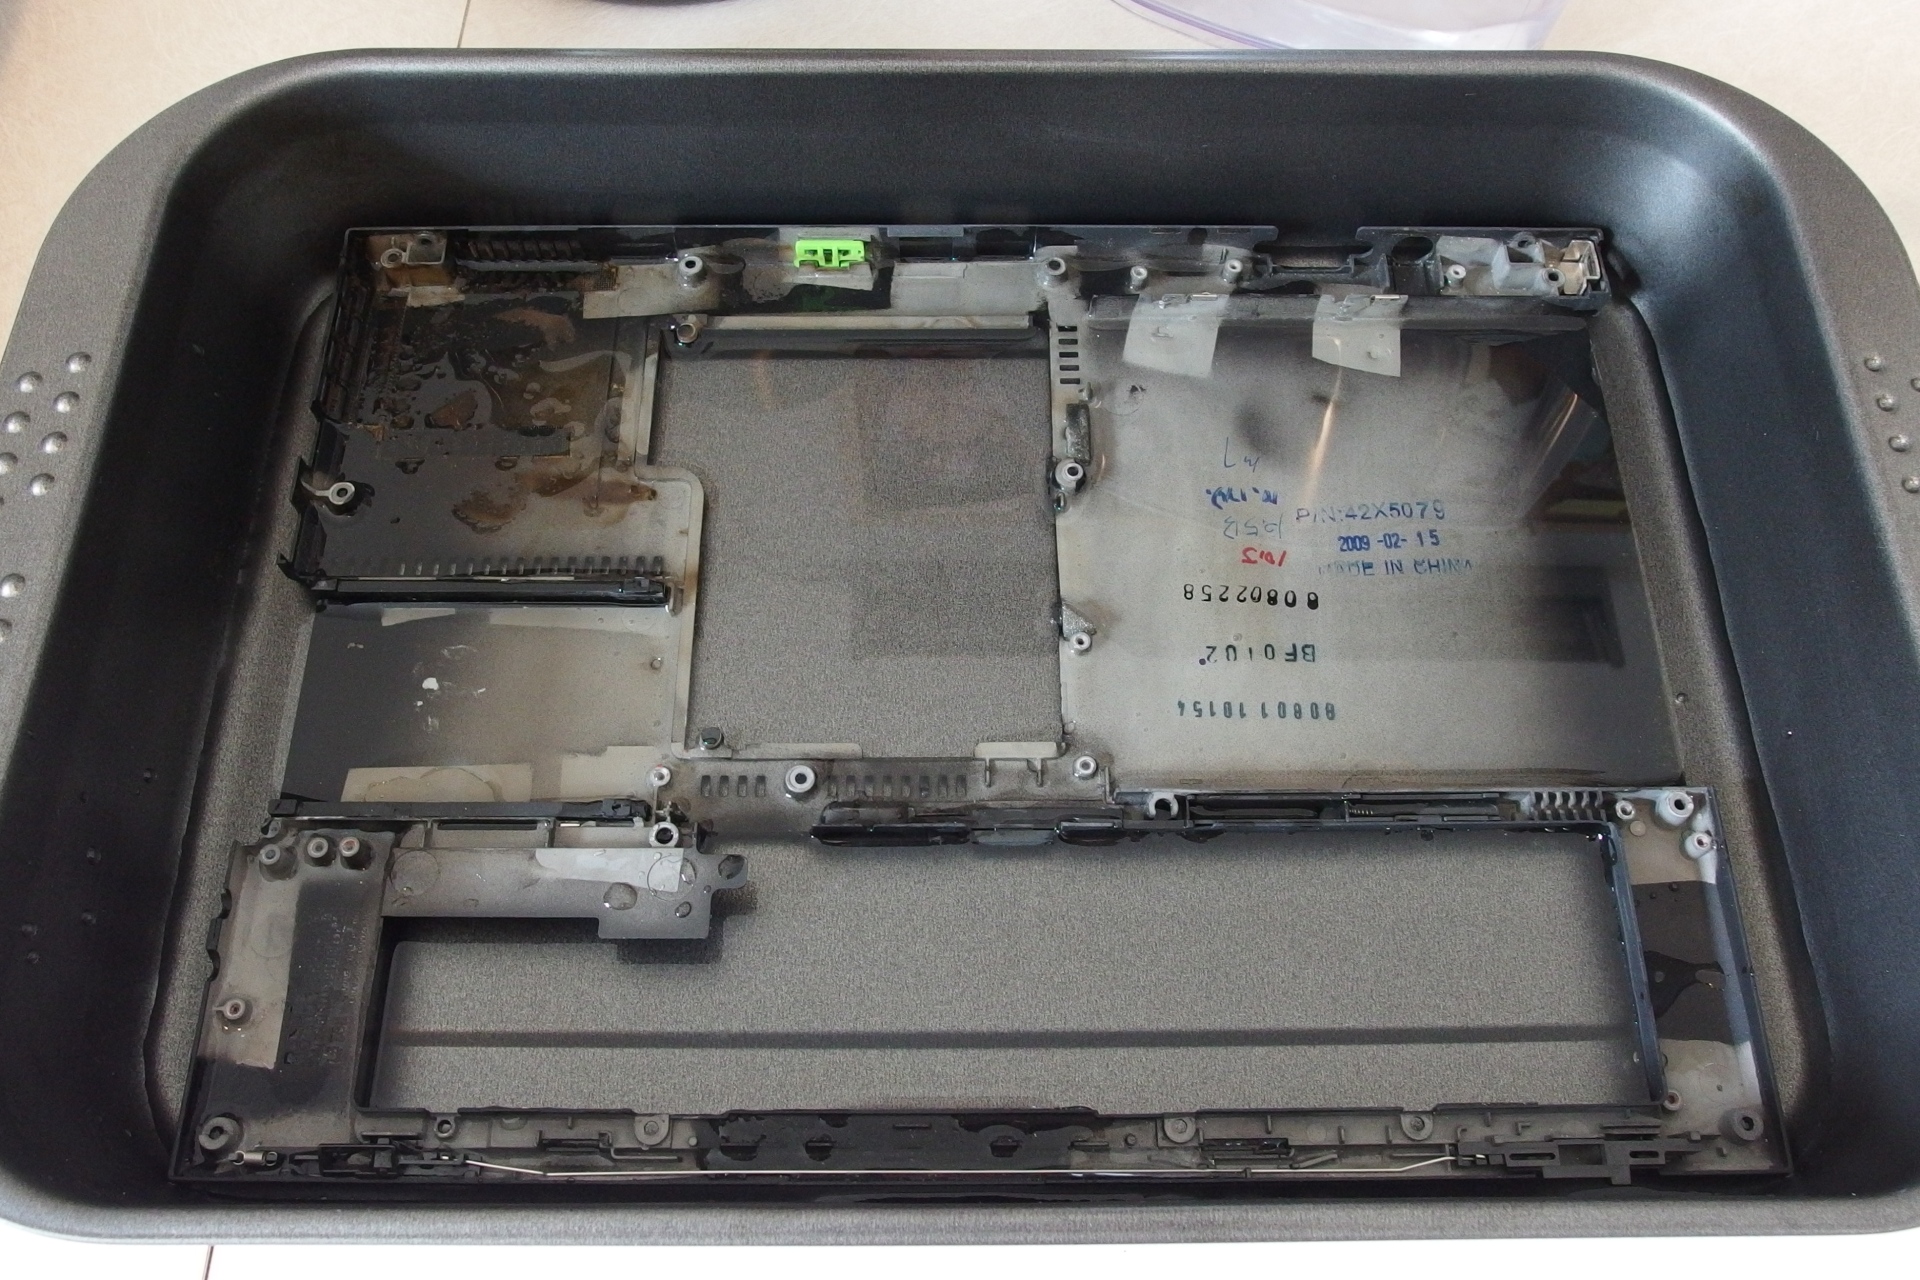
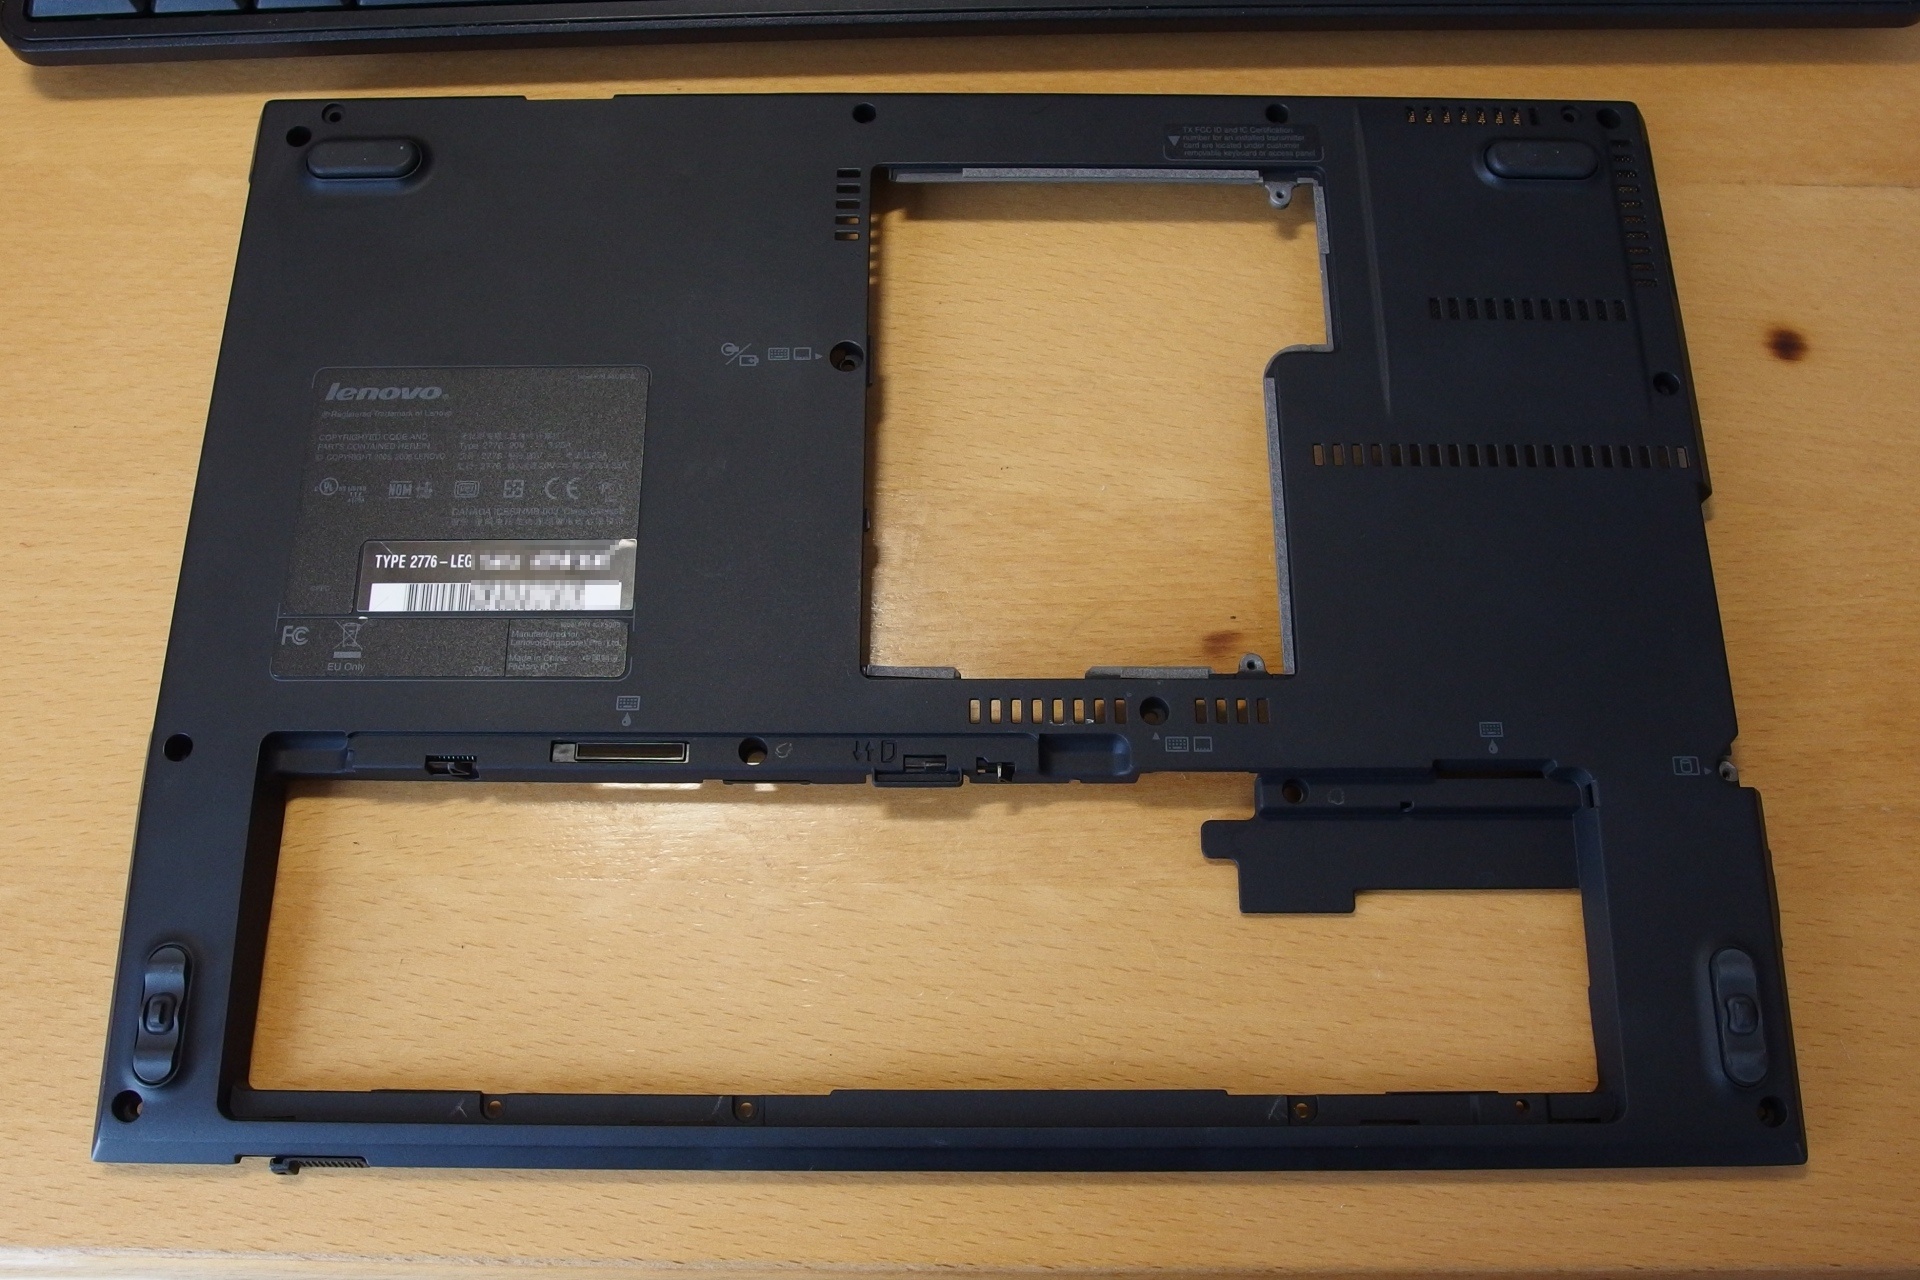
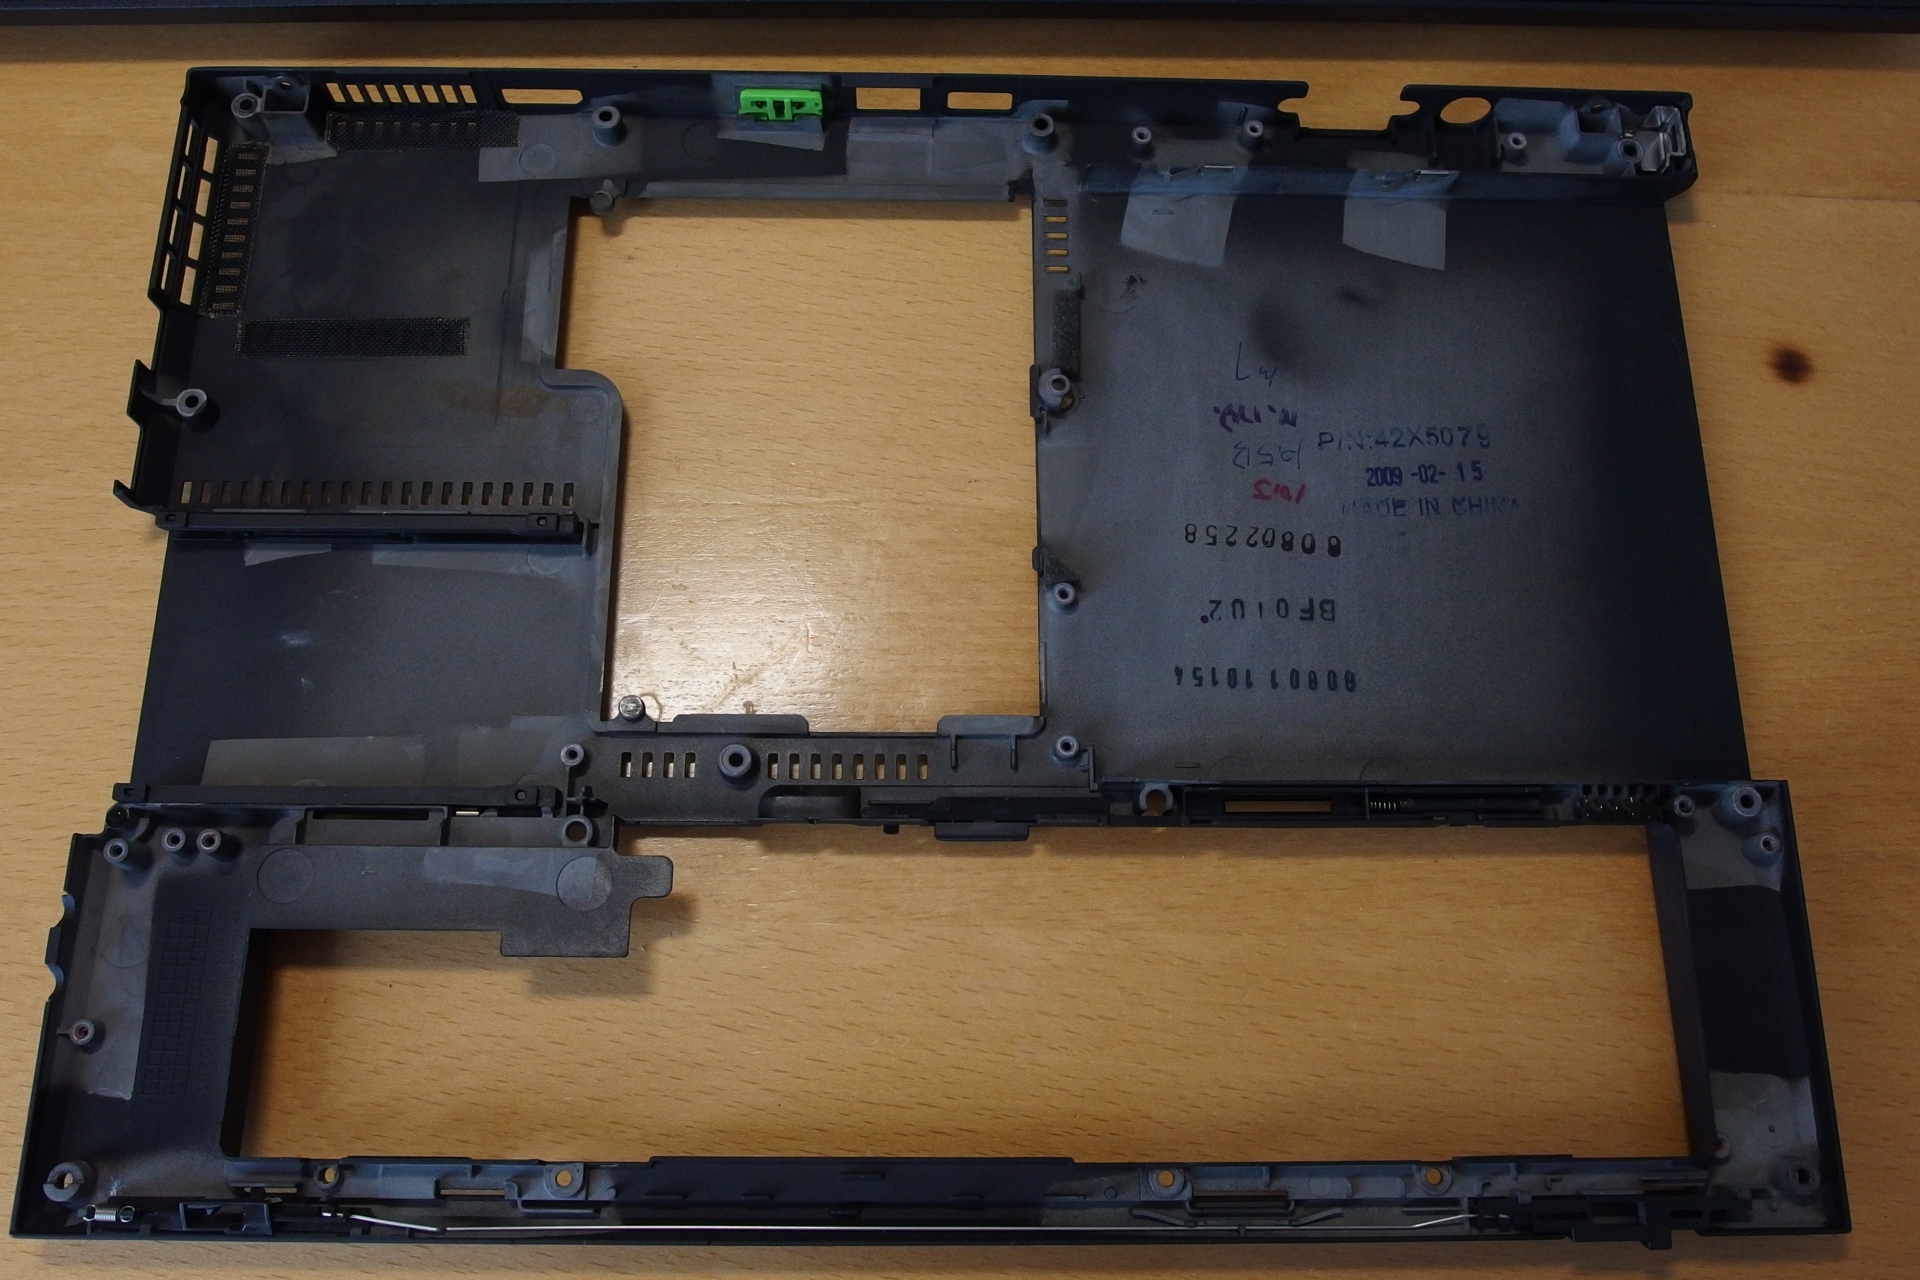
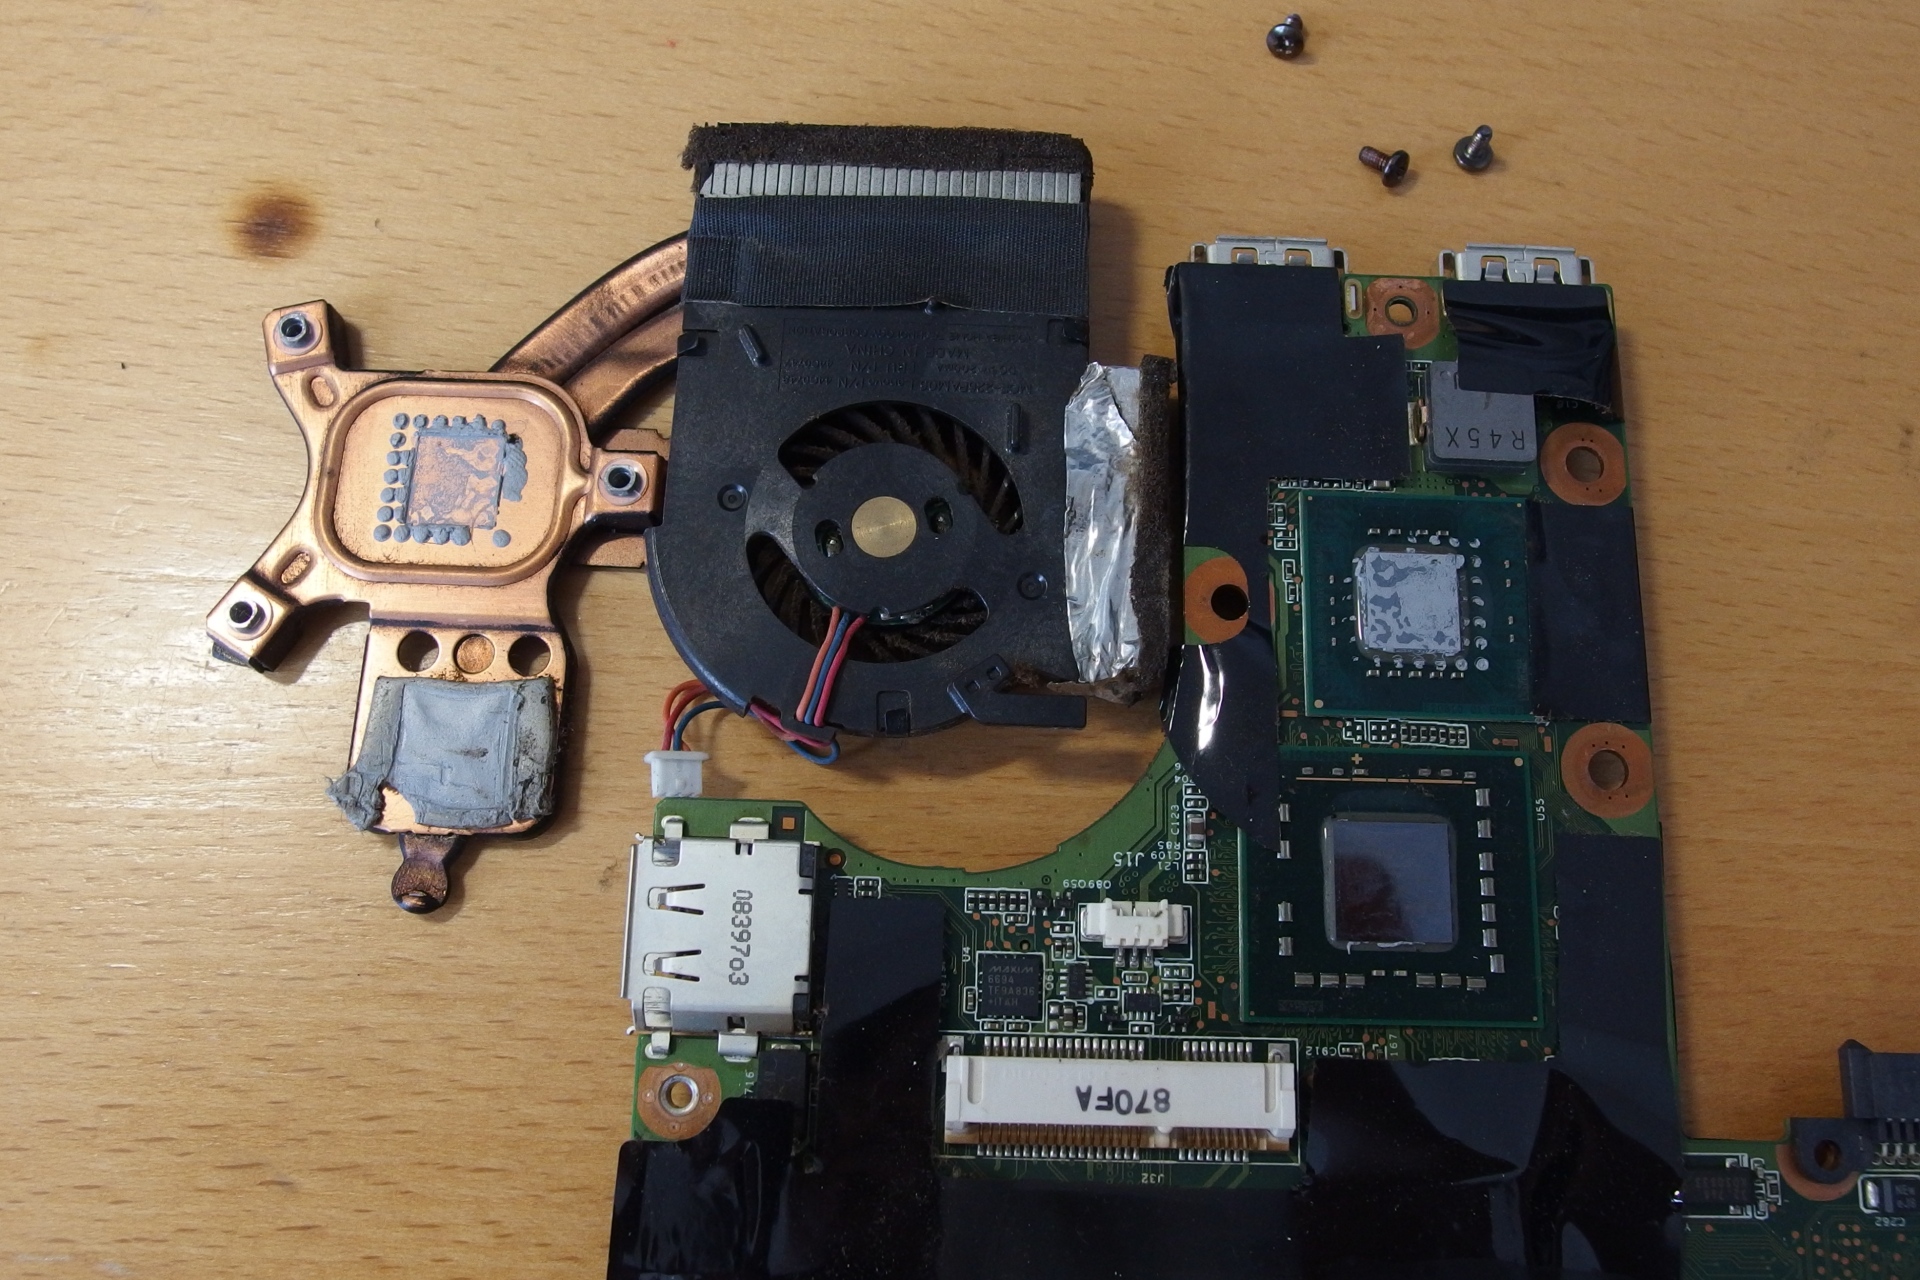
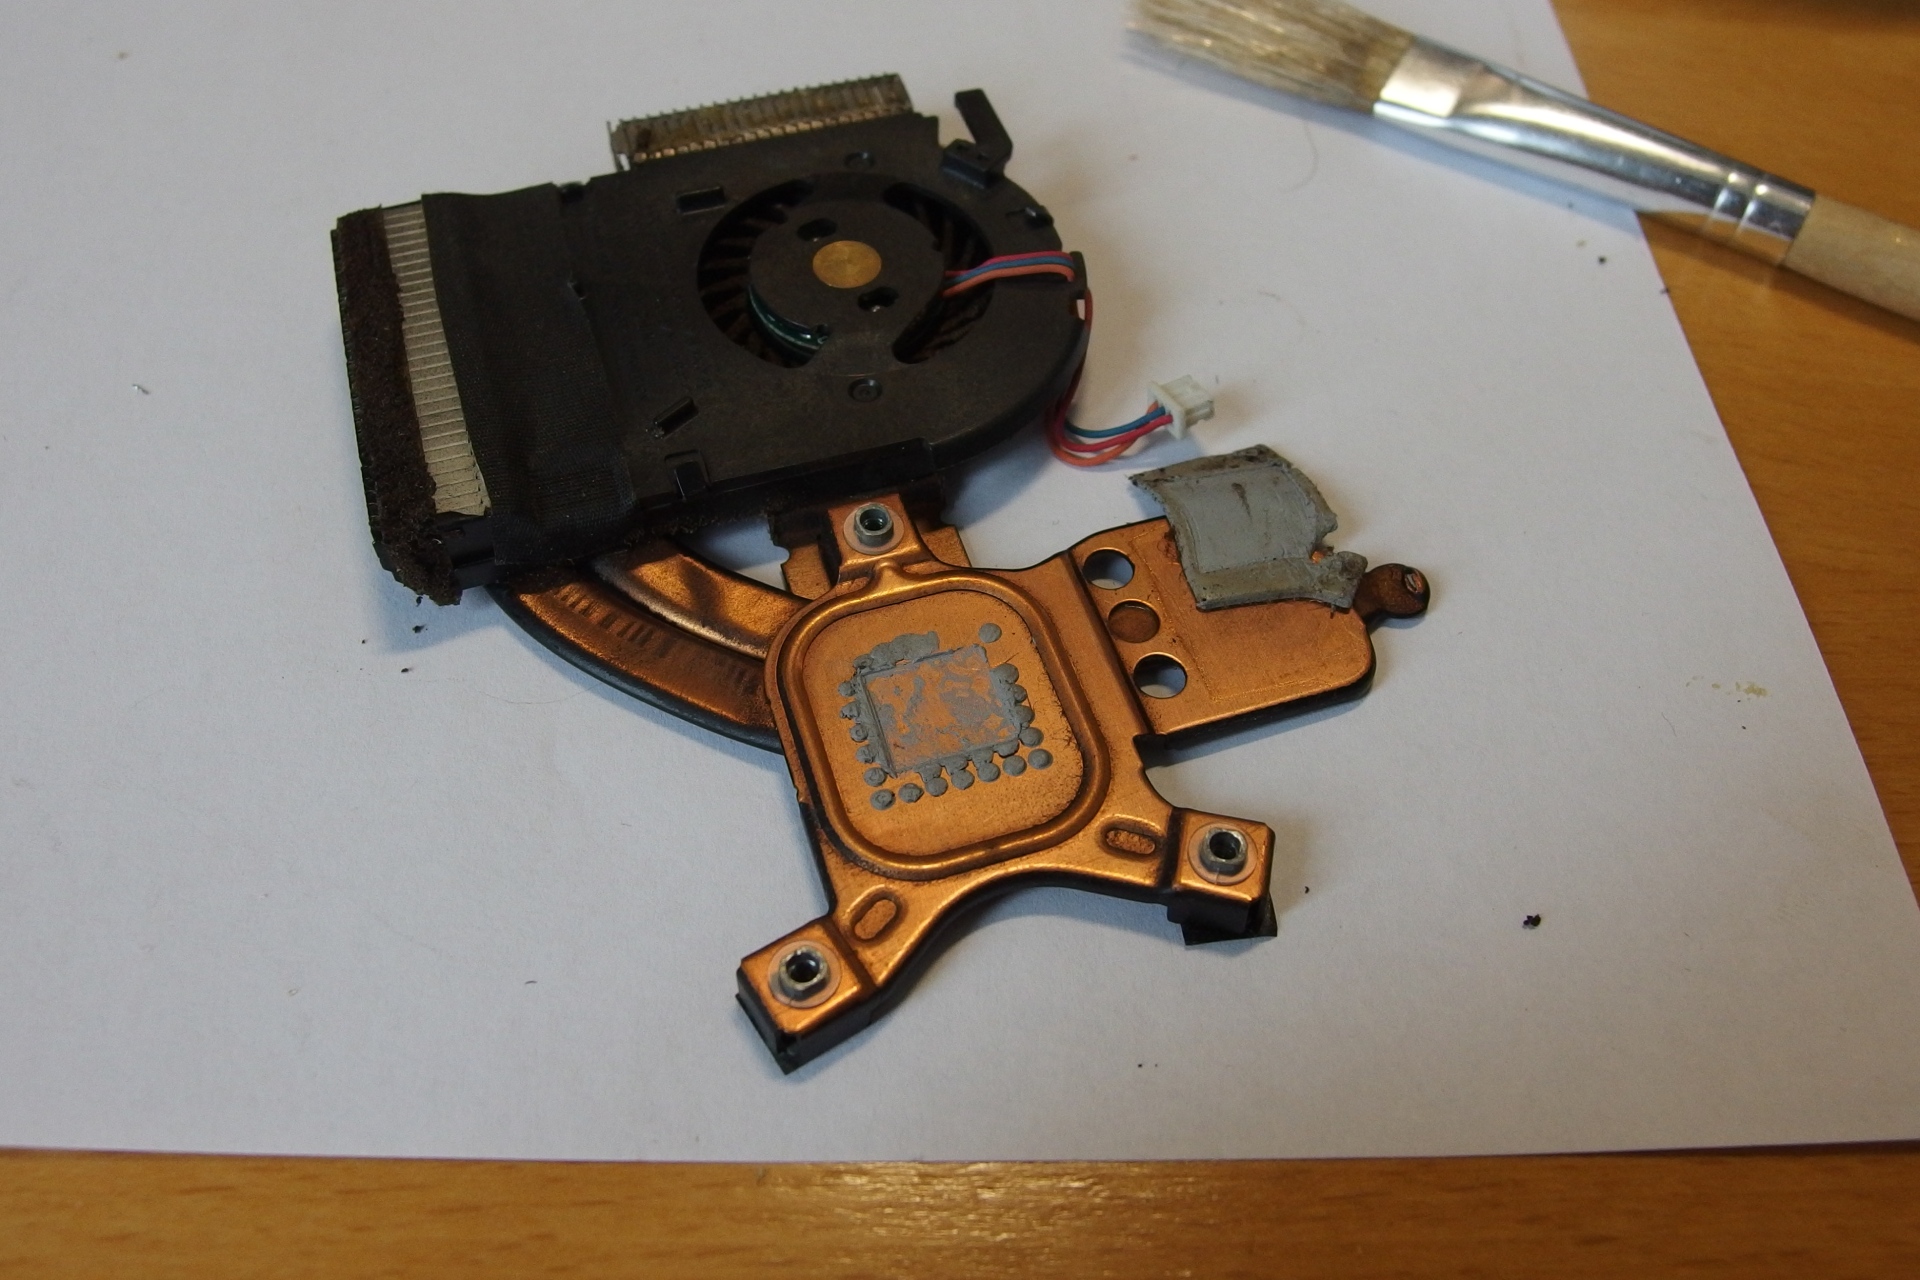
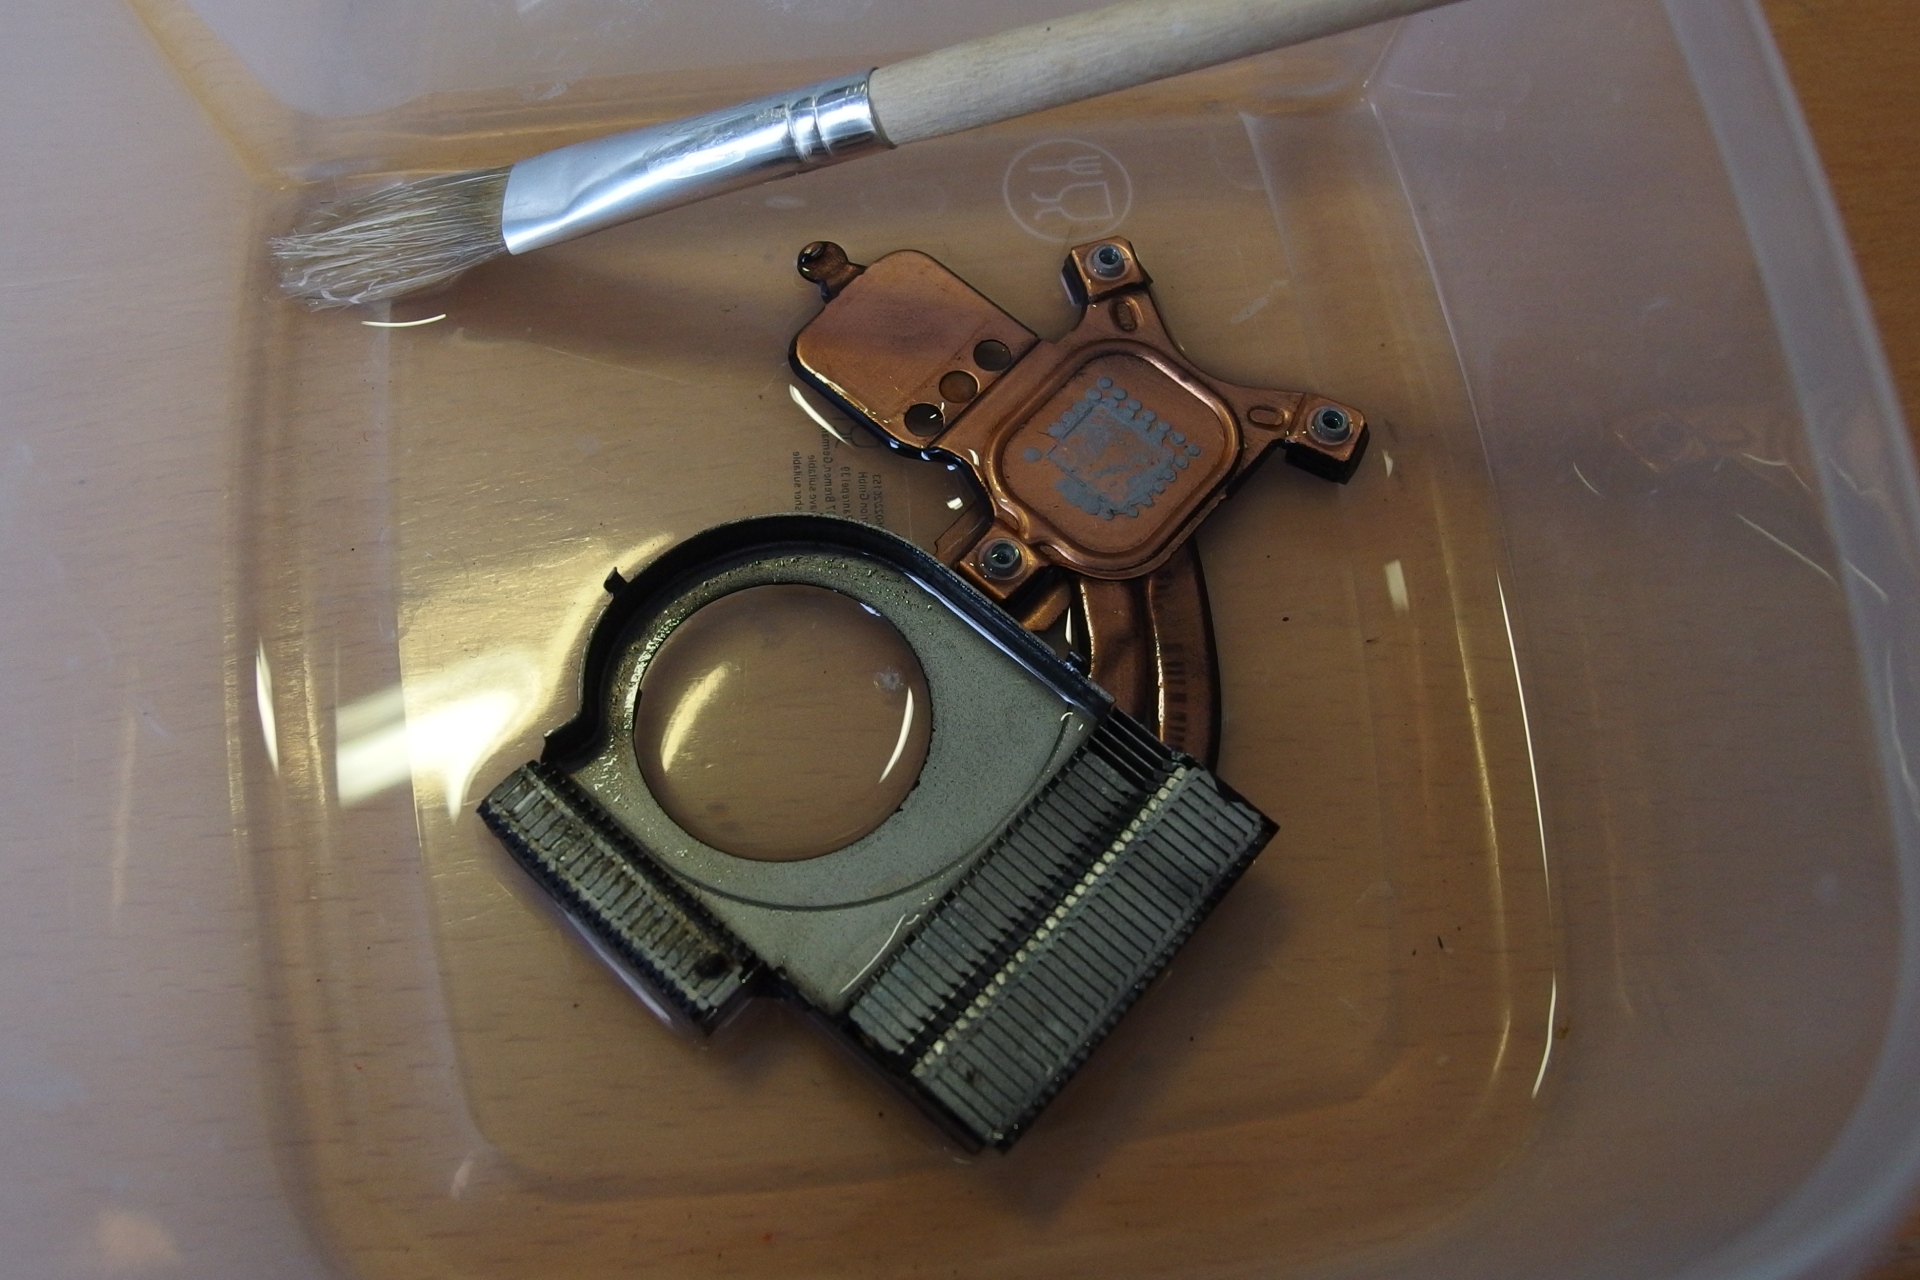
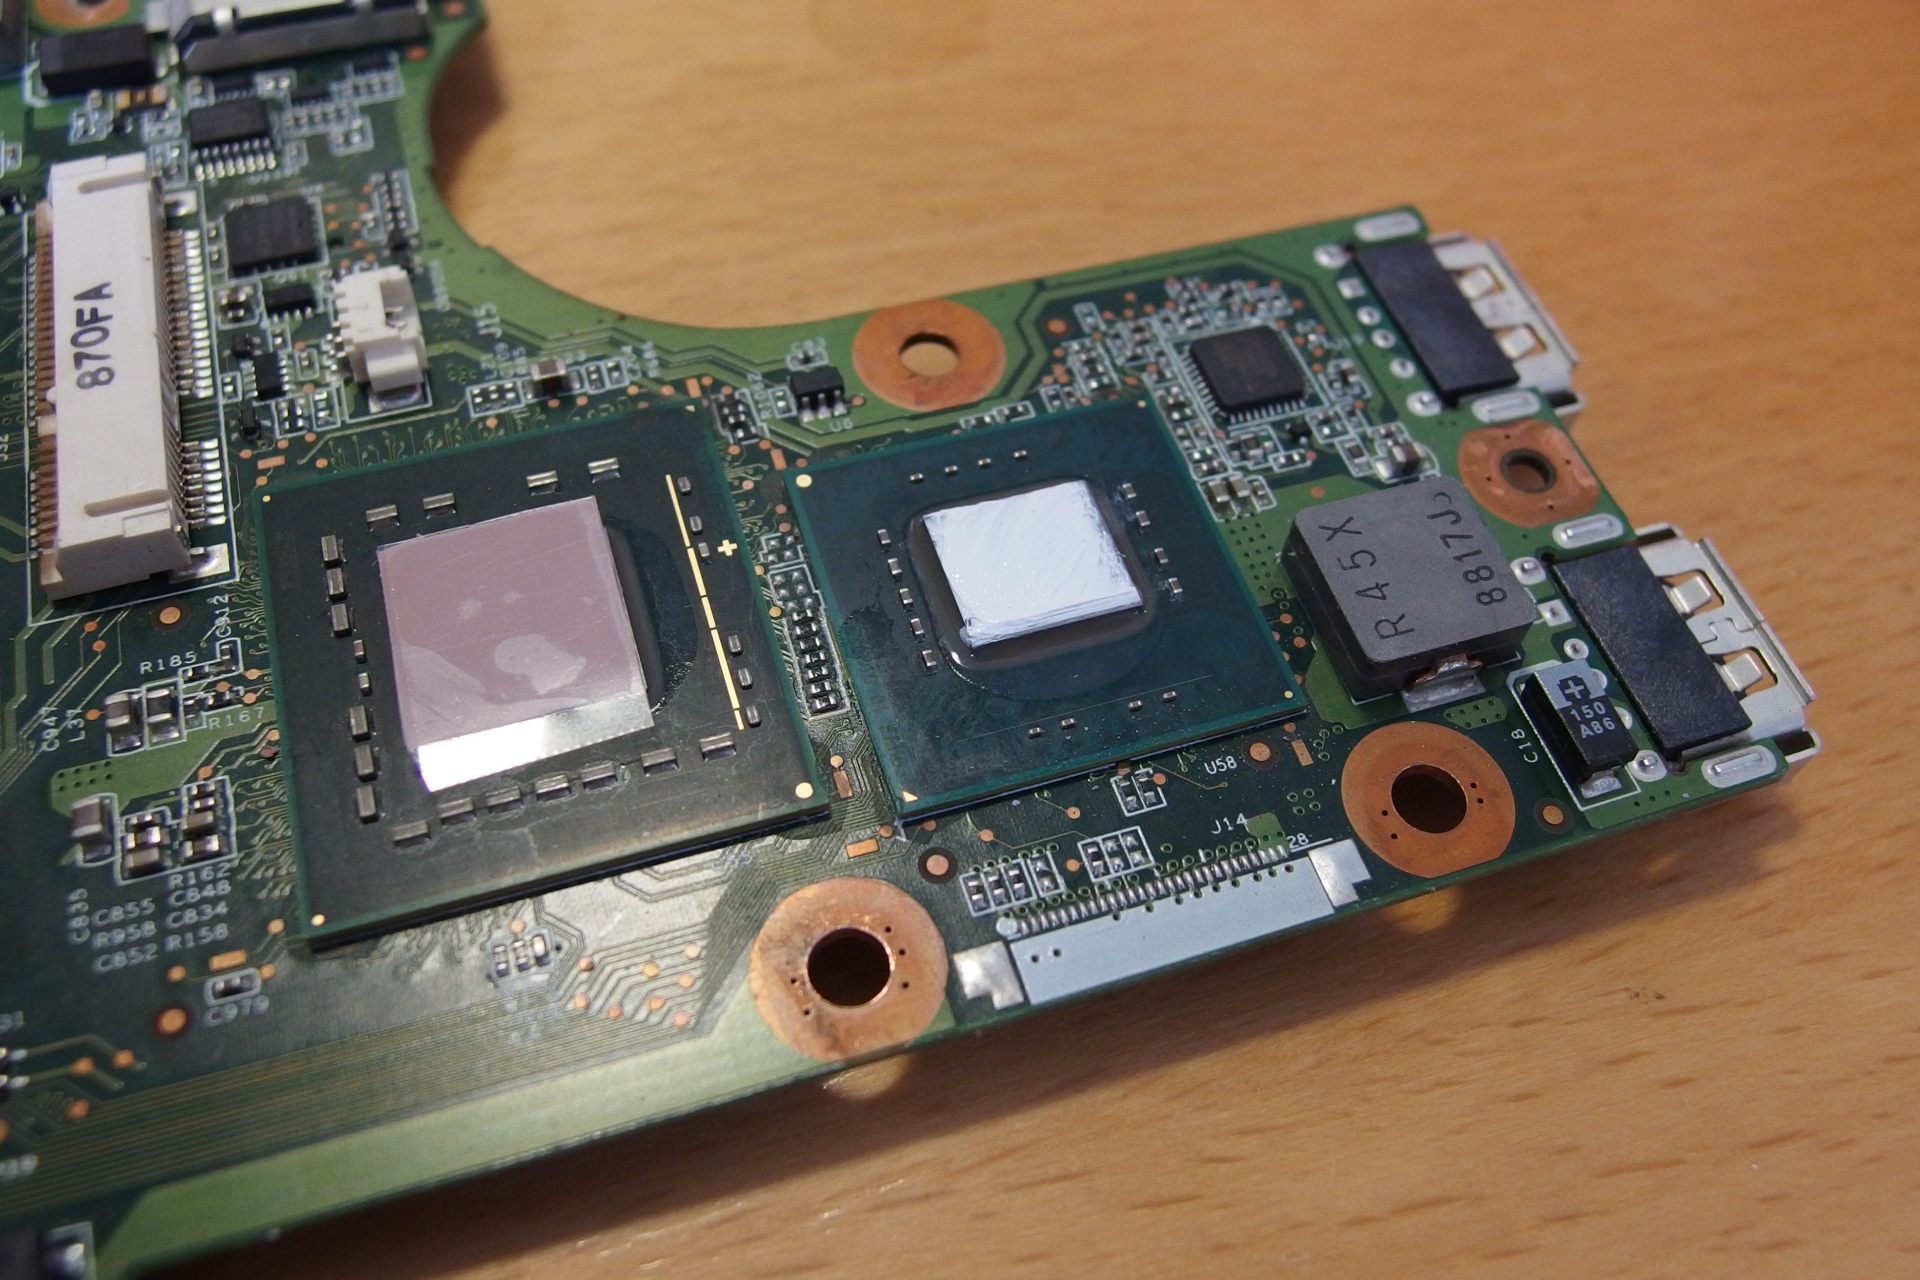
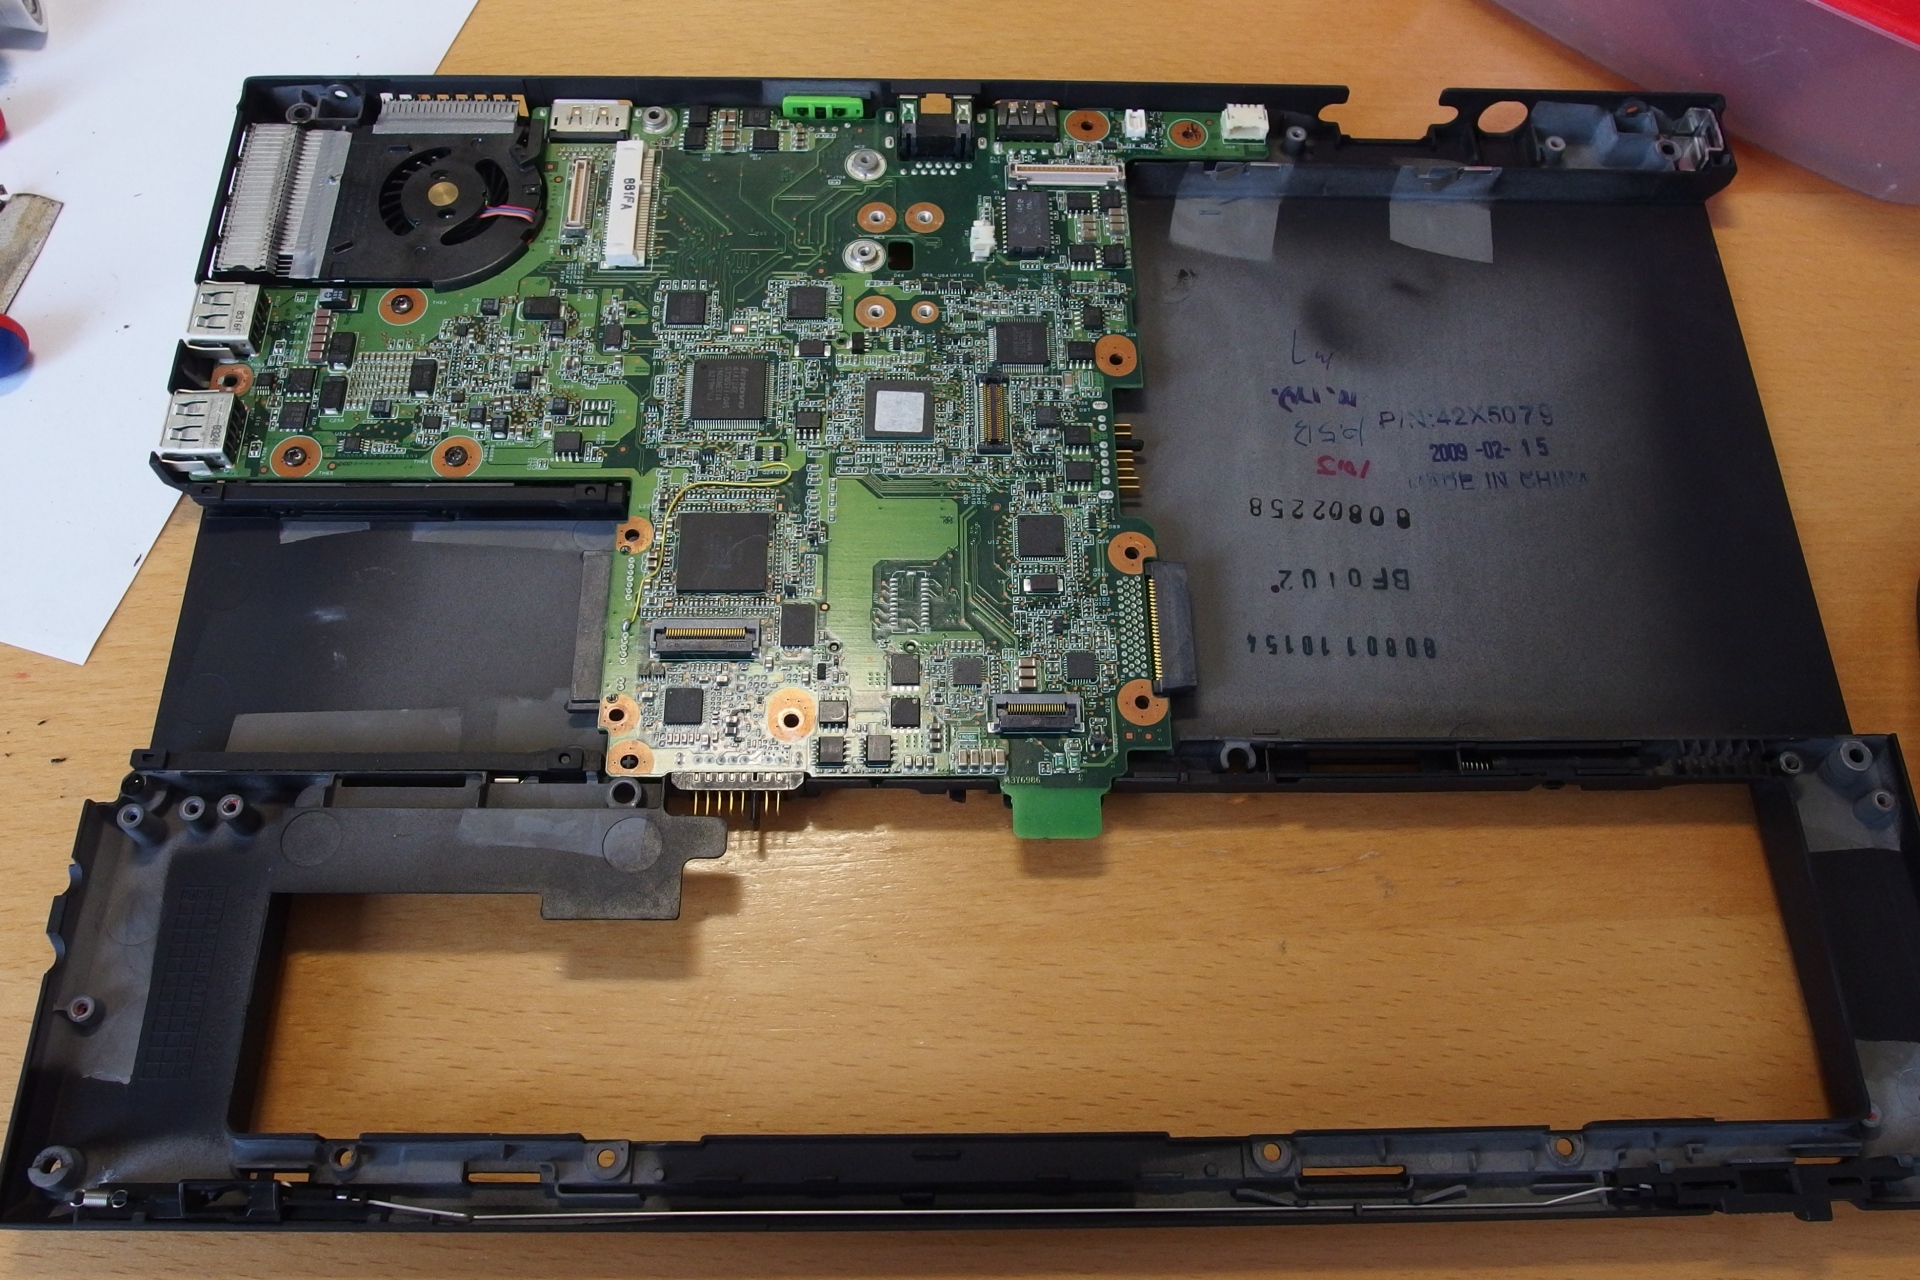
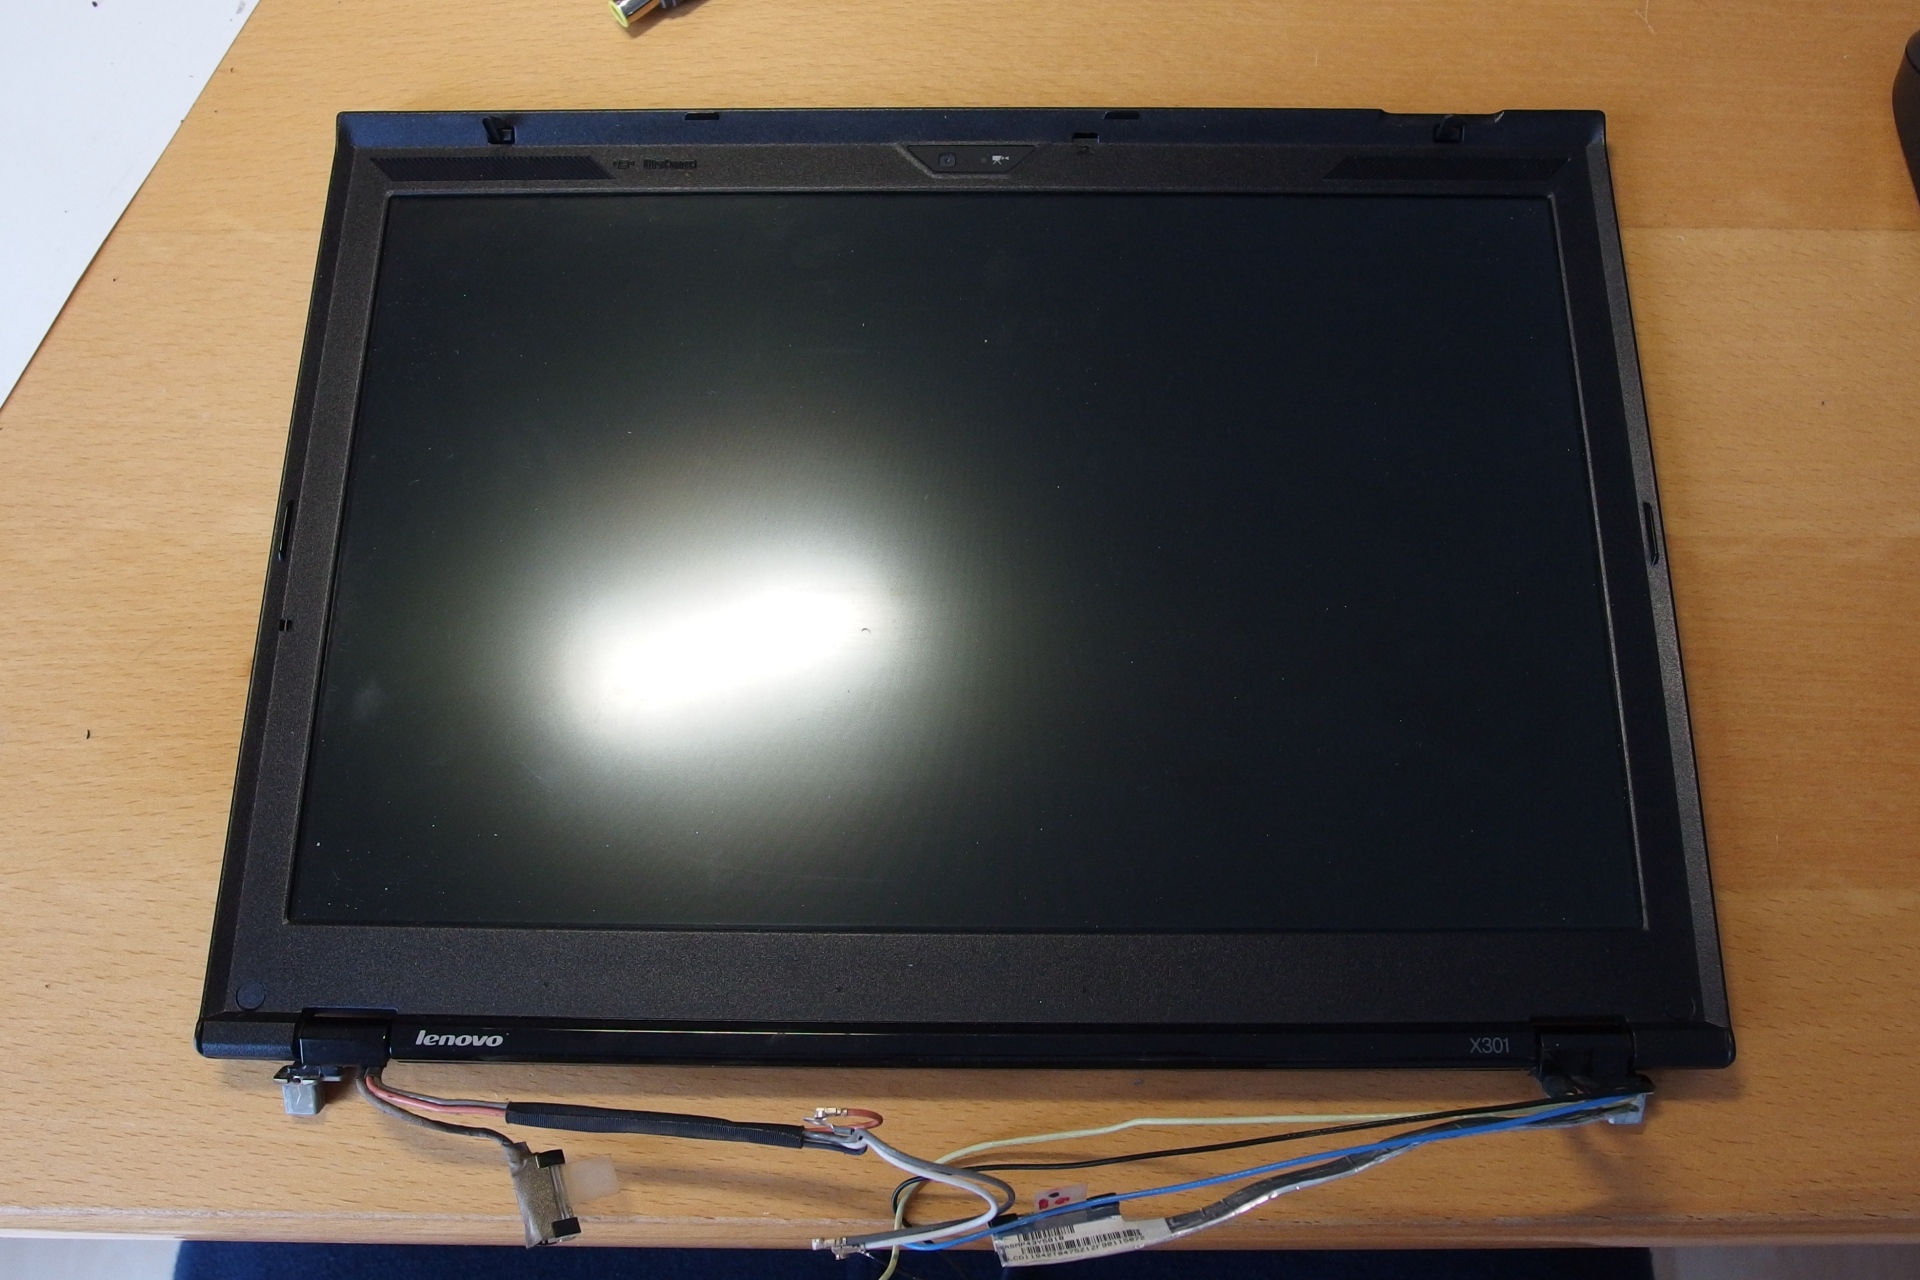
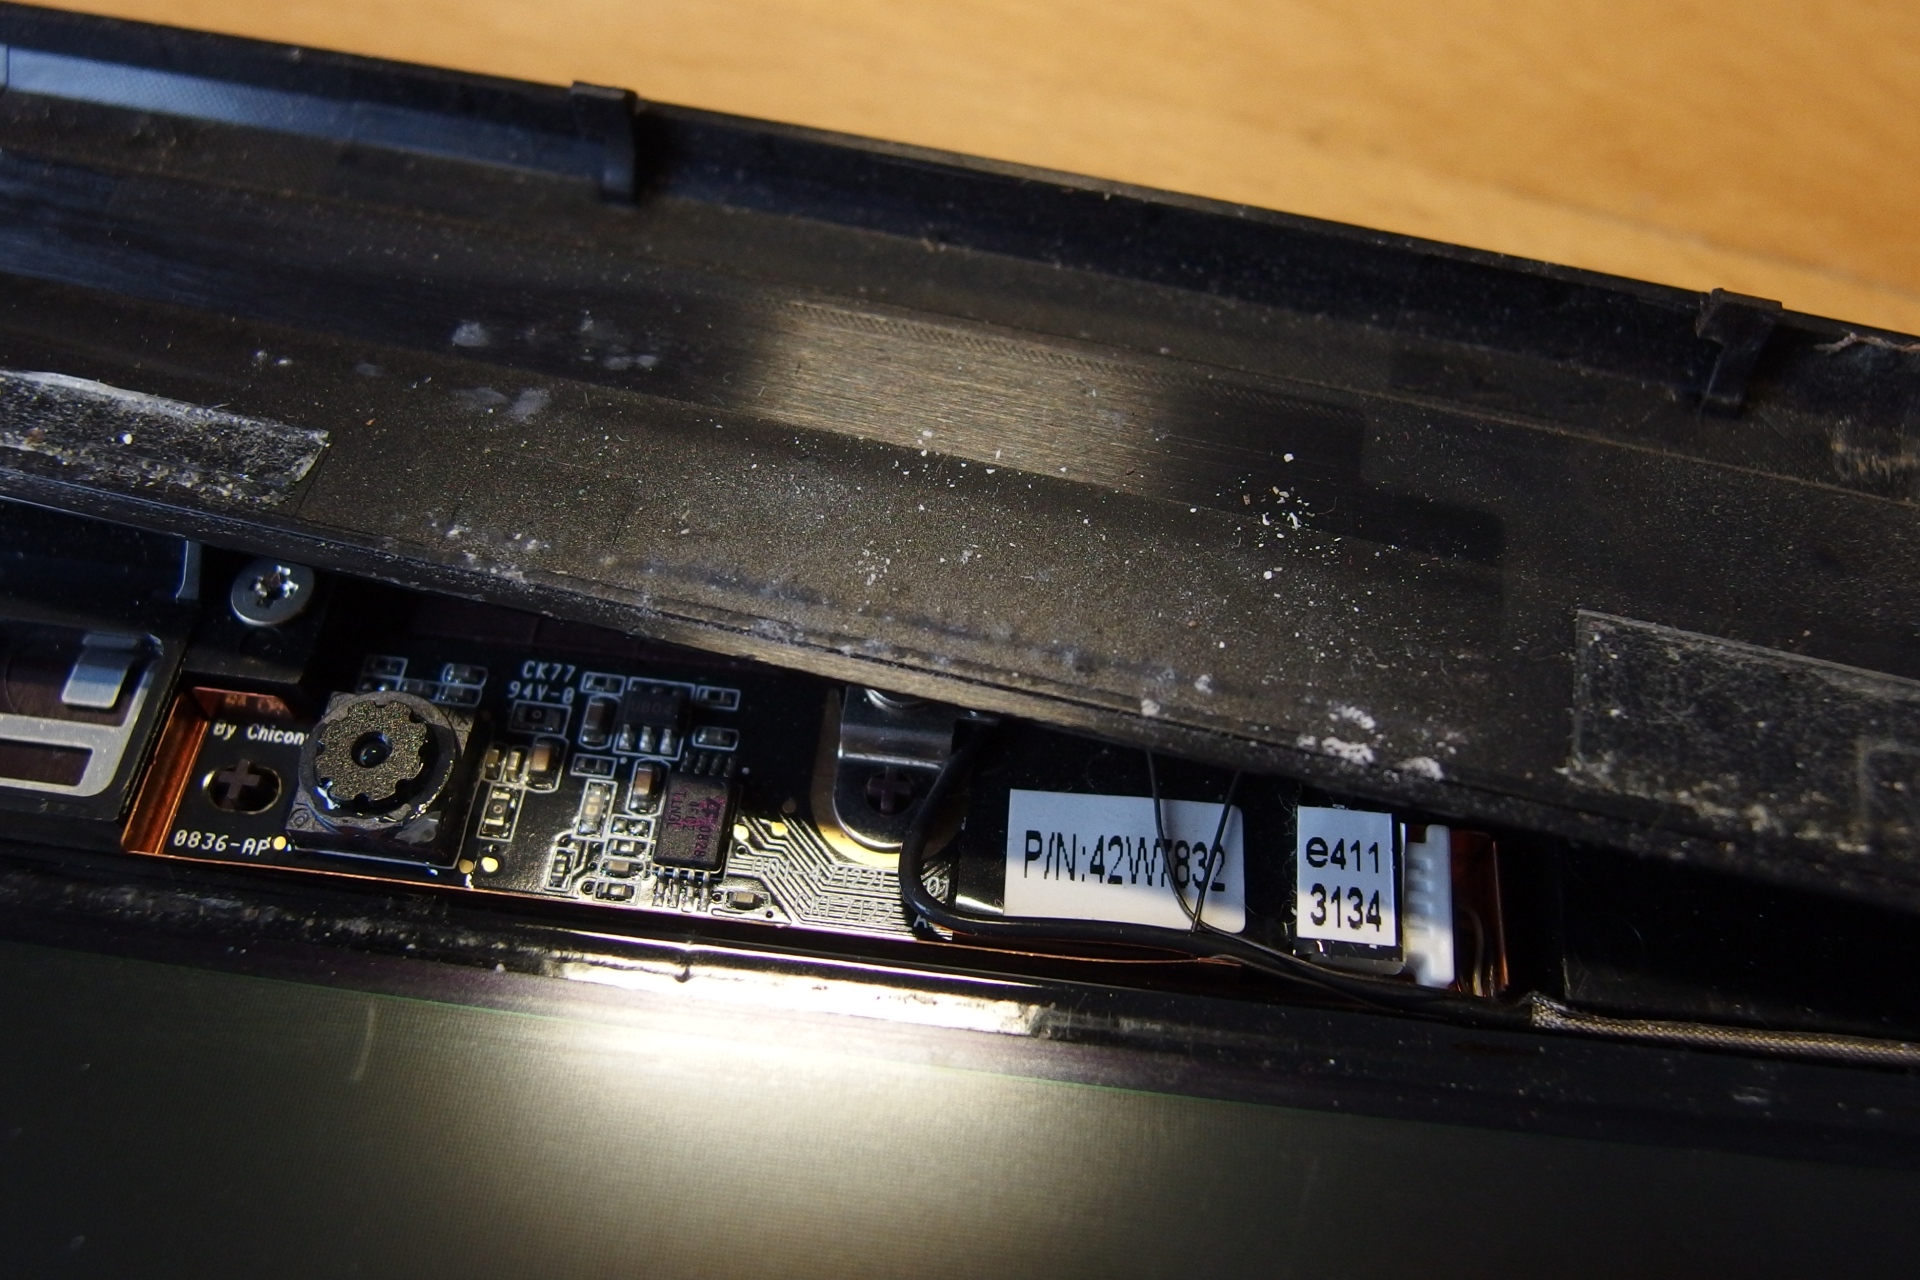
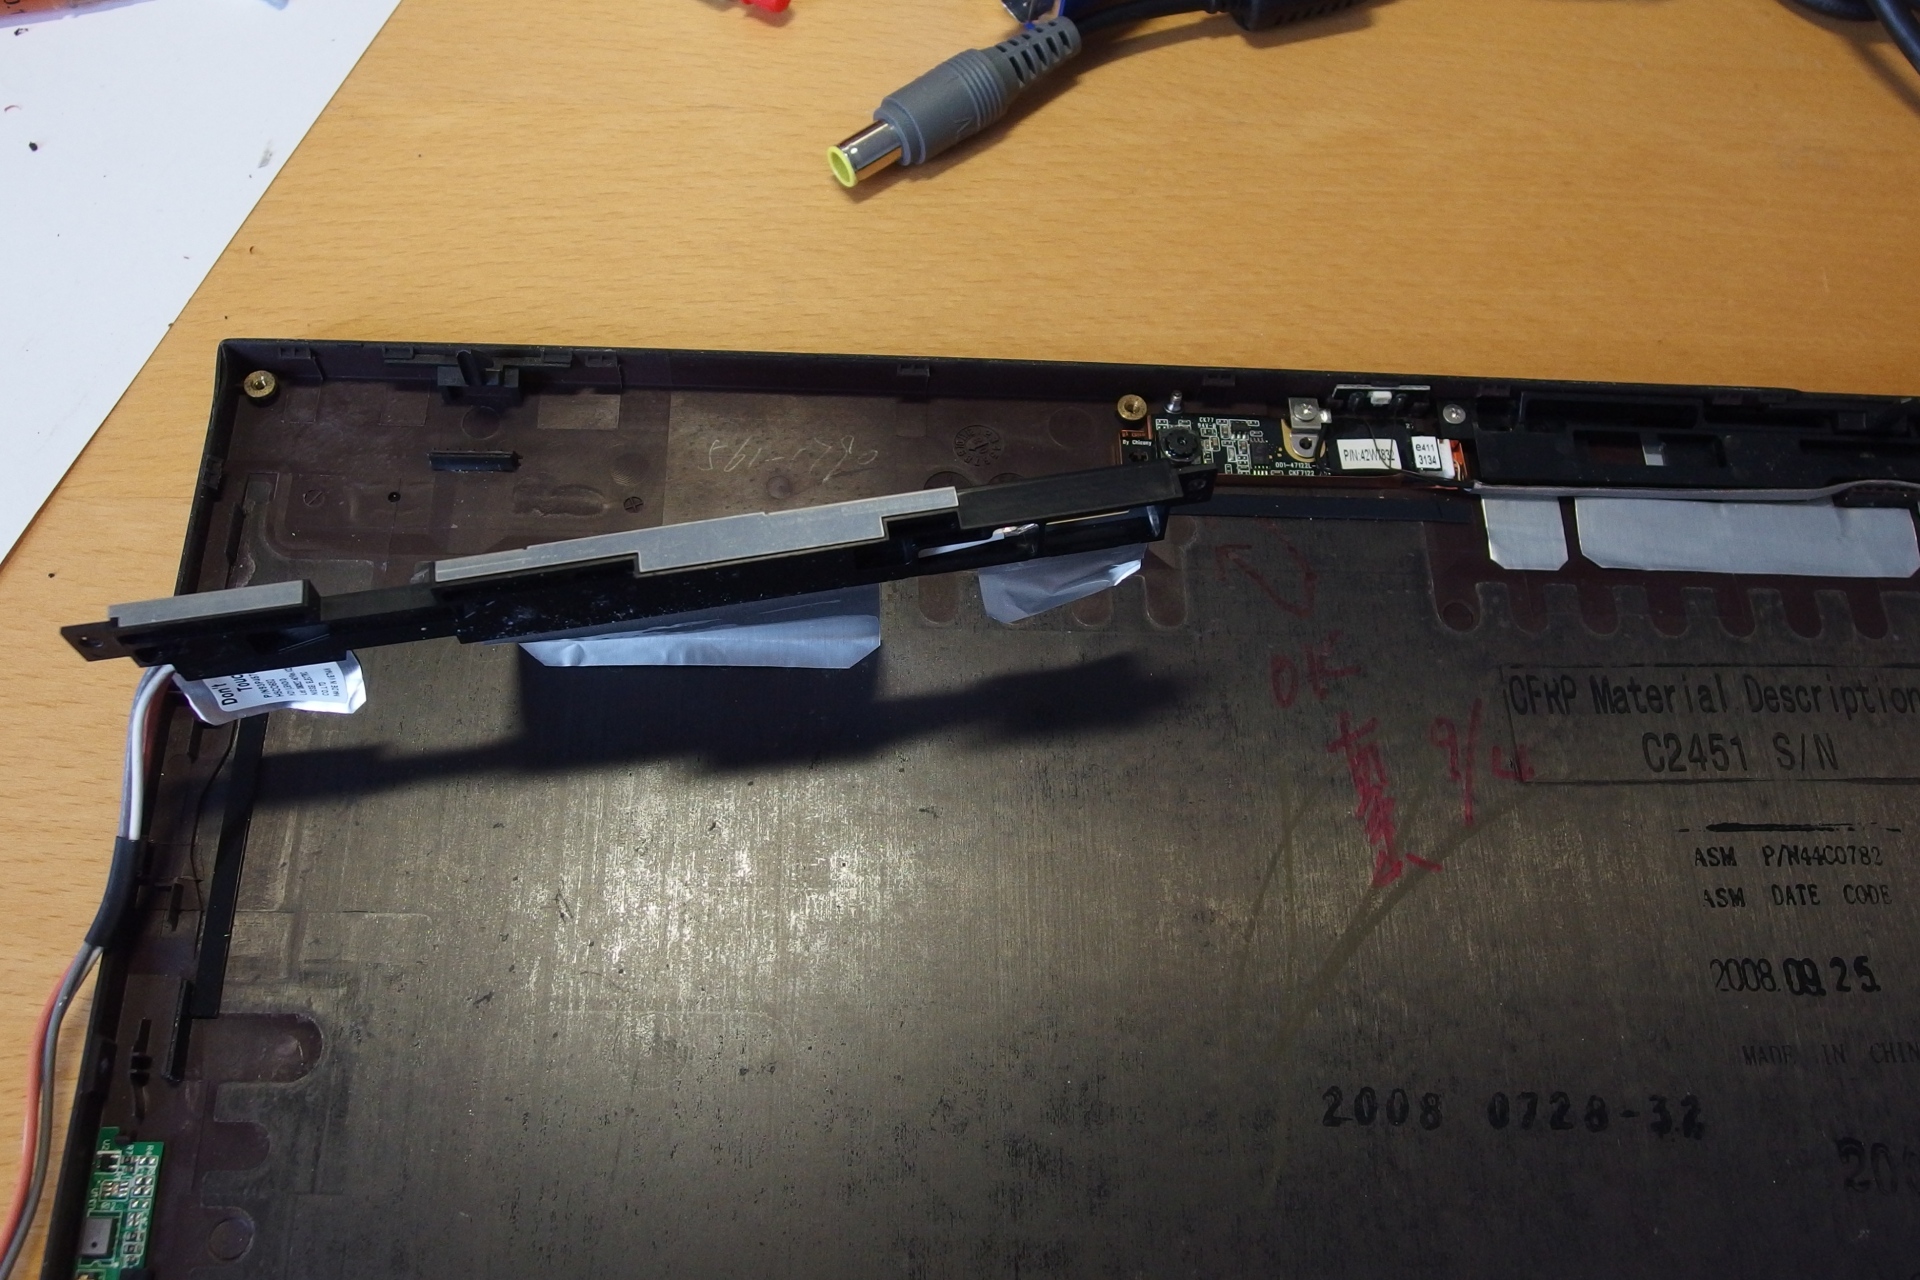
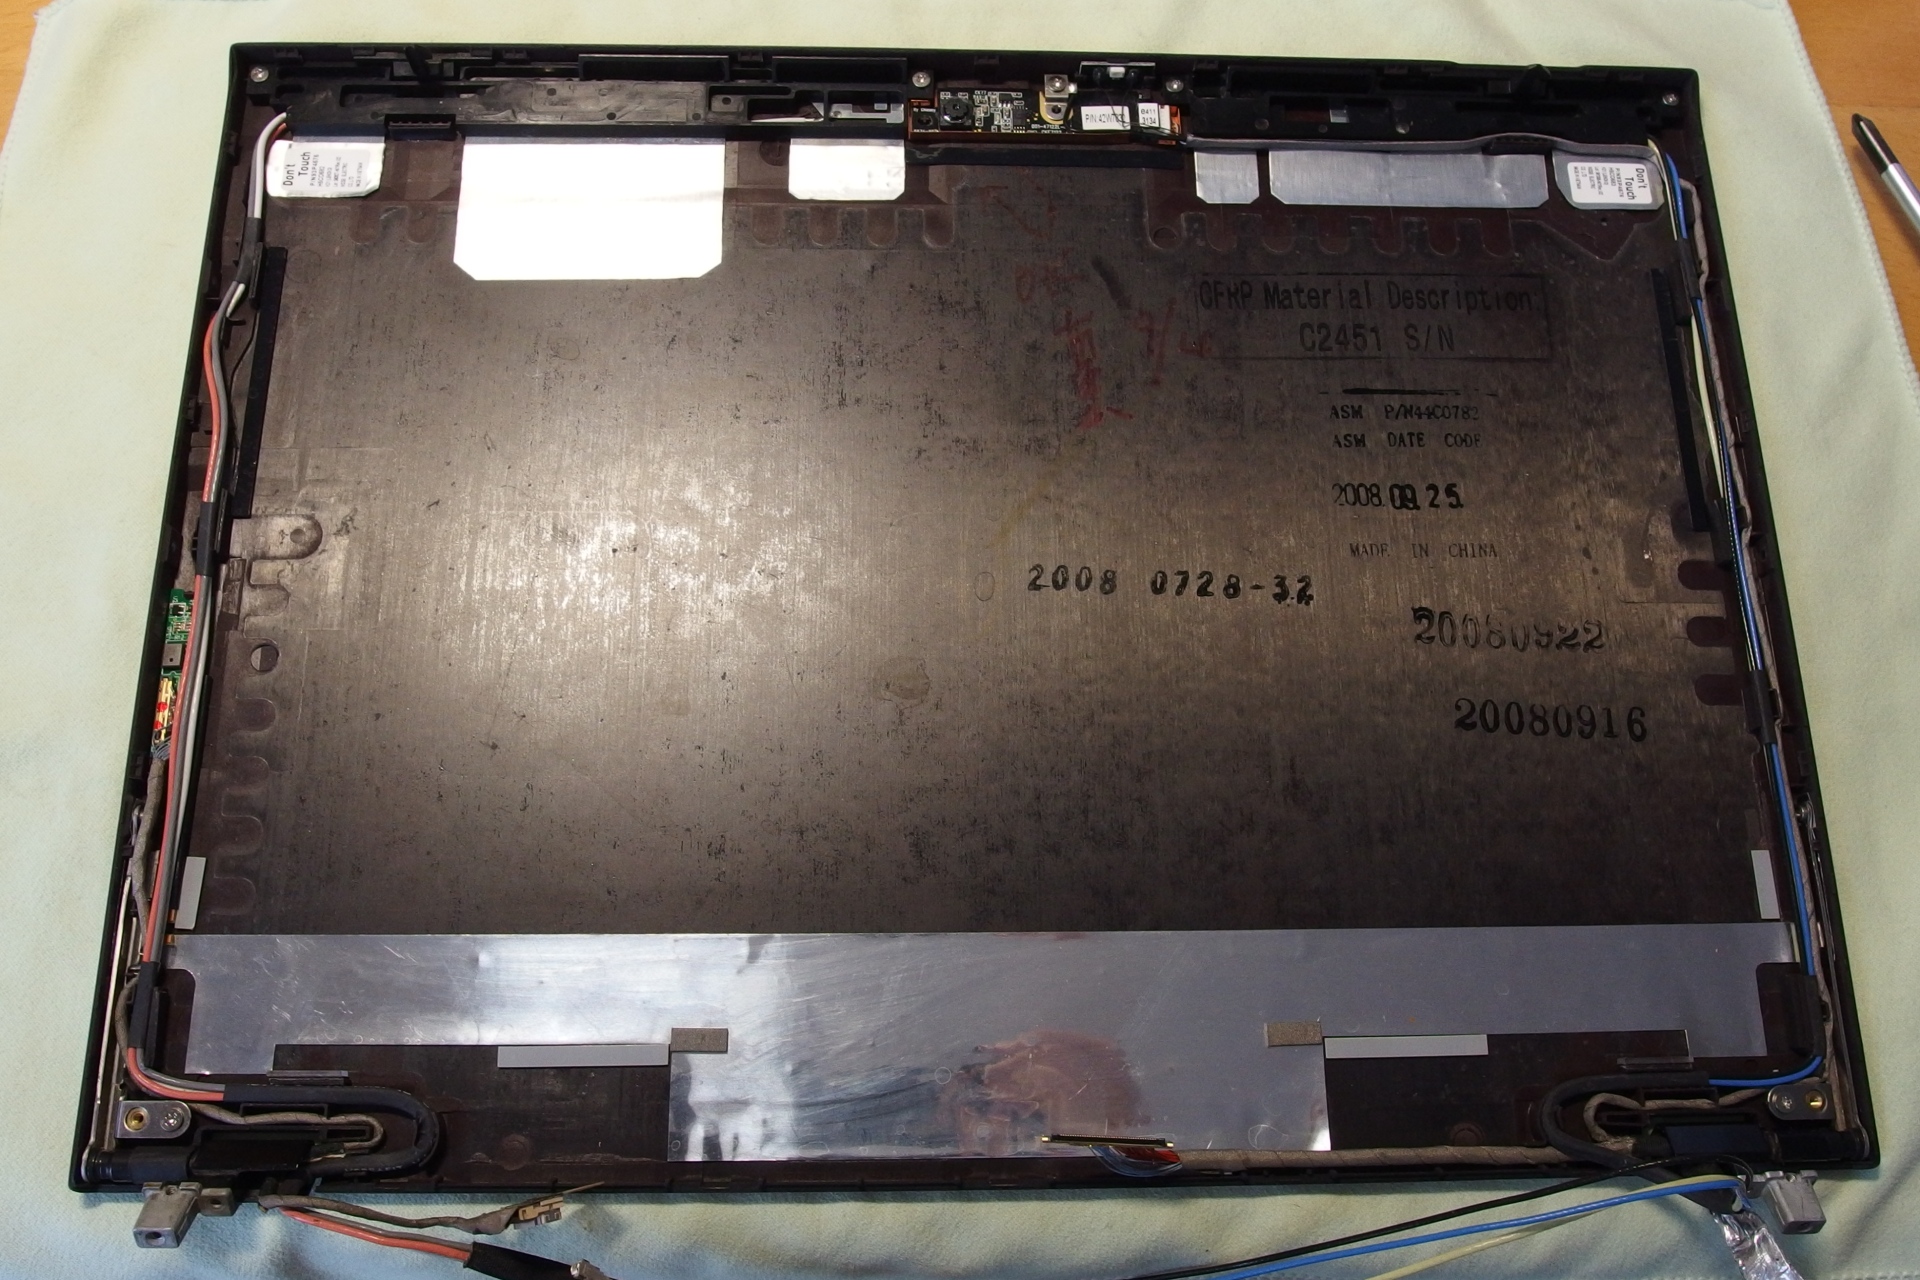
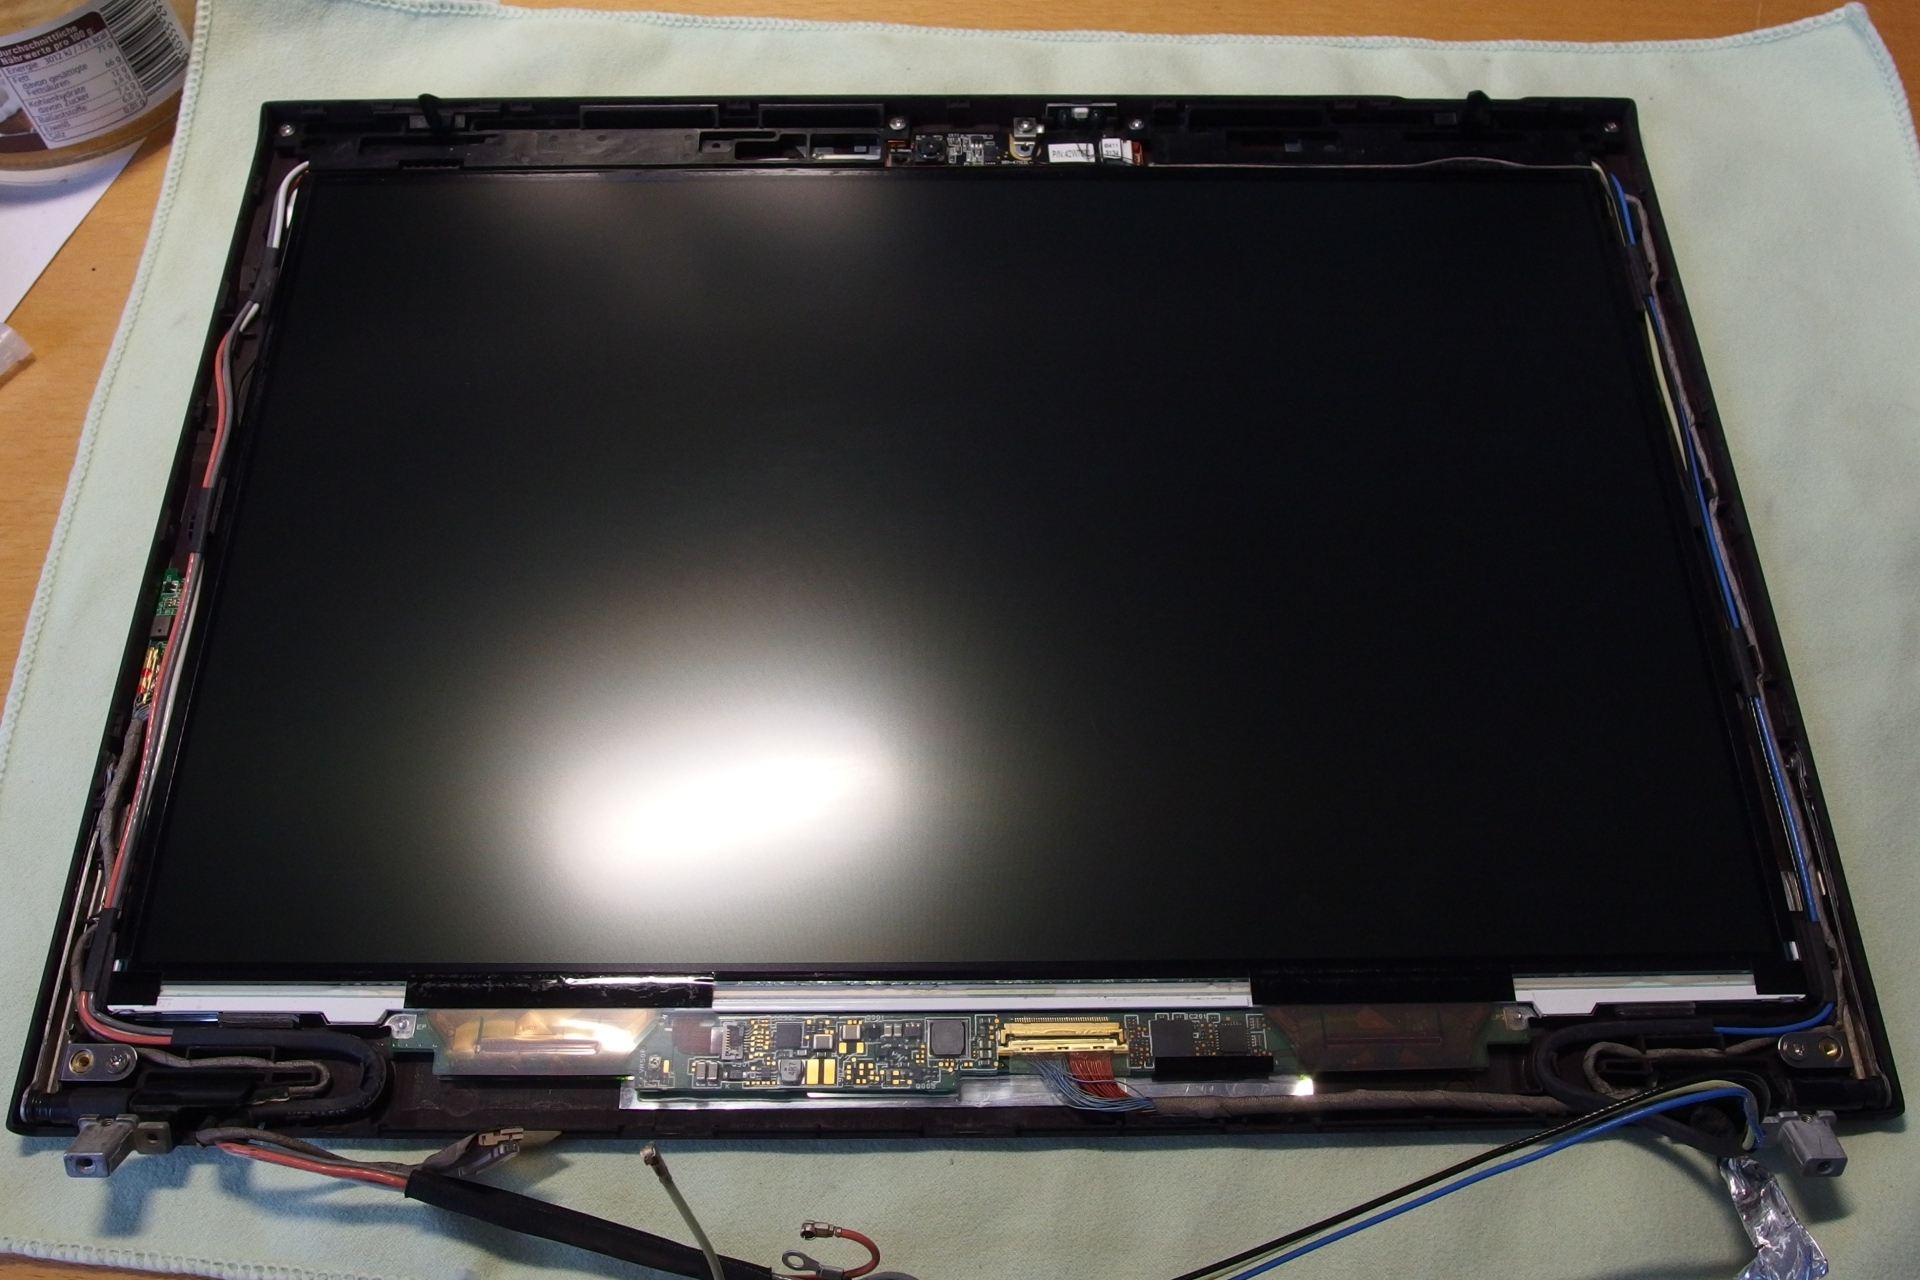
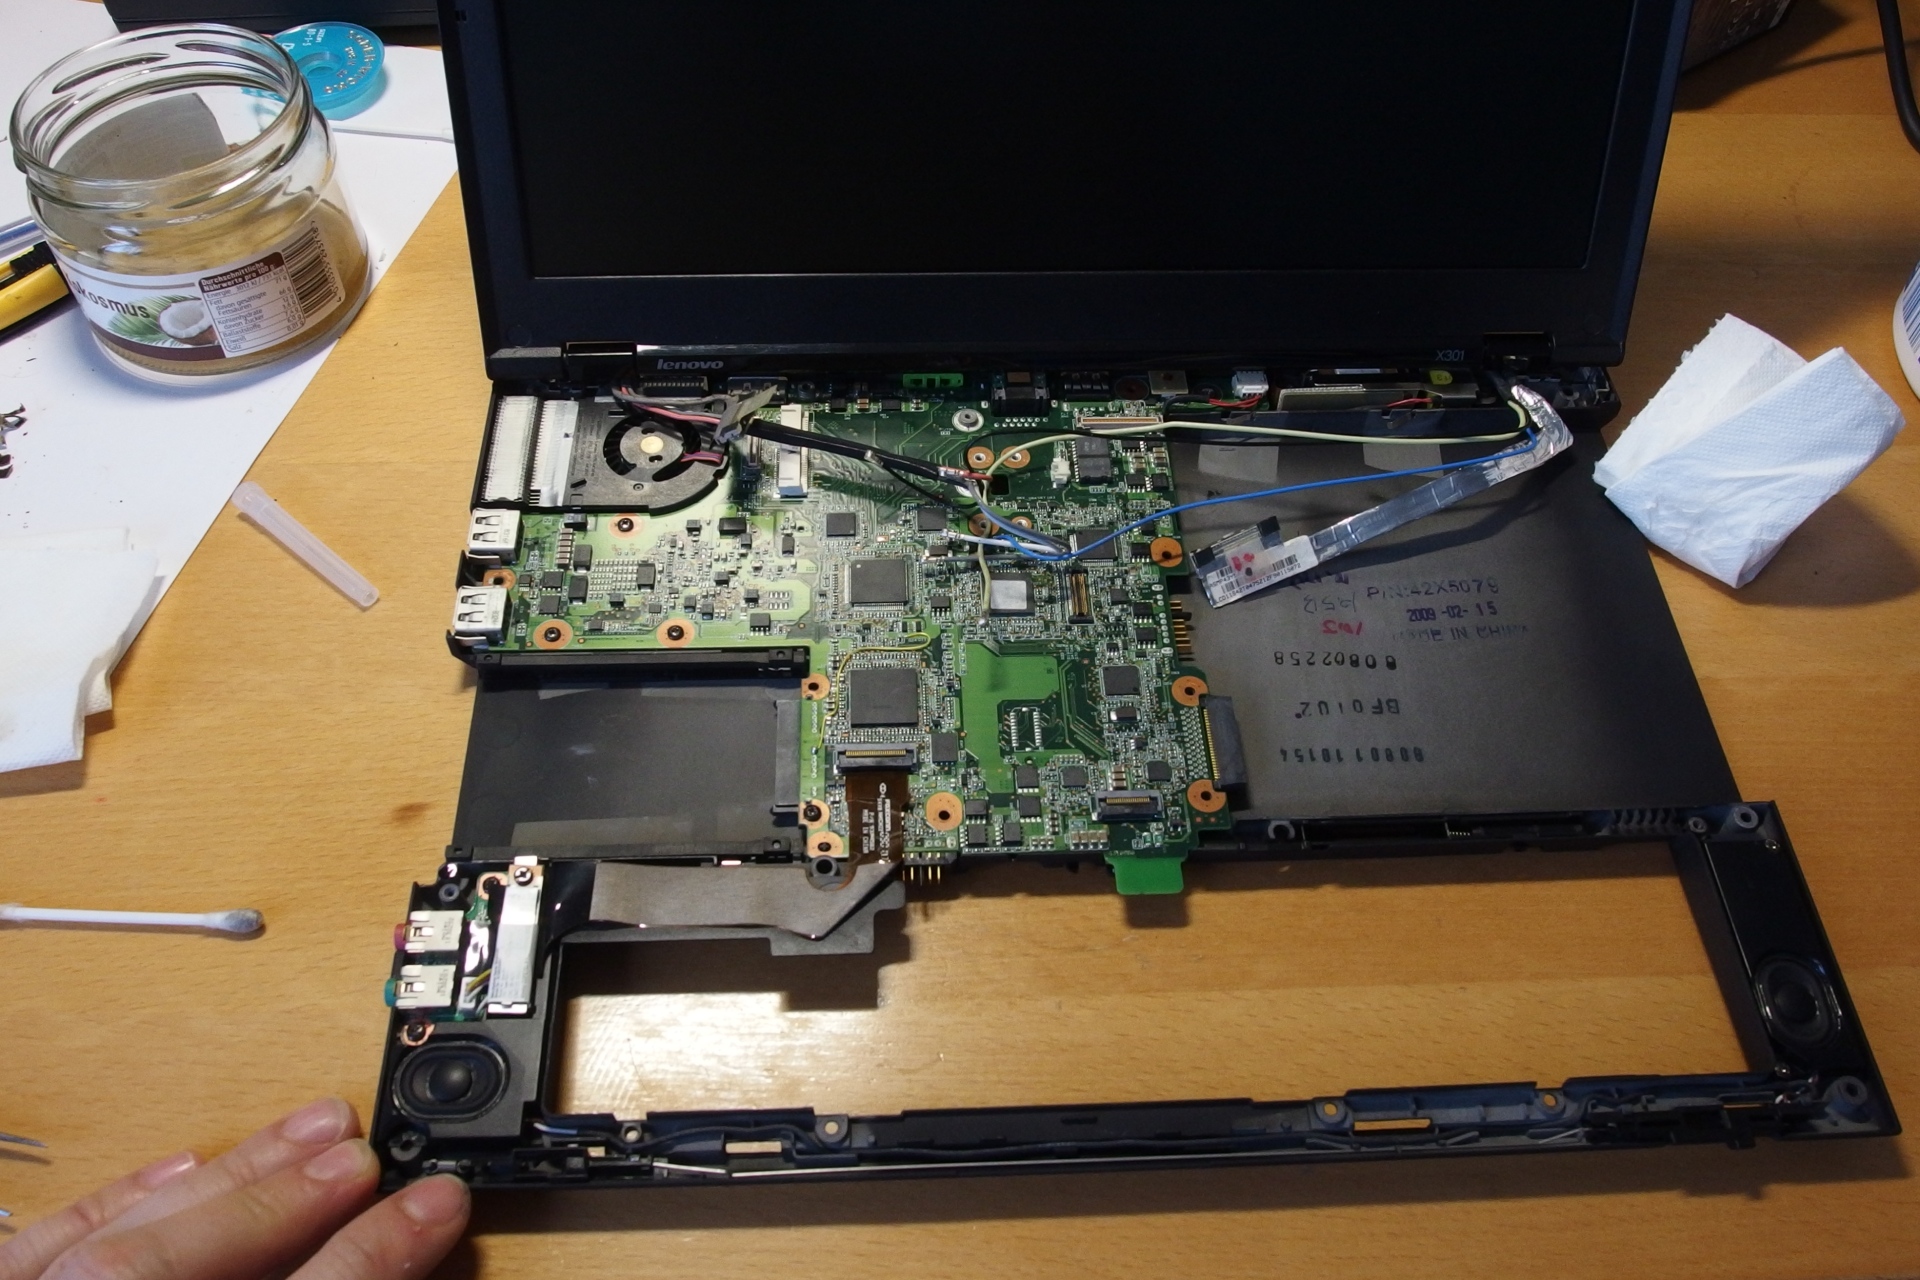
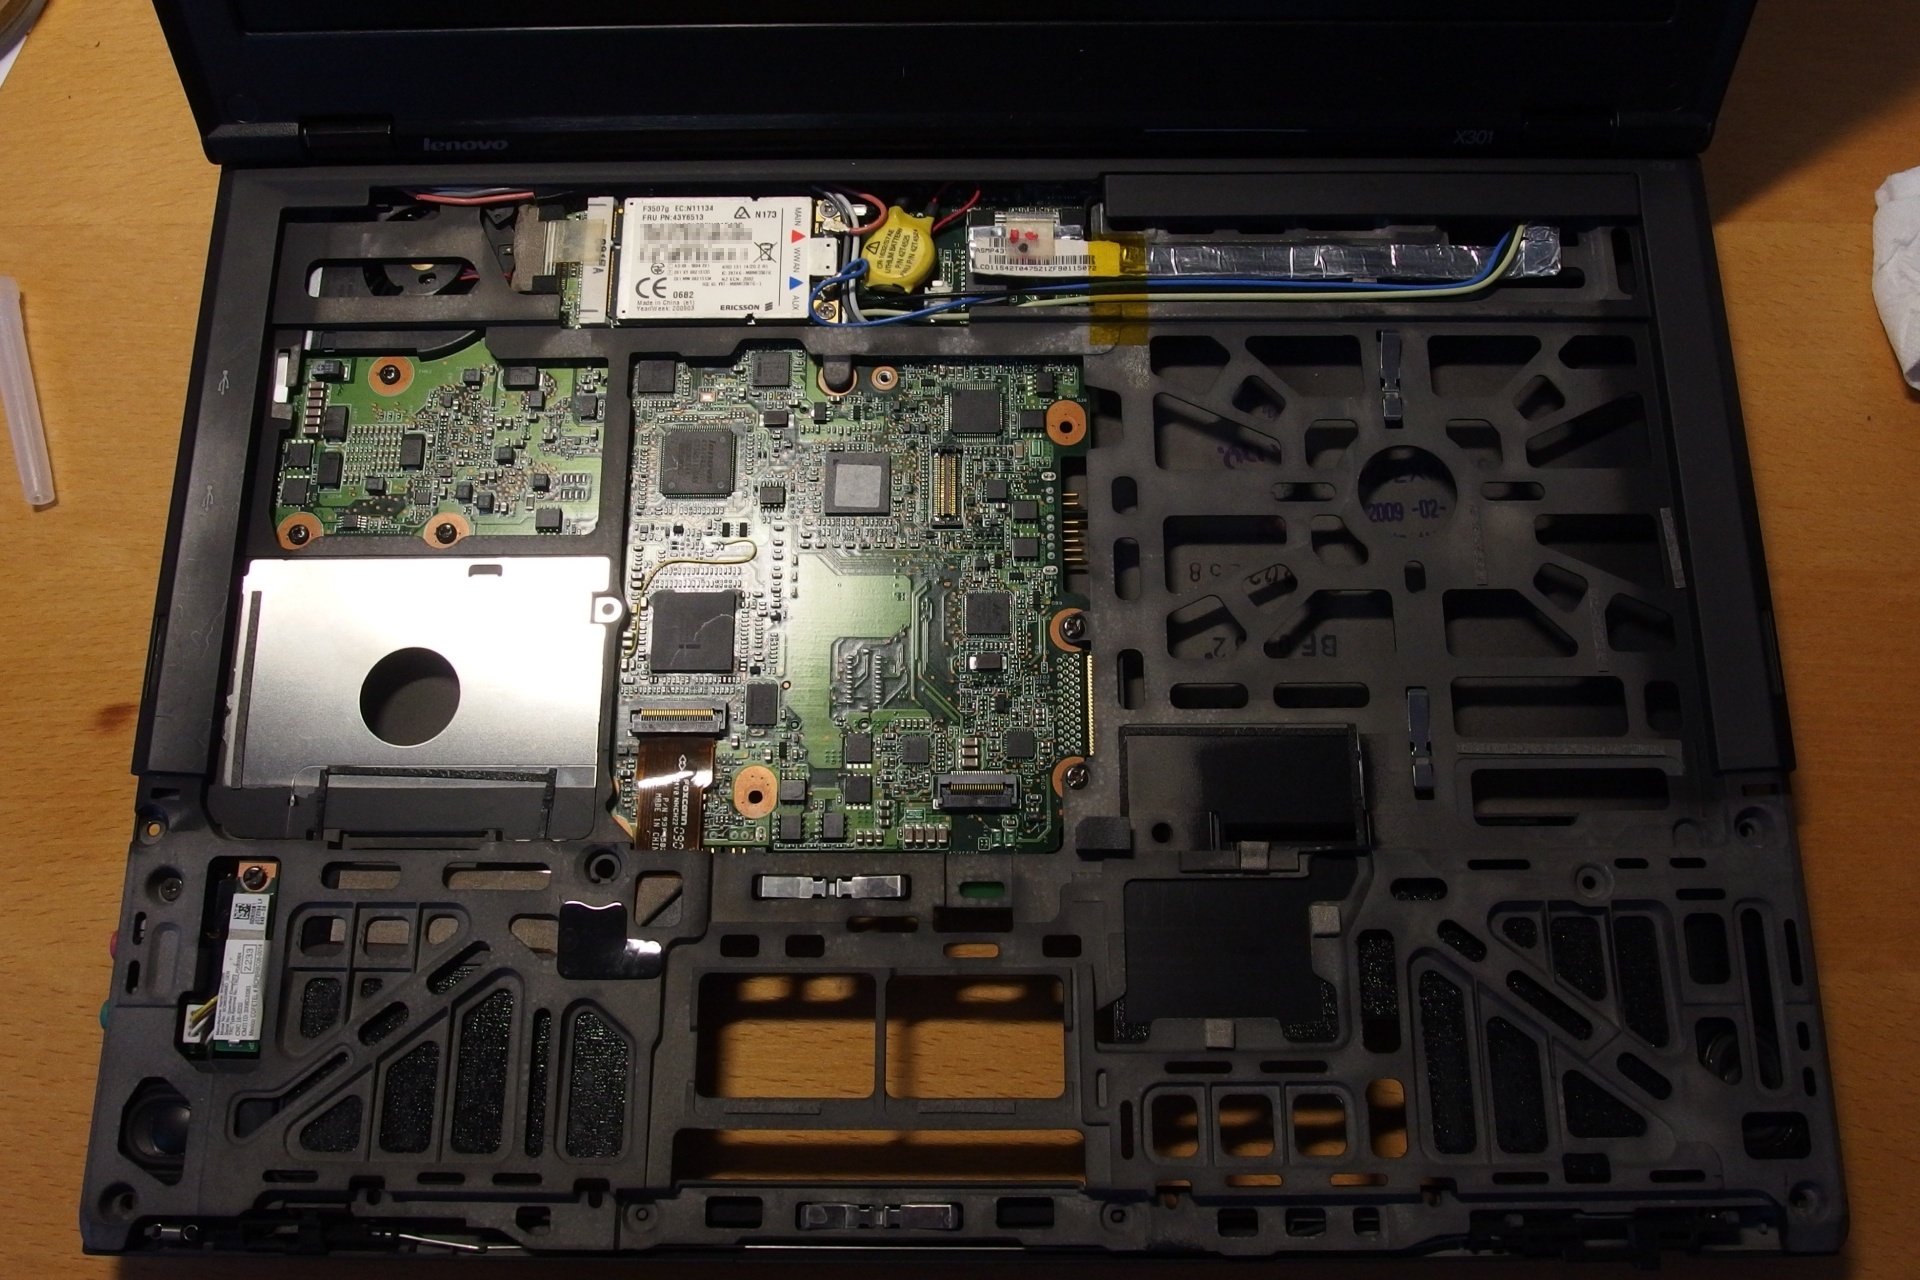
Cleaning the mess
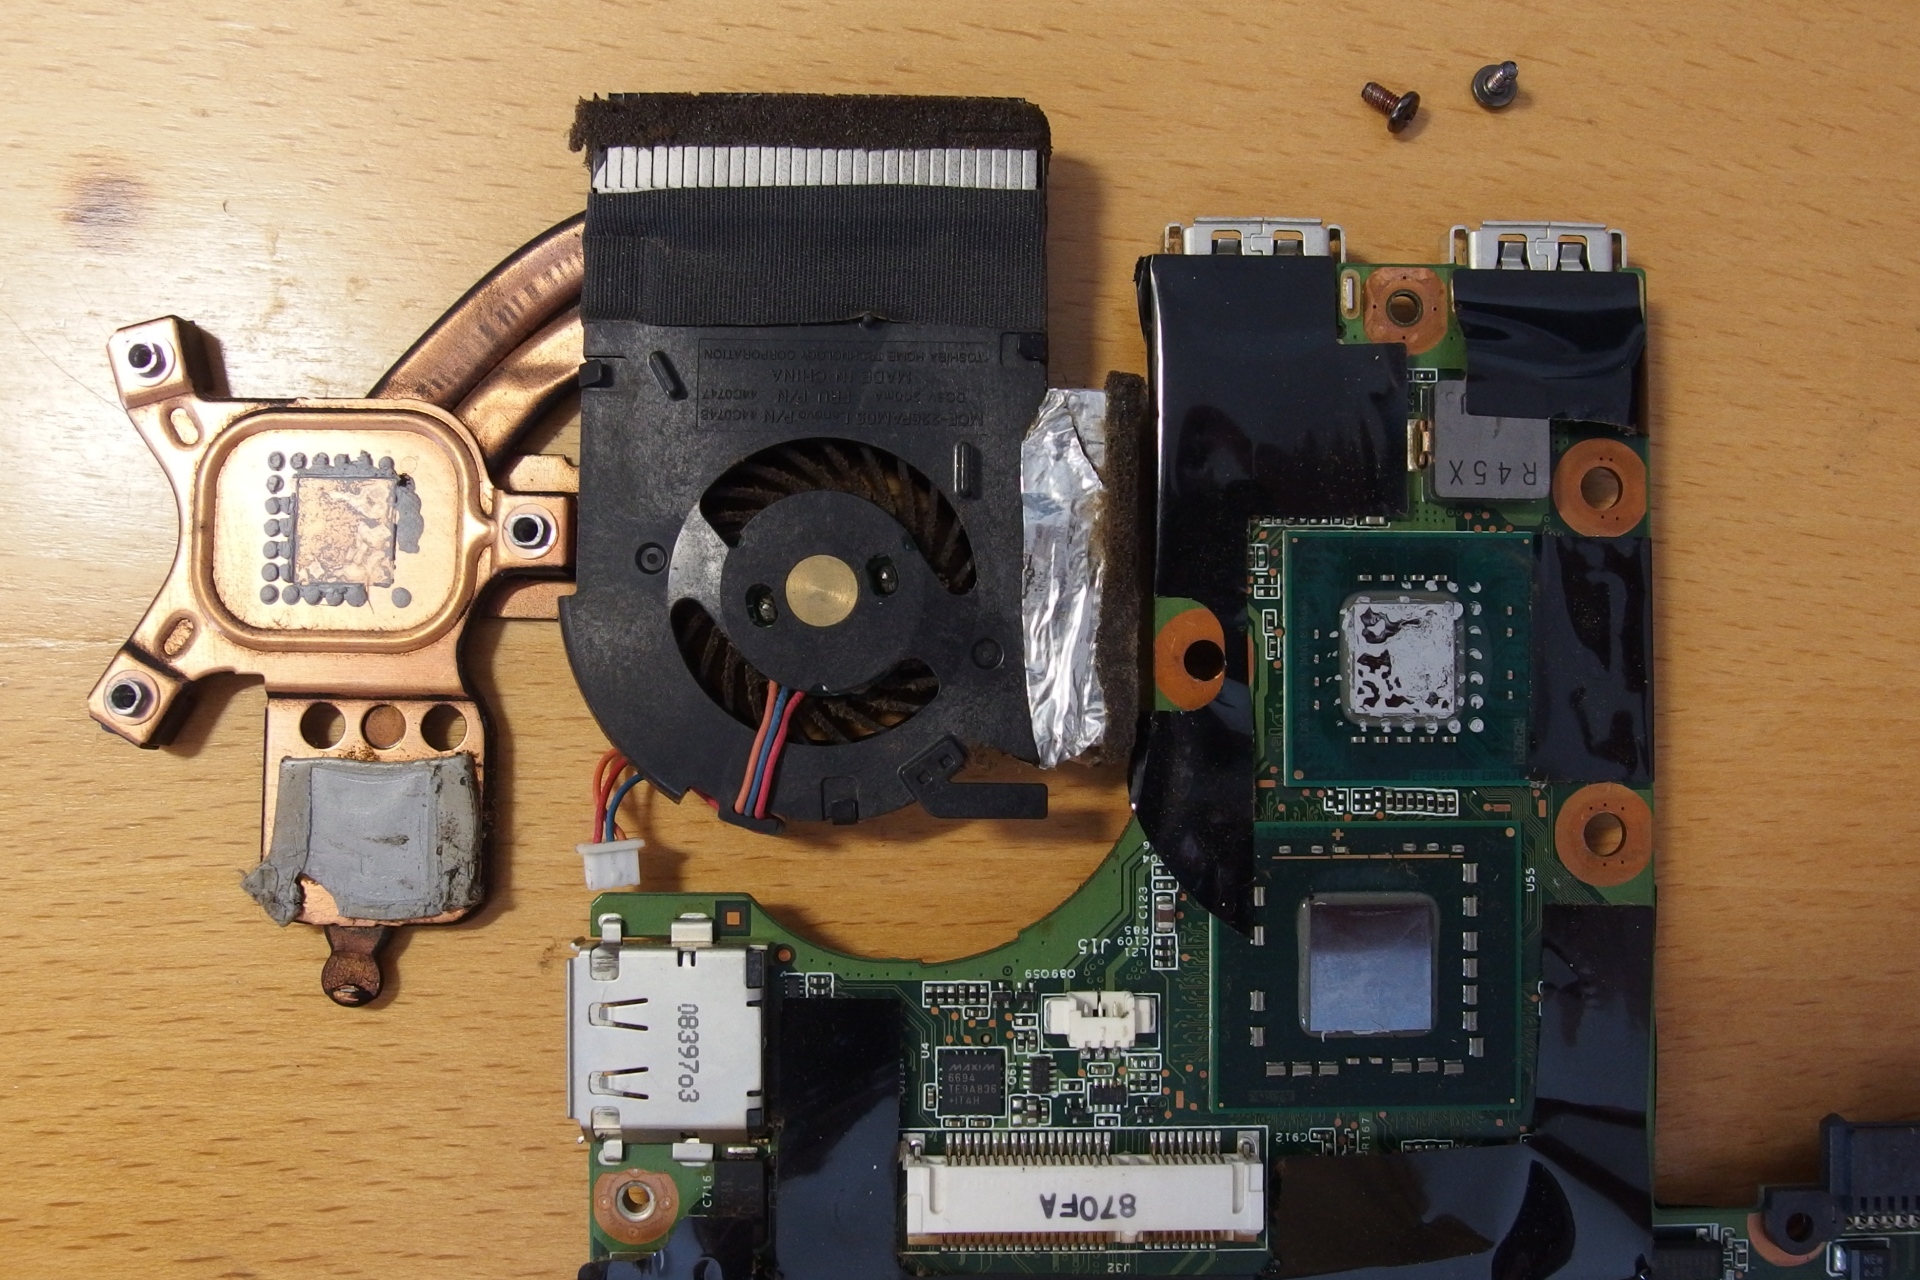
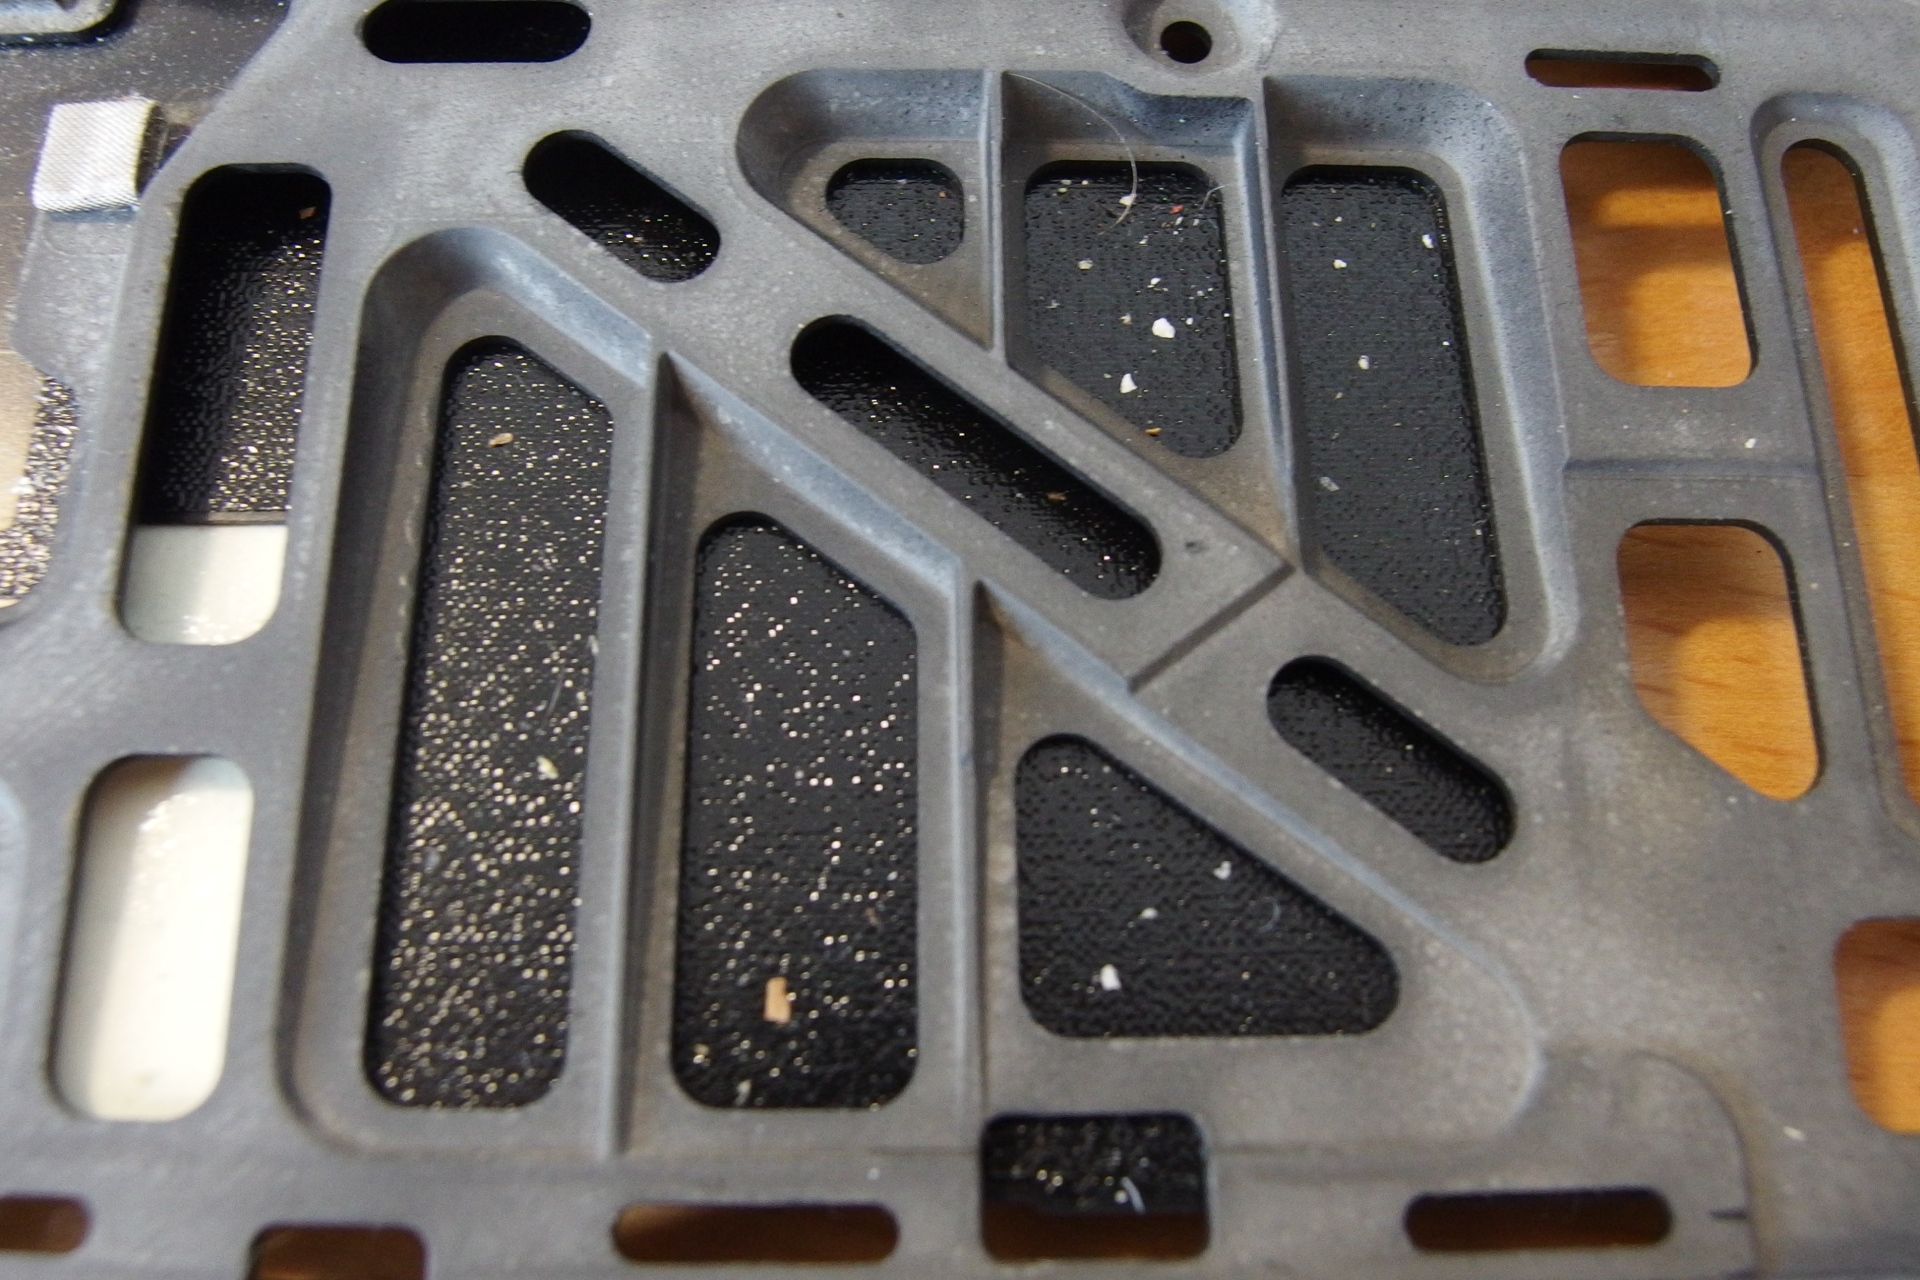
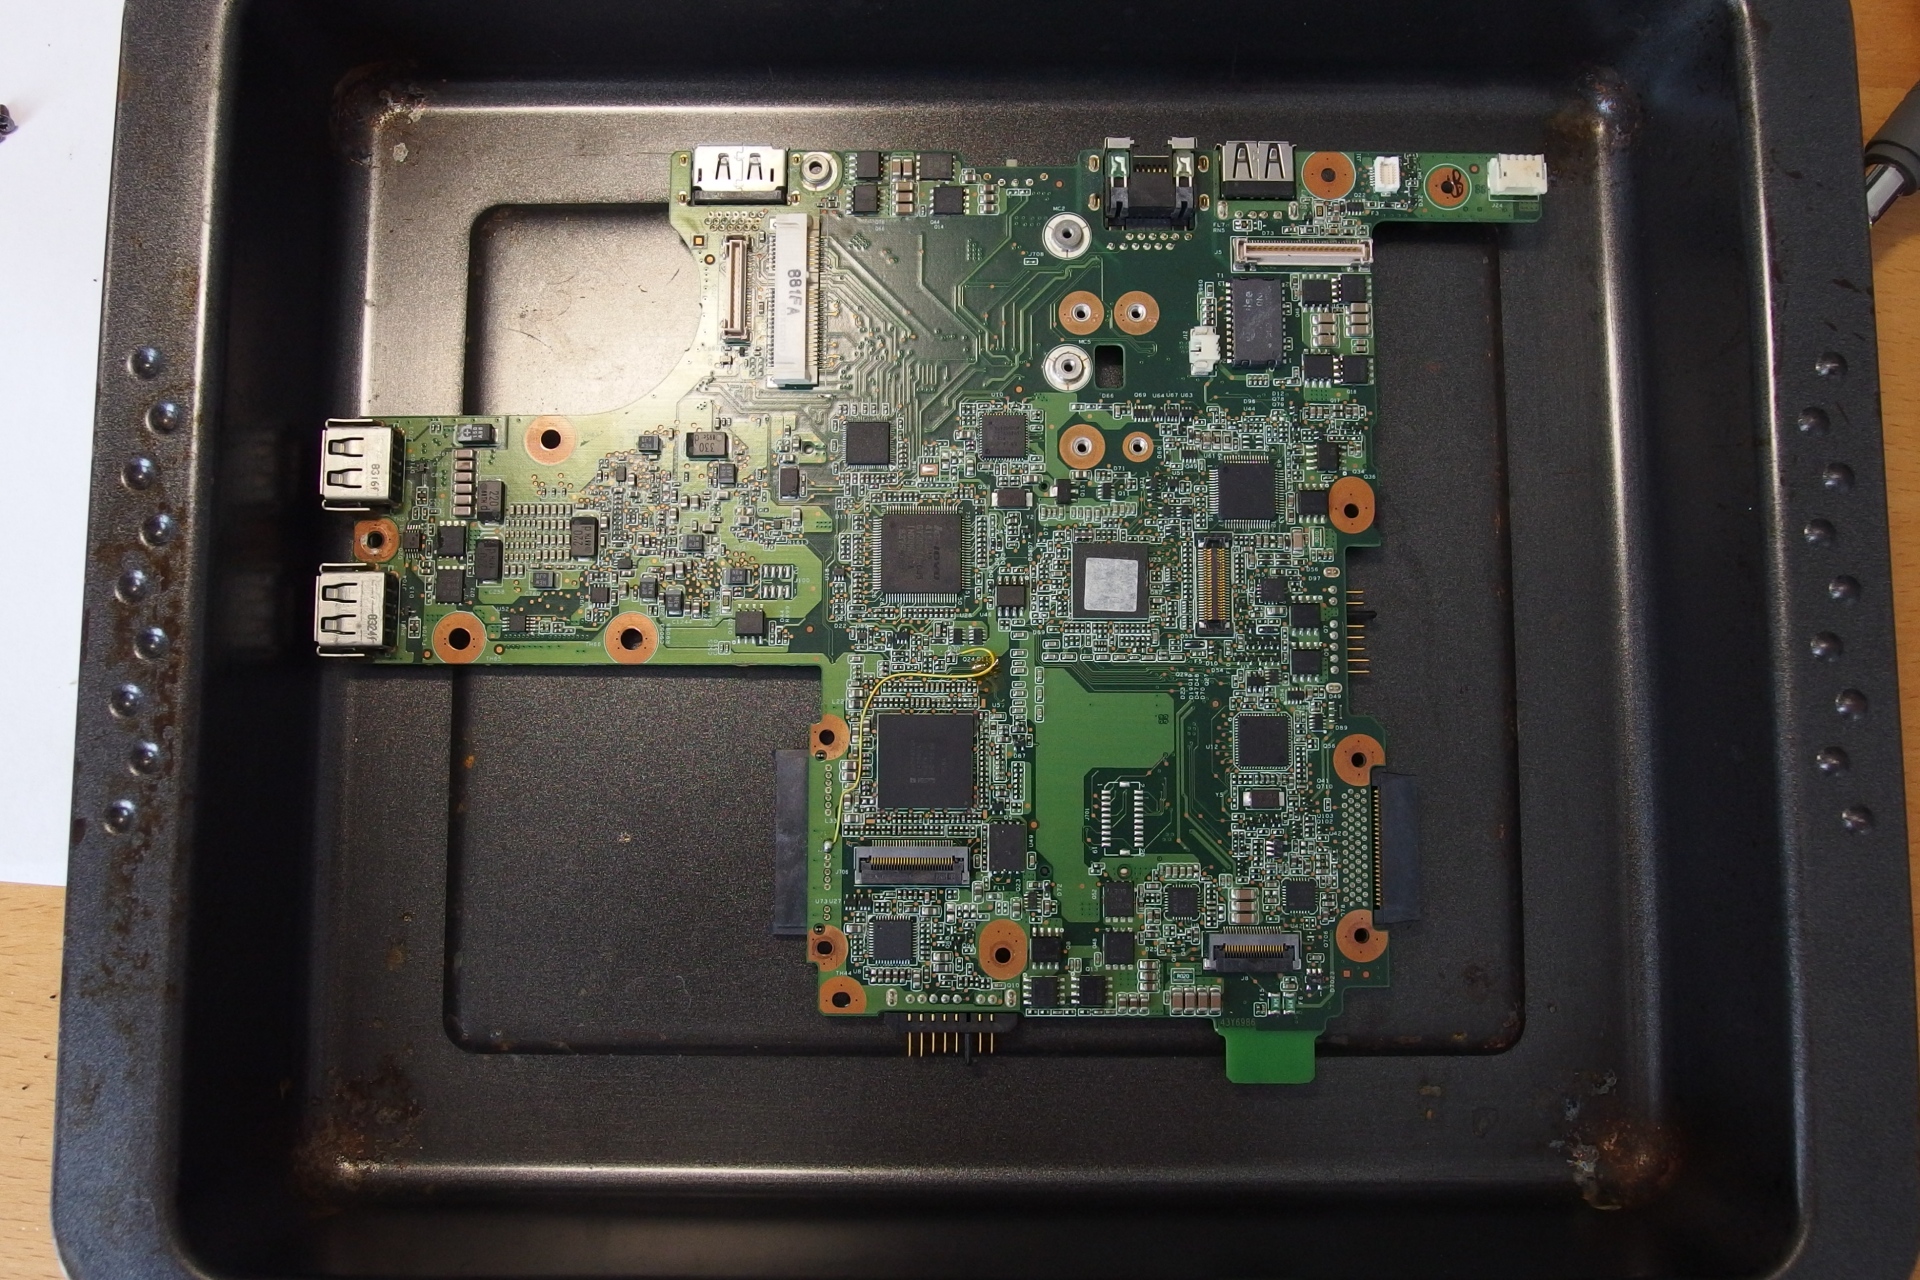
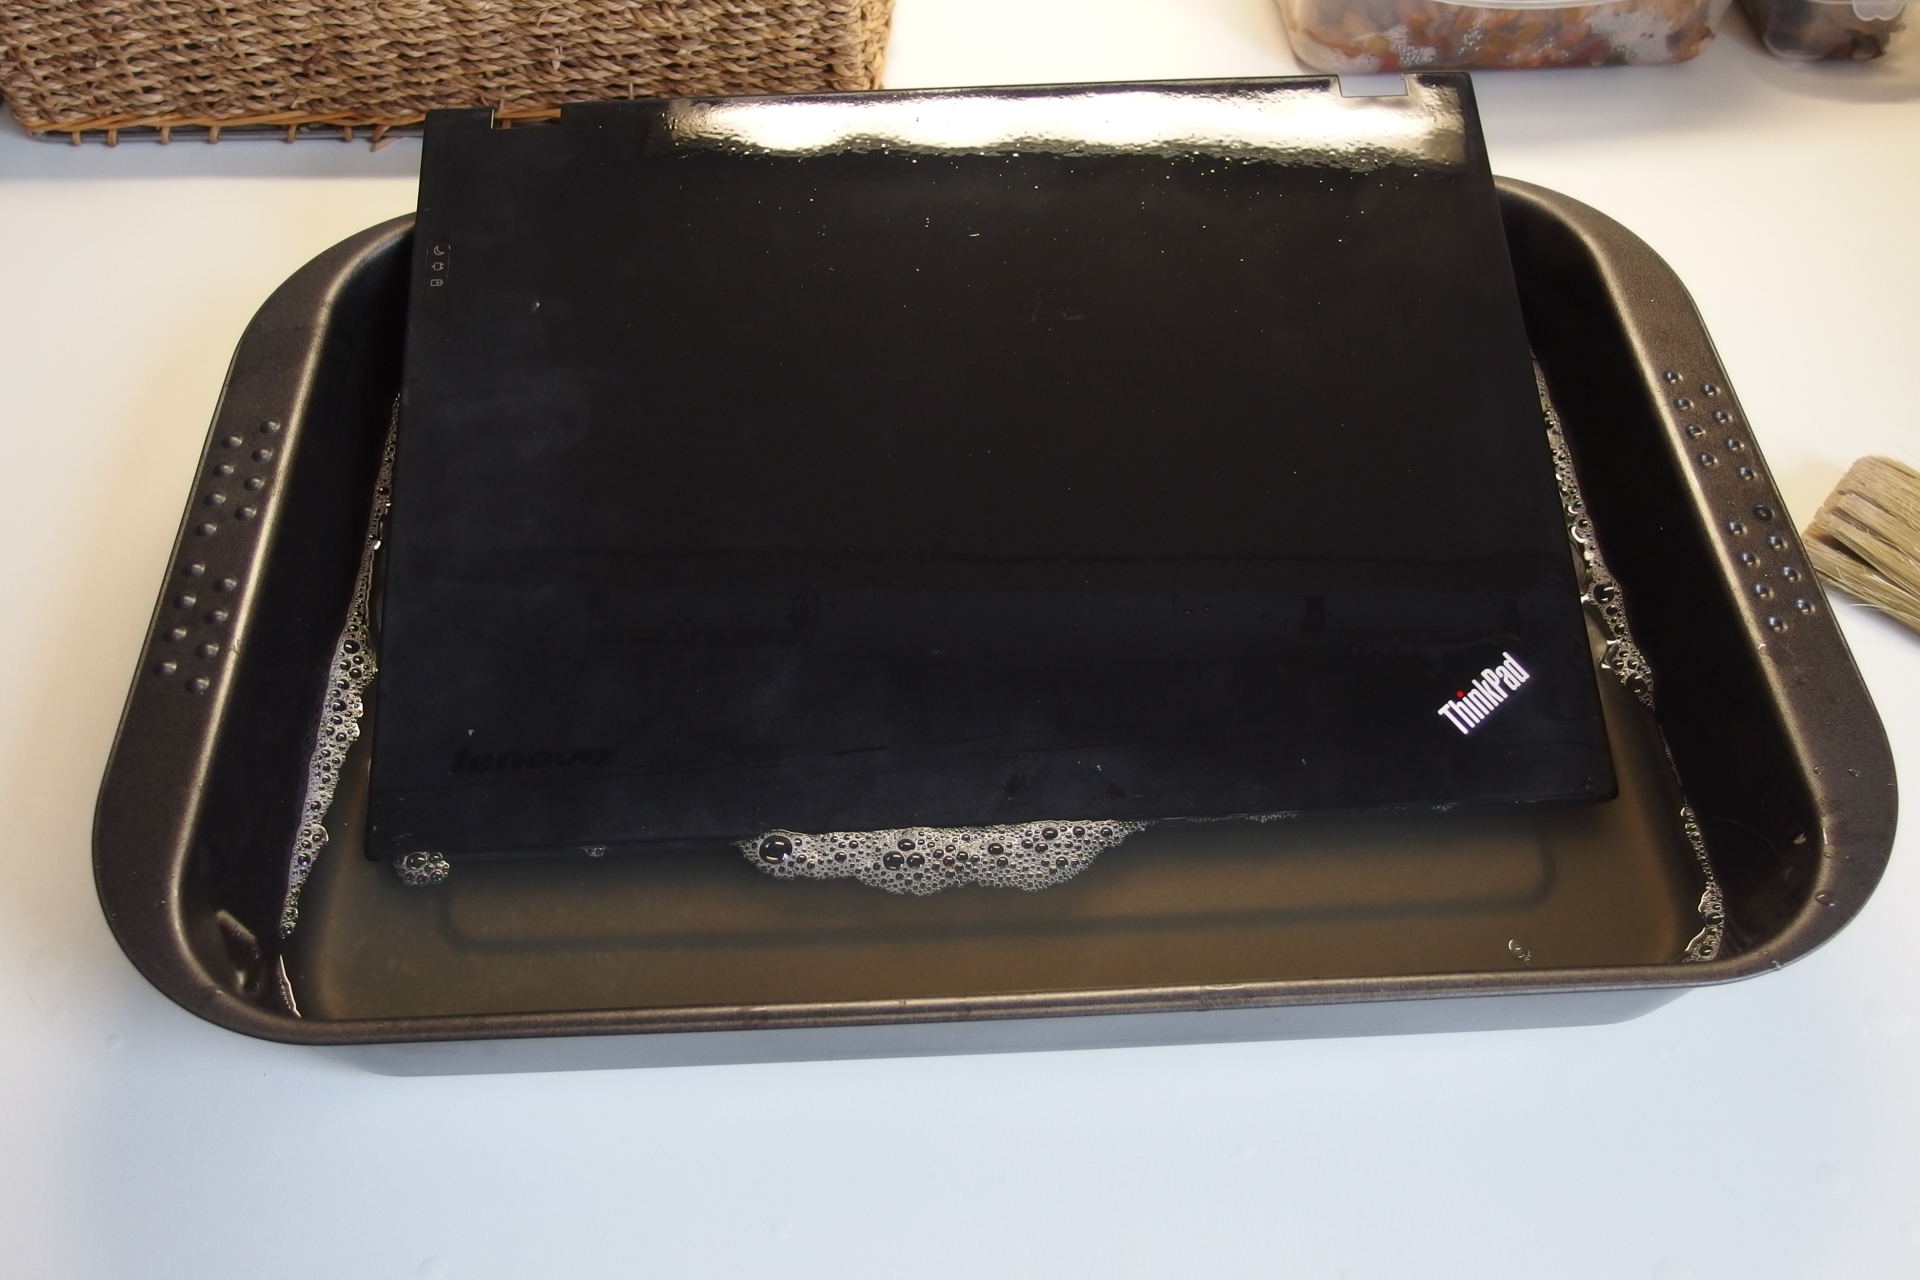
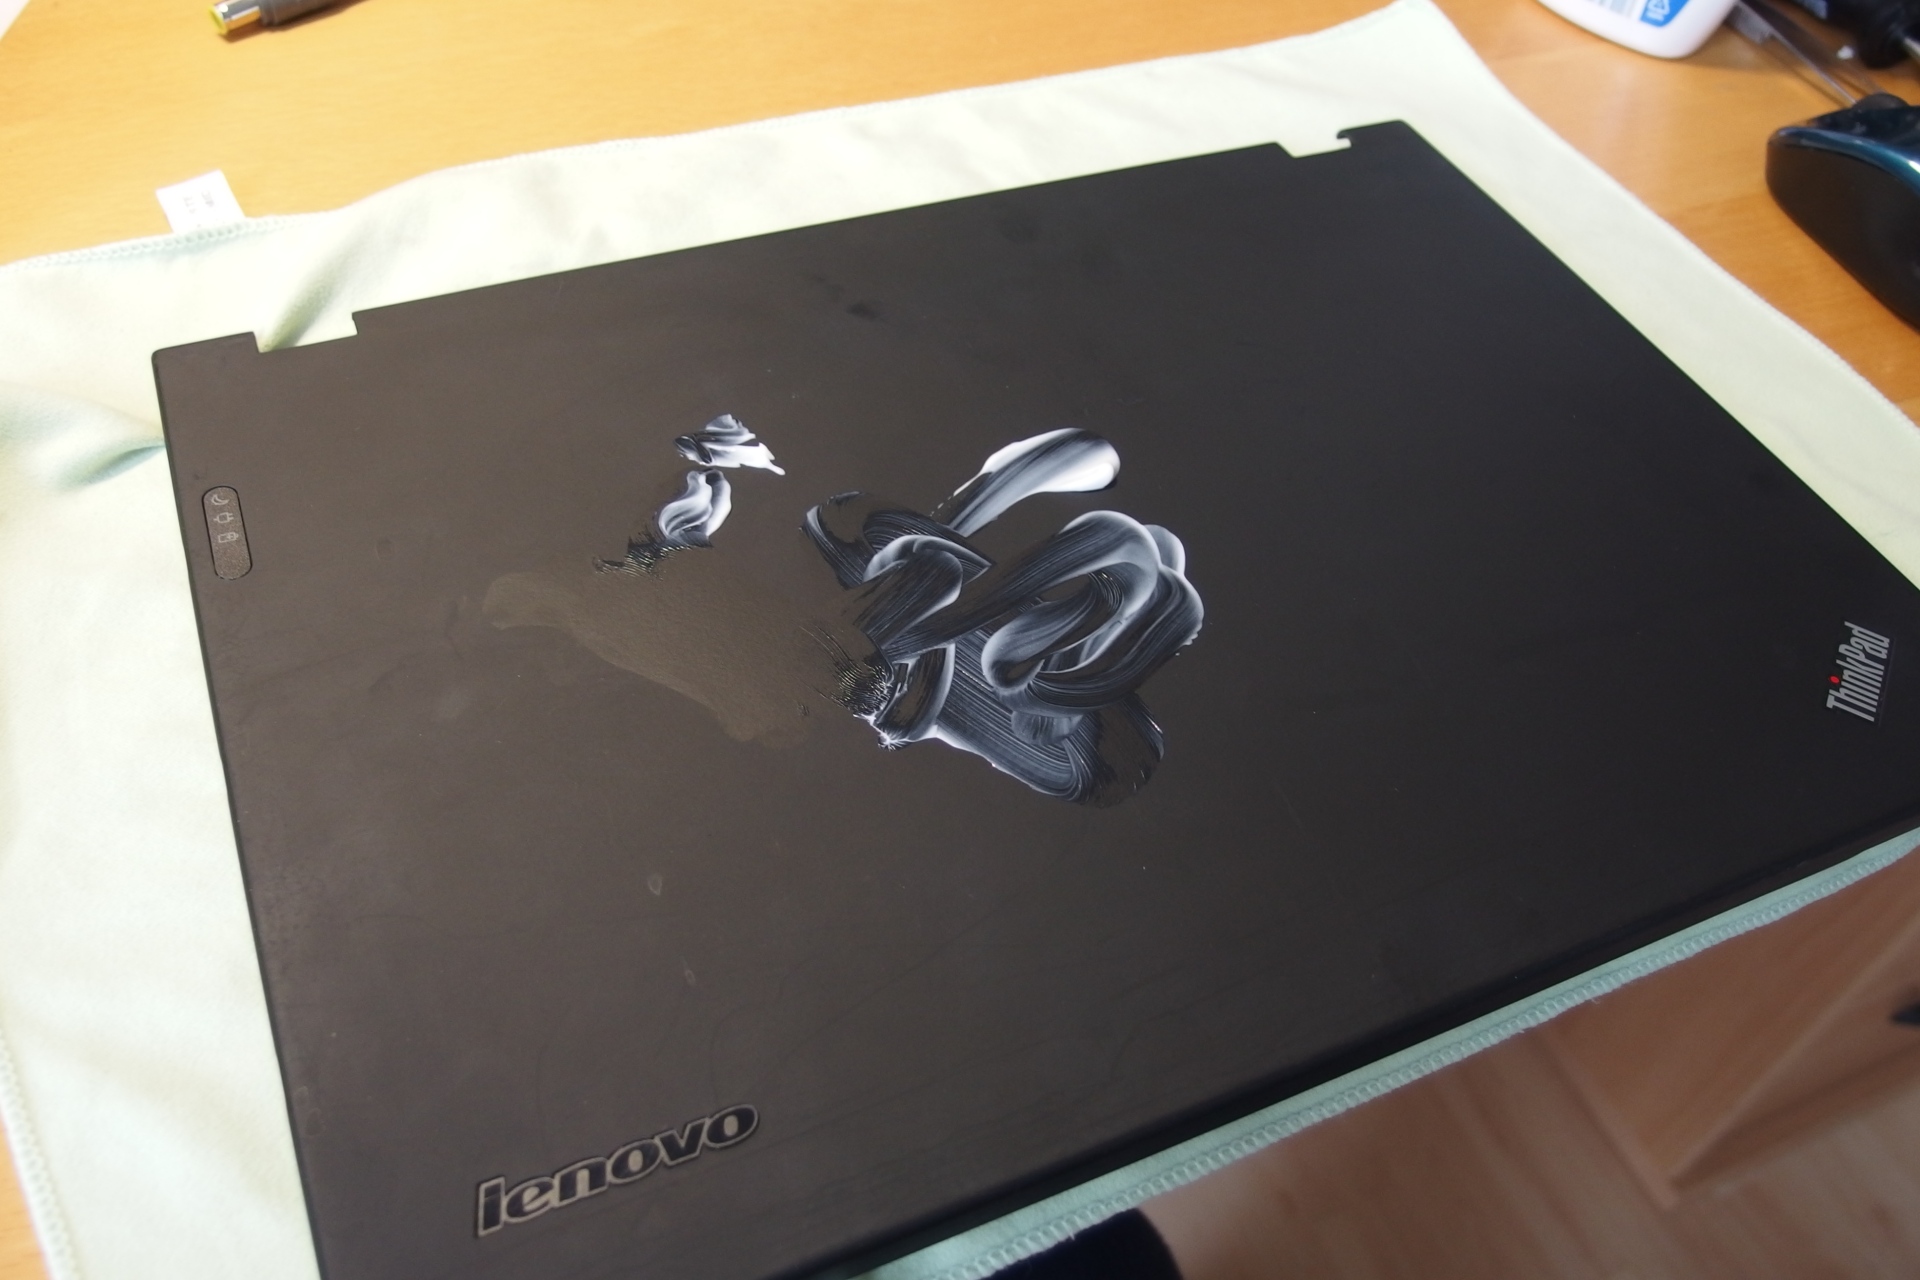
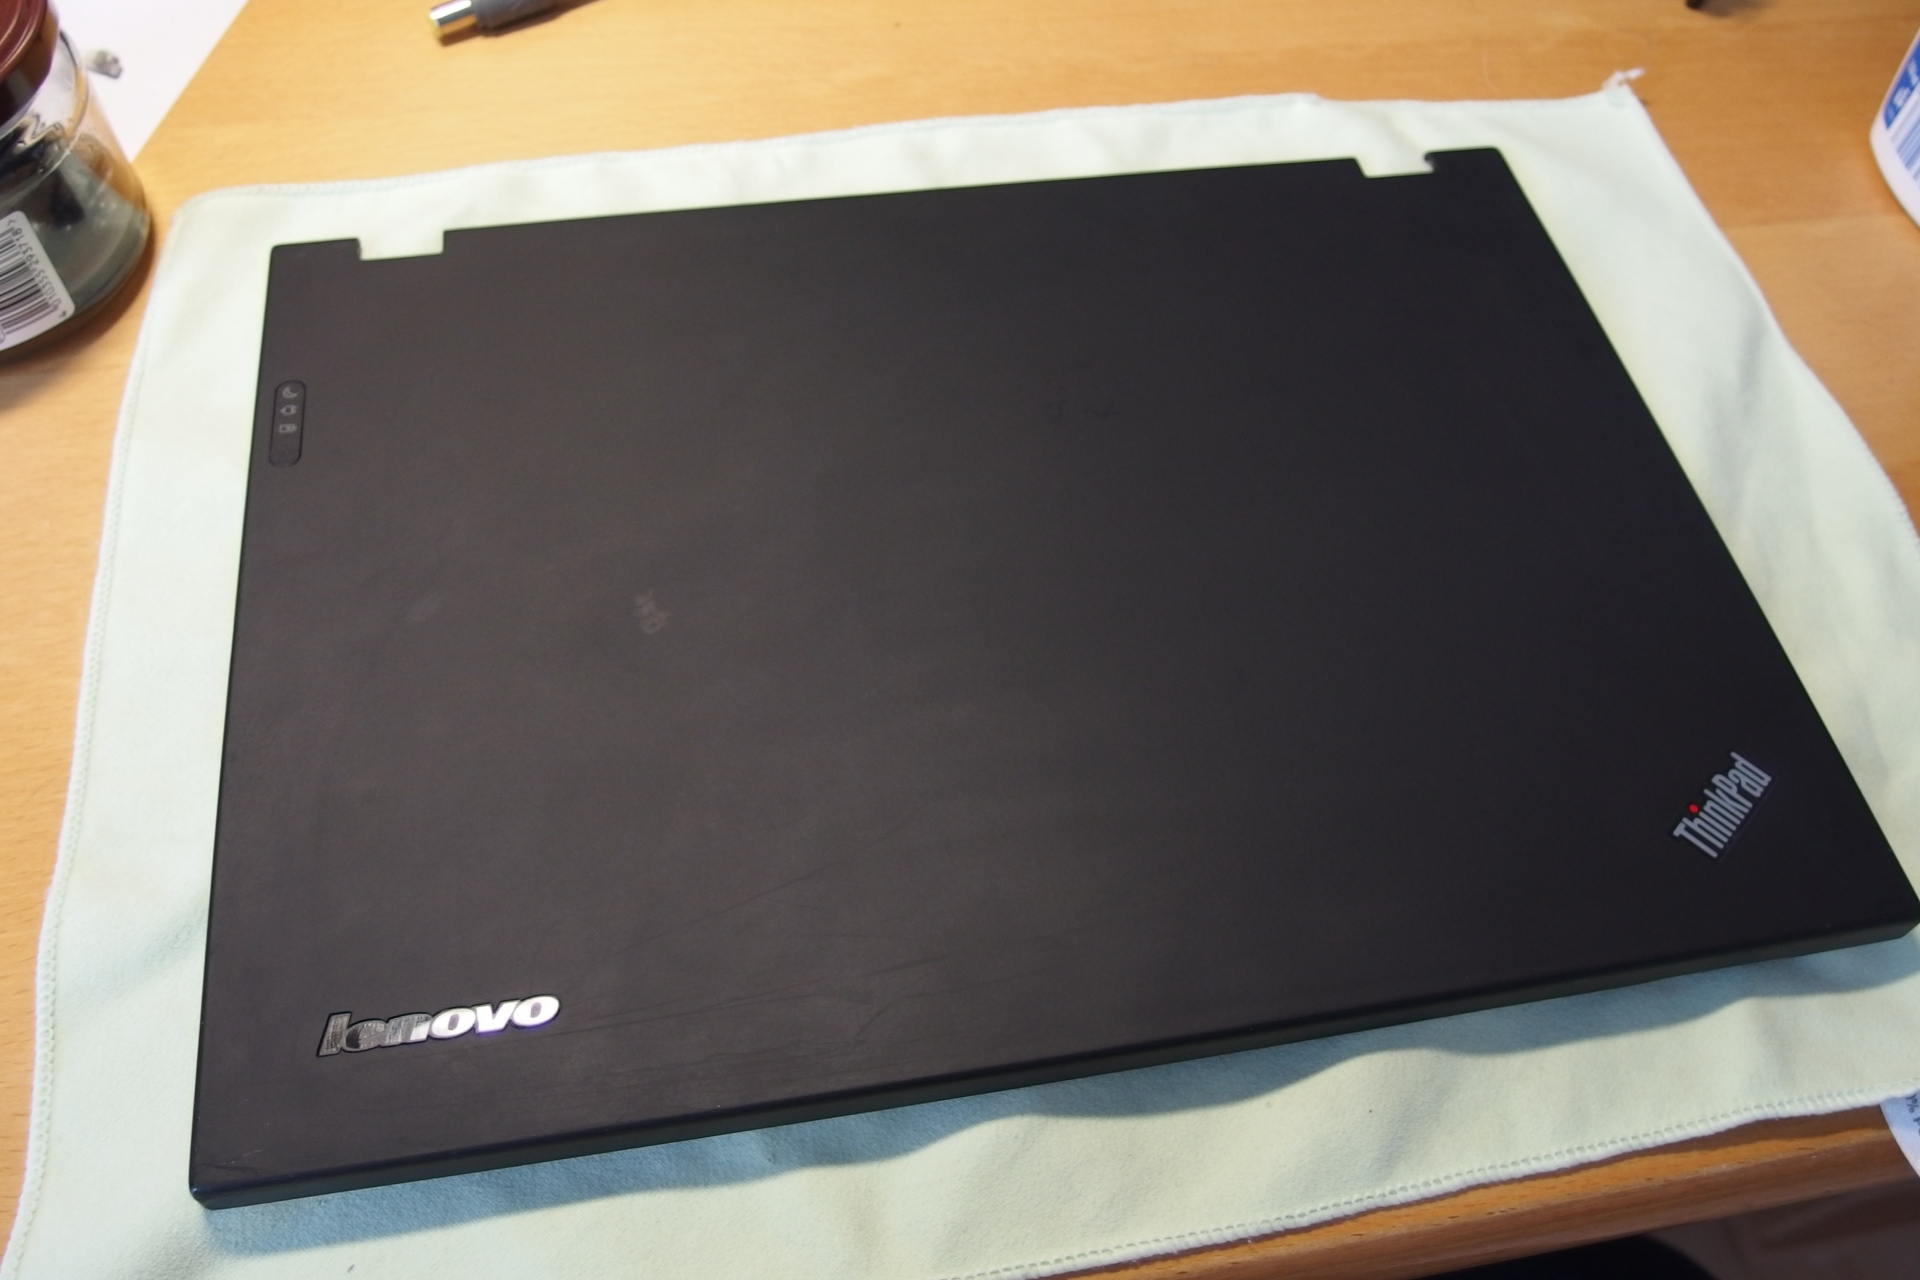
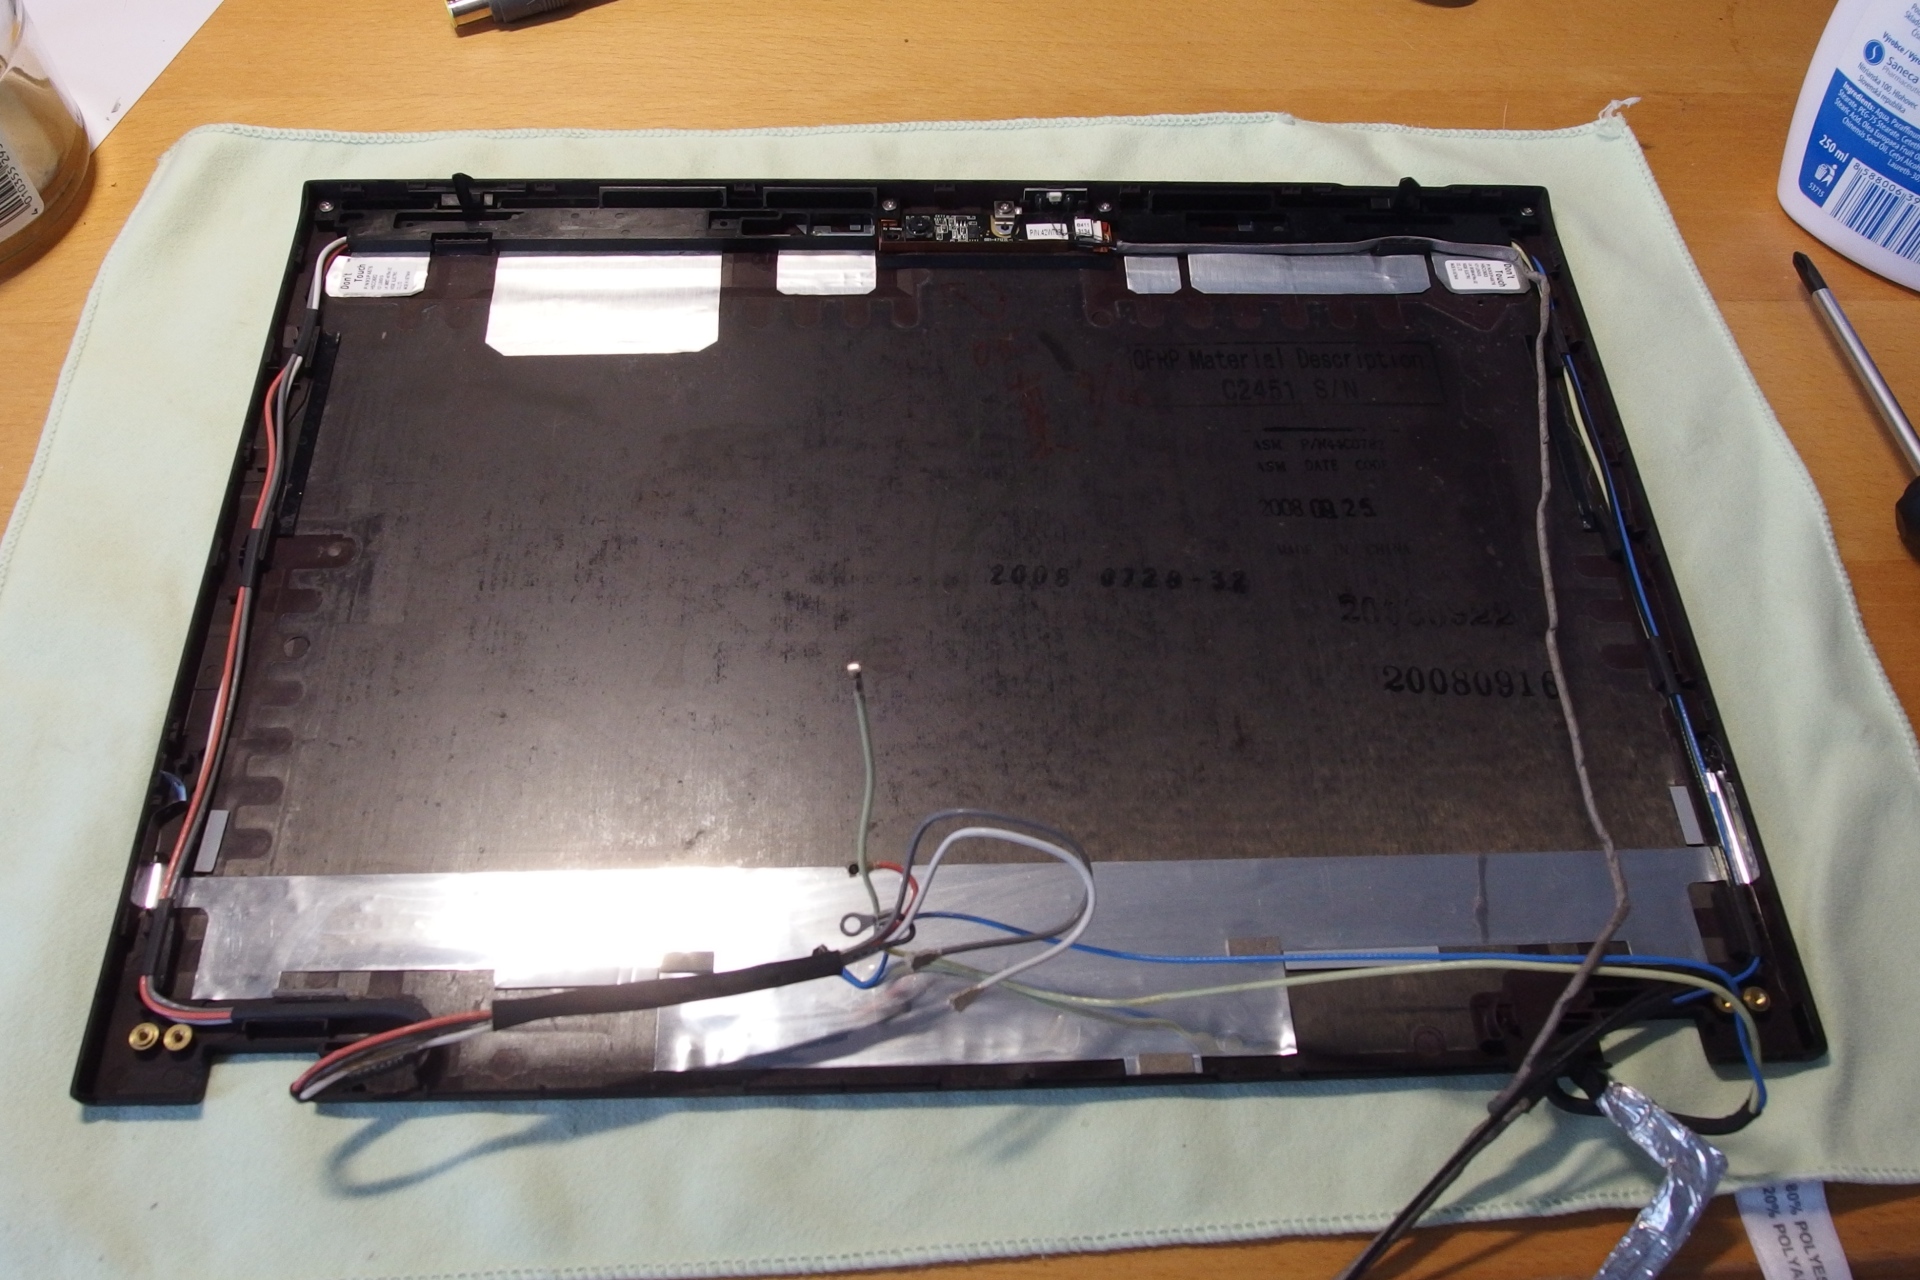
The laptop obviously belonged to a heavy smoker. It smelled disgusting and was super dirty too. I could not deal with this and decided to take it apart completely and clean it. It was also an experiment and proof of the concept for my next project. Check the gallery for inspiration. I used warm water and detergent for cleaning the chassis. I peeled the protective PCB from the motherboard and cleaned the motherboard in isopropylalcohol. I did not bother with returning the foil back. I dried everything in the oven set to the hot air mode and the lowest temperature (50°C).
Overclocking
The x300/x301 thinkpads come with terrible ULV processors. Luckily, there are two options on how to squeeze a bit of more juice out of it
- Flashing the BIOS which supports Dual IDA. This, together with proper utilities, allows for increasing the clock multiplier from 7x to 8x (1400MHz to 1600MHz for FSB=200MHz). The drawback is that once you enter the dual IDA mode the CPU does not underclock during the light load operation. With my MX linux it just switches between 7x and 8x multipliers.
- Changing the FSB clock from 200MHz to 266MHz using the resistor swap. This is what I recommend. In my case, it works out of the box without any further tweaking. The maximum CPU frequency increases to 1.862 GHz and you can still benefit Dual-IDA if you want. This gives you clock up to 2.128 GHz. Quite a difference to 1.4 GHz. Isn’t it?
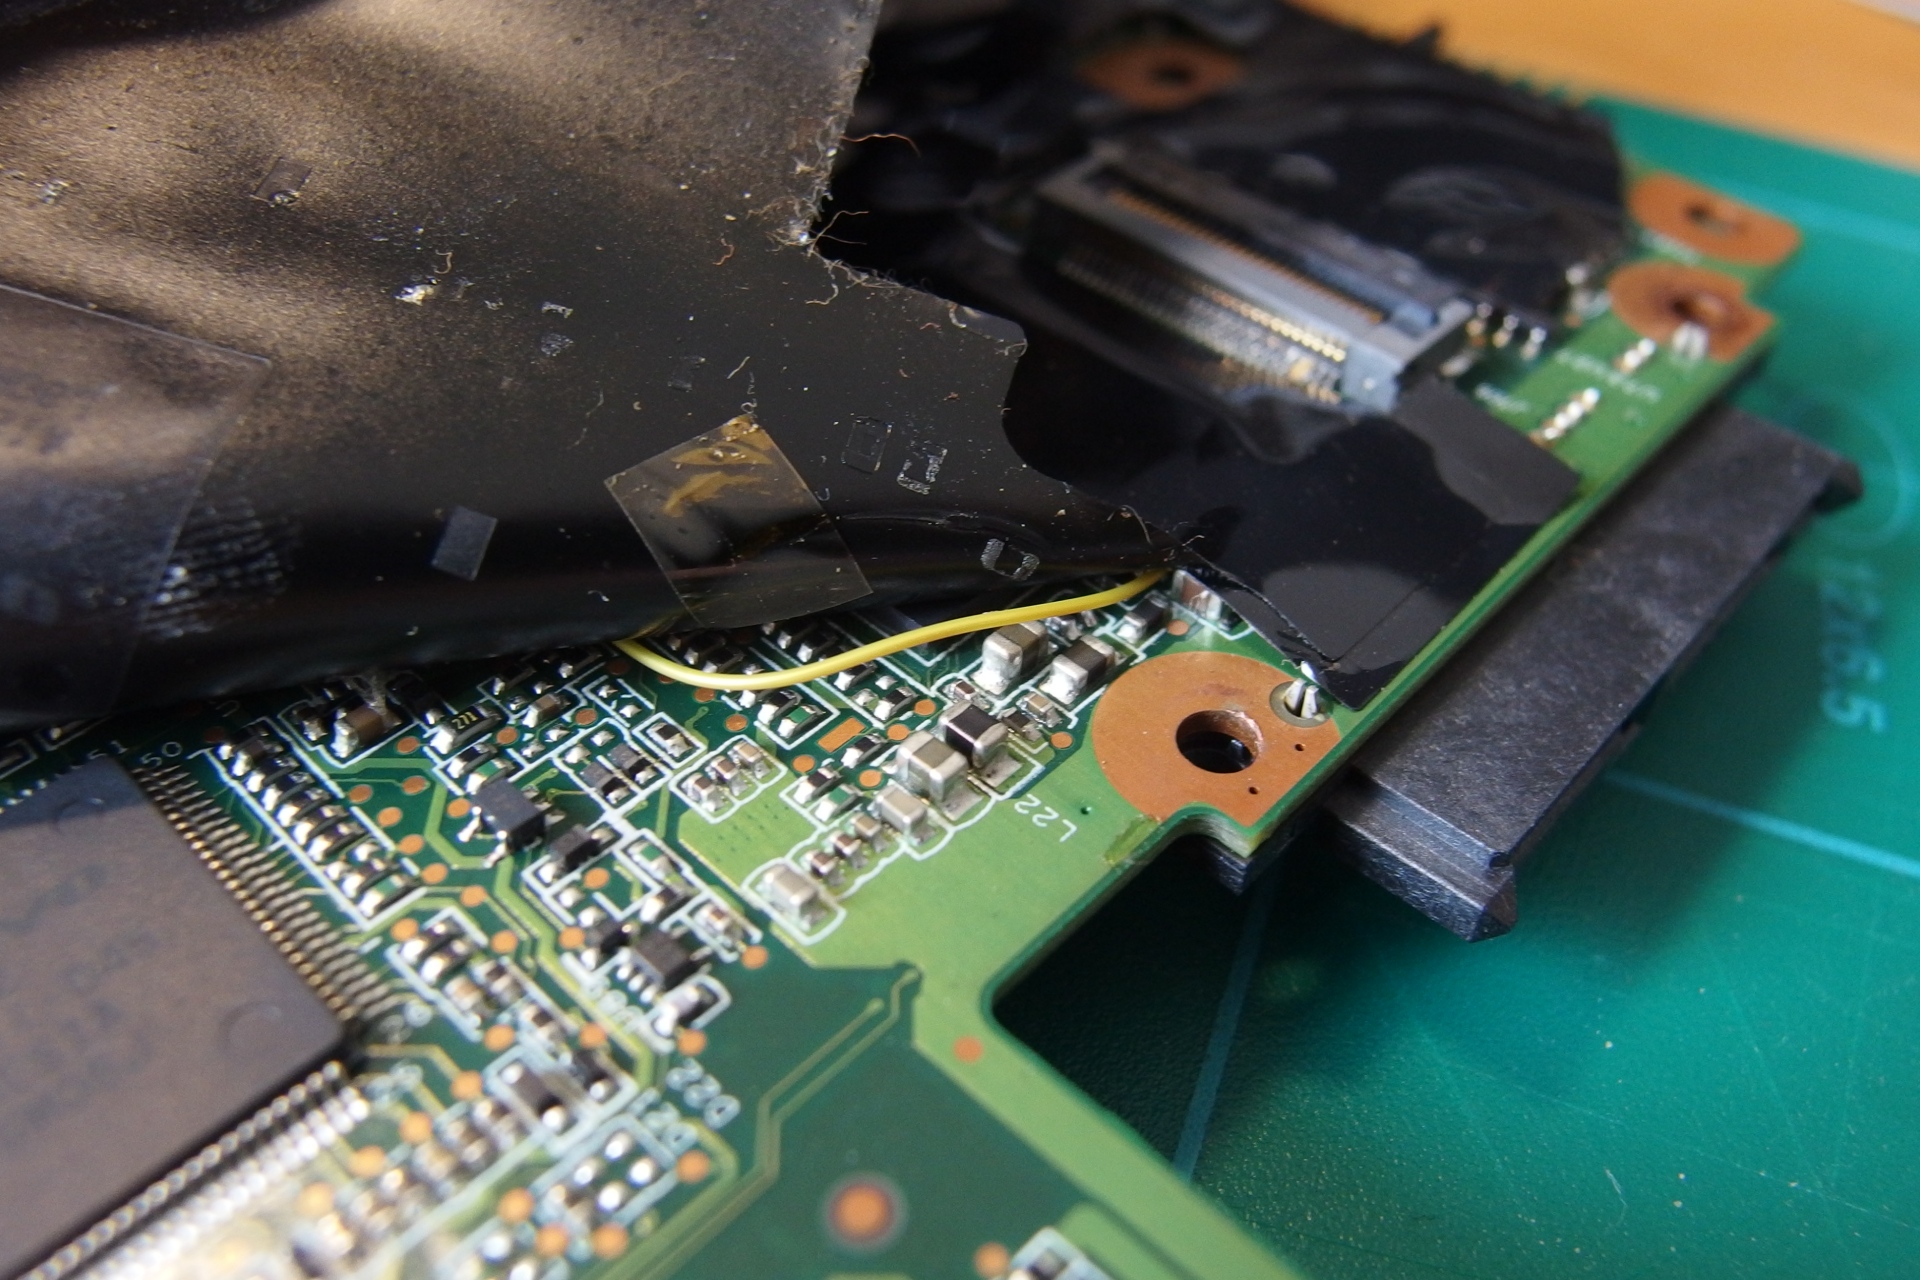
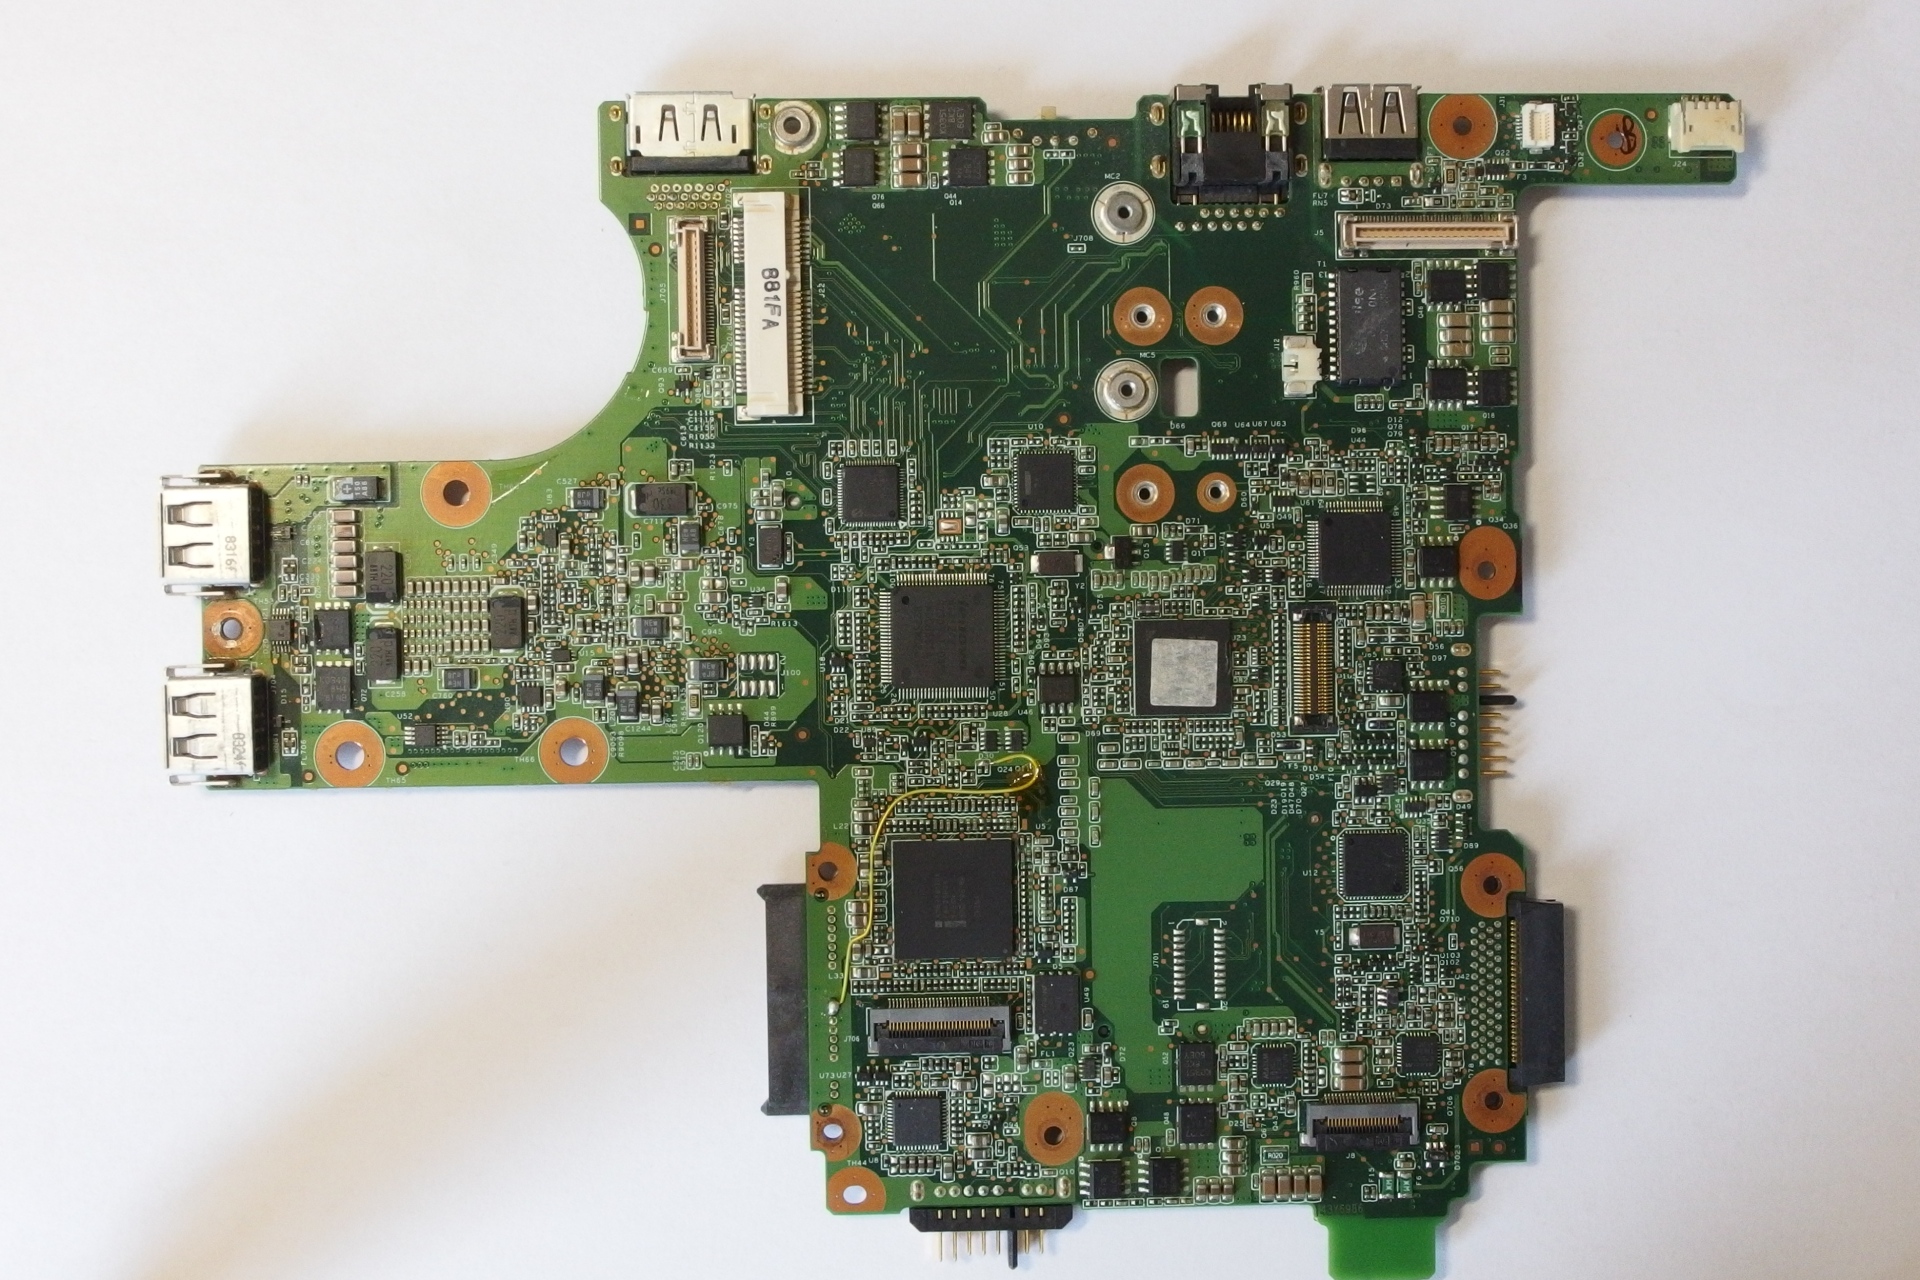
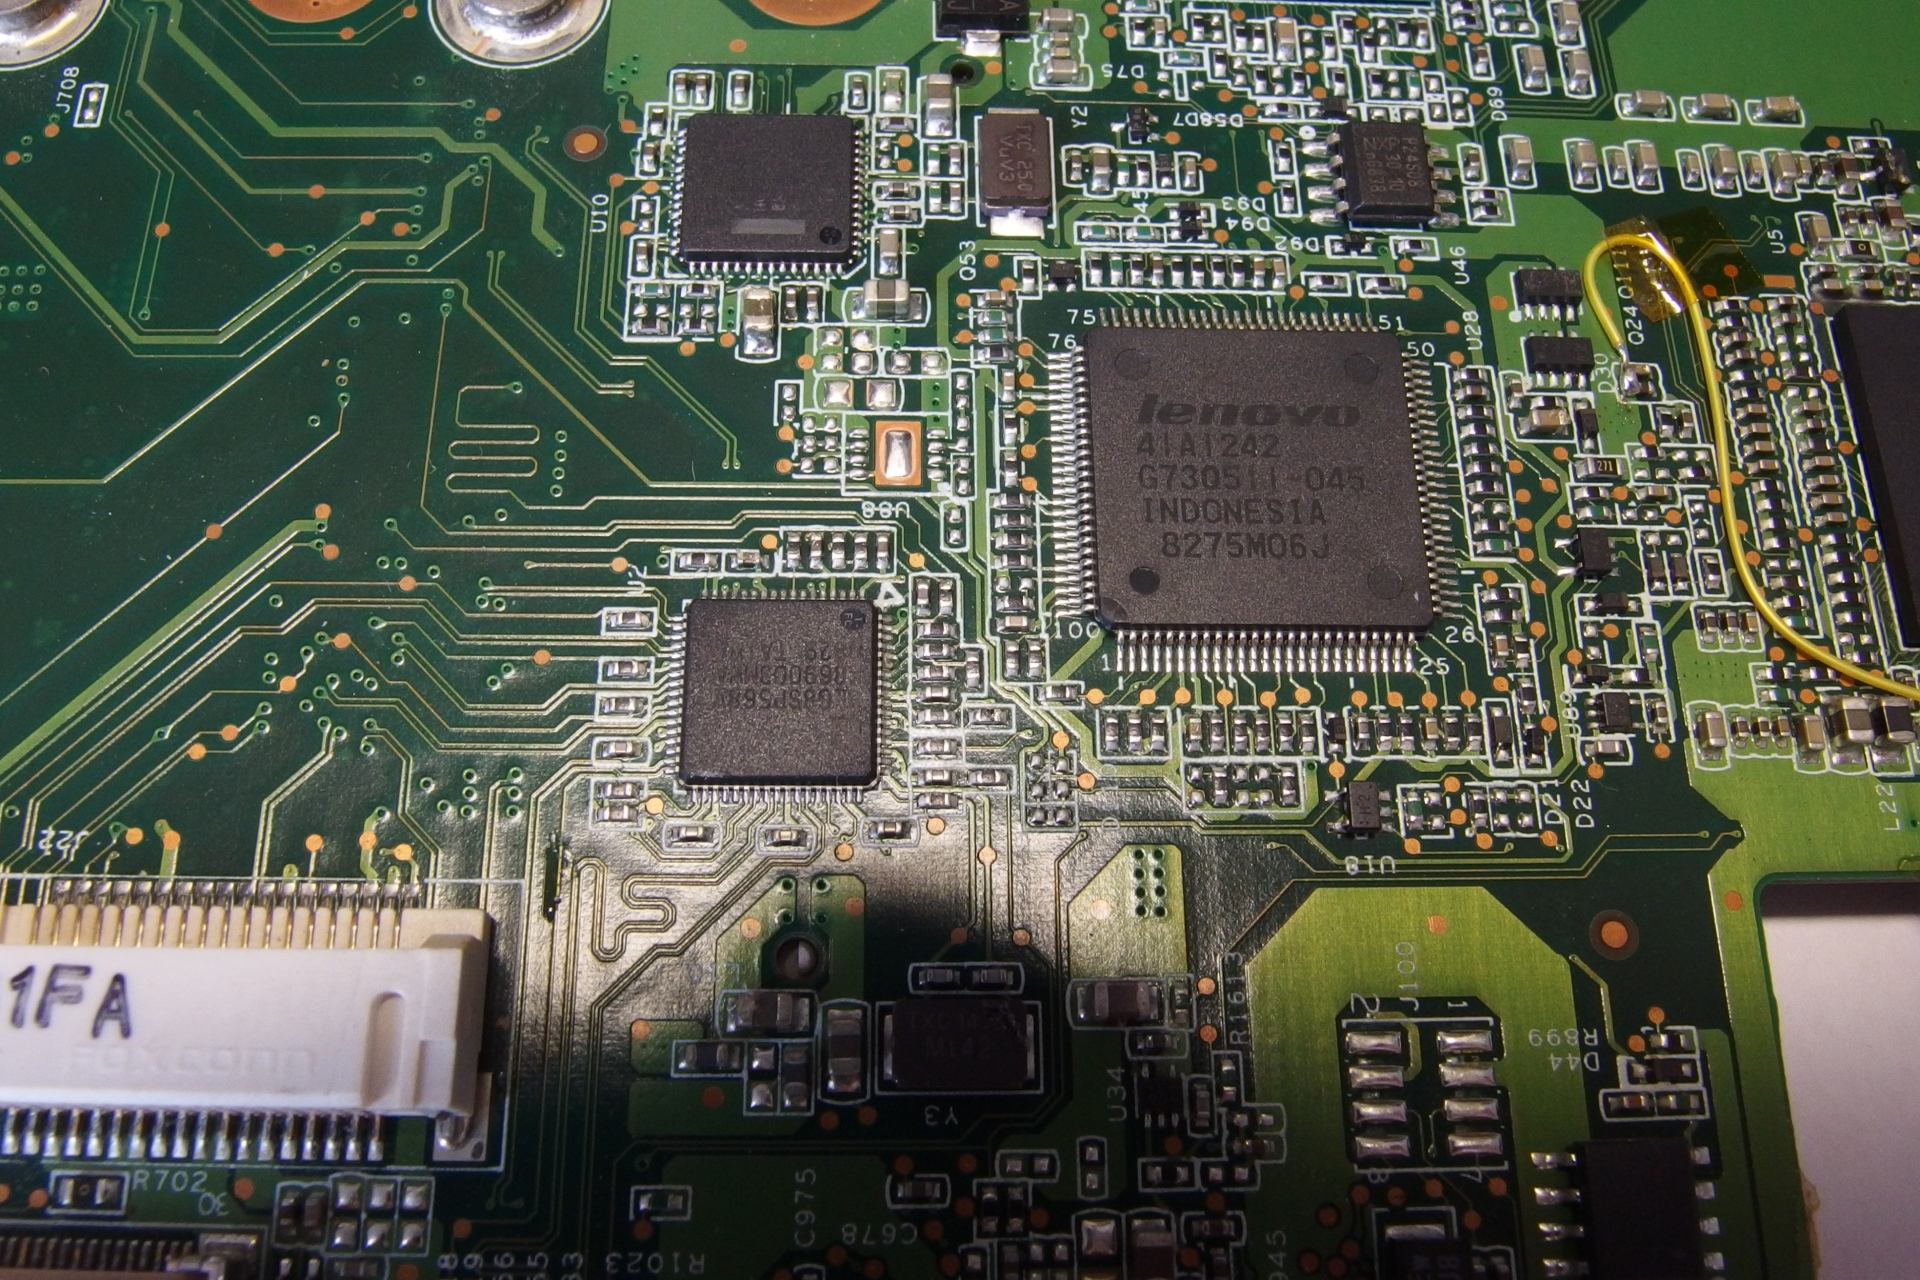
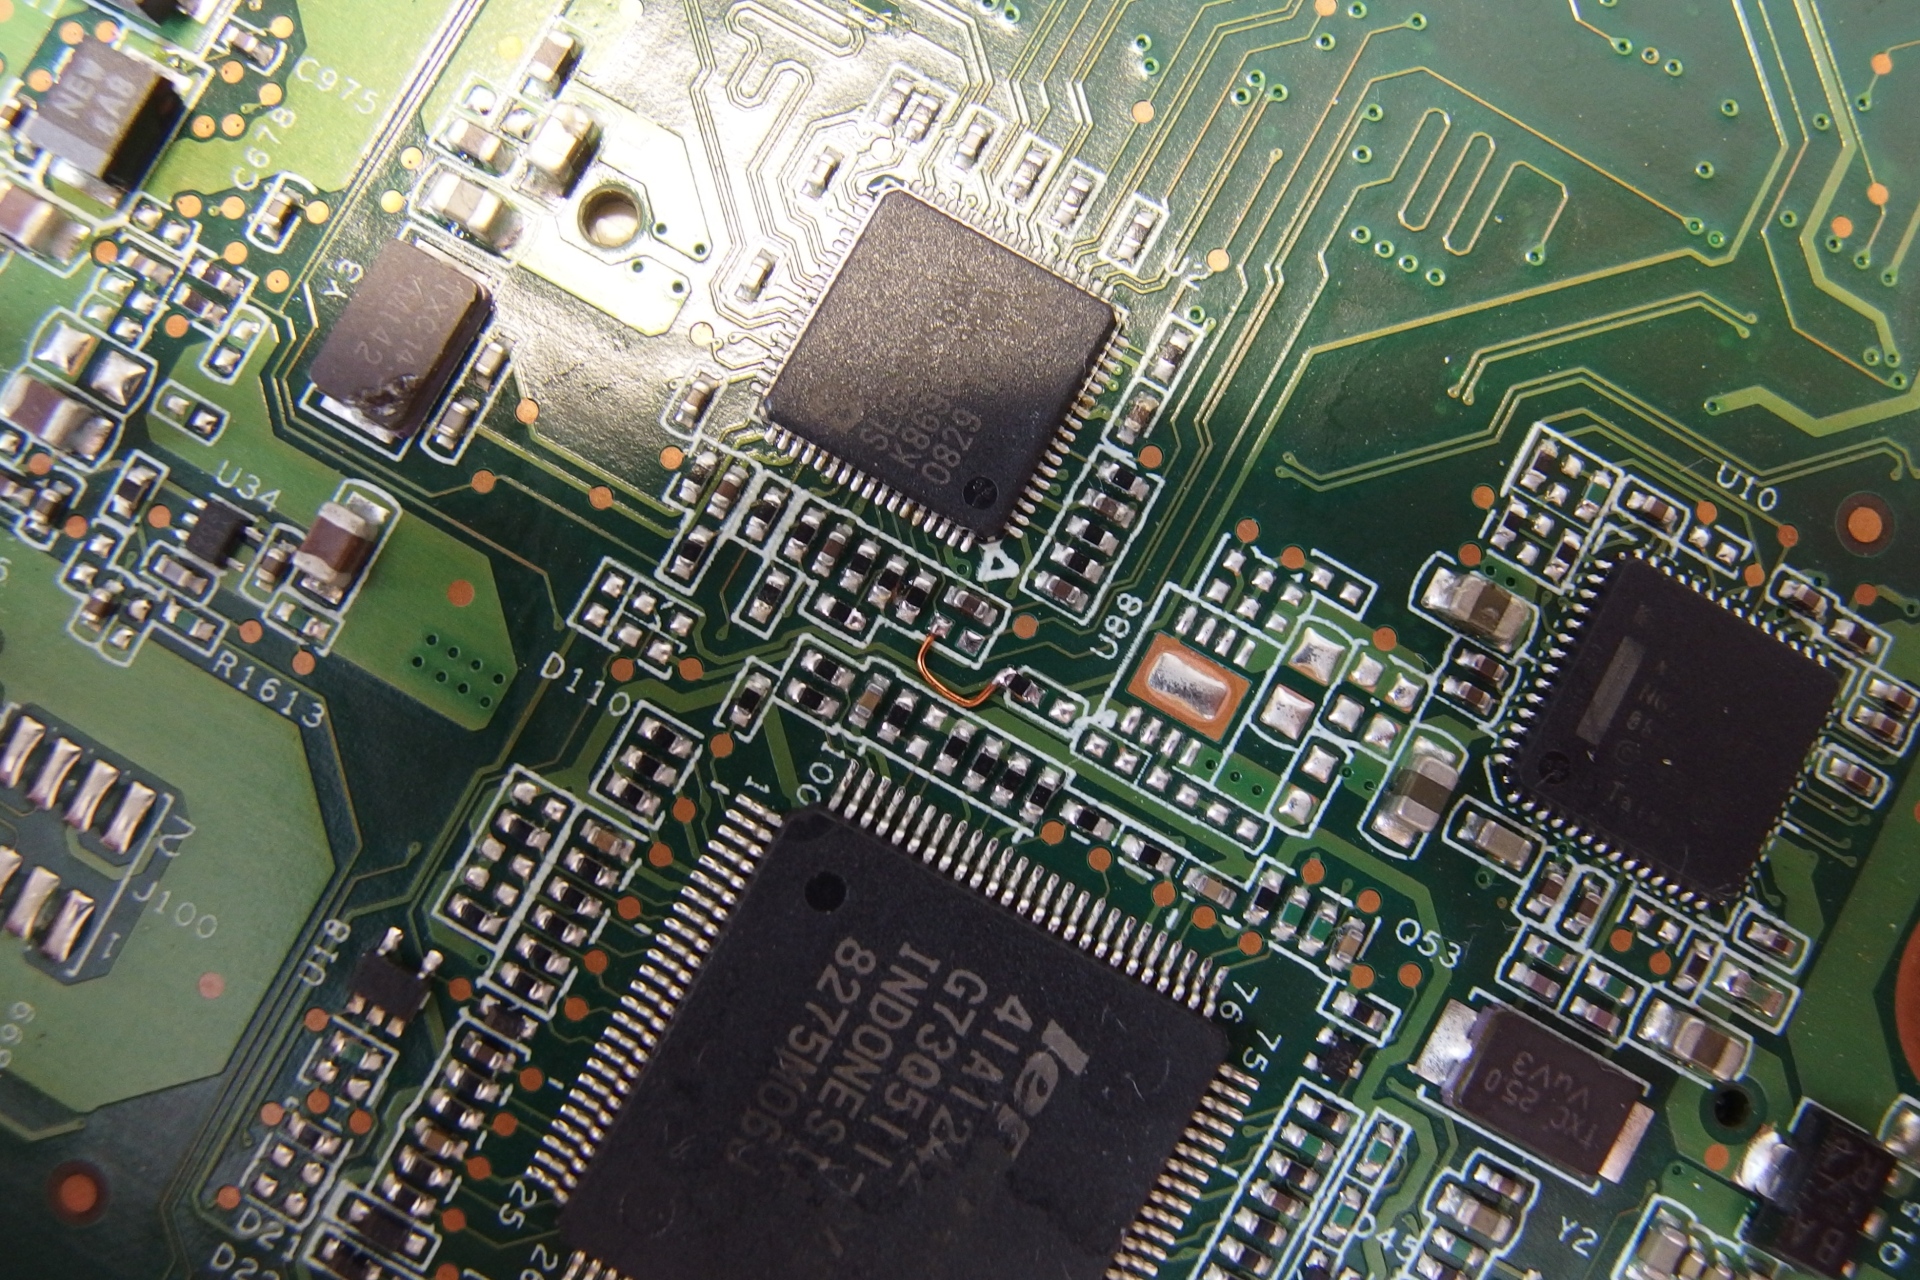
The picture below shows the CPU mod.
You need to carefully unsolder the resistor from the position “1” and solder it to the position “2”. Then use a short jump wire “3” to connect it as shown in the picture. Note: There is also a possibility to solder the resistor to the nearby one. However, there is not much space and I don’t like the way it looks. My solution is way cleaner, I believe.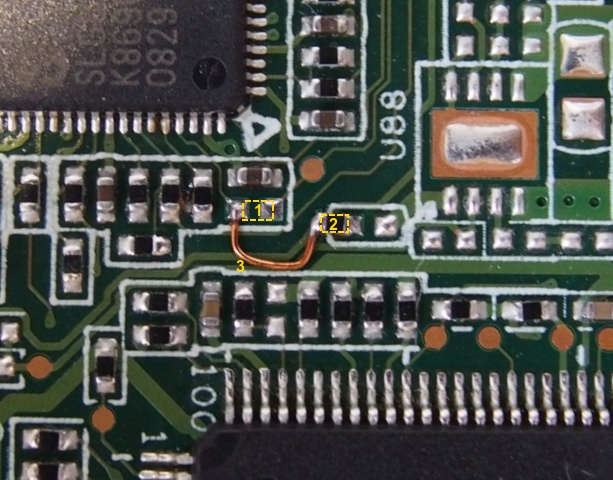
Performance comparison using MX Linux Benchmark Tool is shown in the table below. The table shows the difference between the overclocked, overclocked+dual IDA x301, the x61 in the standard configuration and the T430 which is my daily driver.
| Benchmark | x301 (SU9400 FSB=266MHz x7) |
x301 (SU9400 FSB=266MHz x8) |
x61 (T7300) |
T430 (i7-3520m) |
|---|---|---|---|---|
| CPU Blowfish | 9.482 | 8.313 | 8.971 | 4.258 |
| CPU Cryptohash | 224.160 | 252.198 | 229.049 | 459.968 |
| CPU Fibonacci | 3.387 | 3.364 | 4.733 | 1.355 |
| CPU N-Queens | 12.11 | 10.746 | 11.202 | 4.617 |
| CPU FFT | 4.026 | 3.798 | 3.897 | 0.831 |
| FPU Raytracing | 8.304 | 7.552 | 8.383 | 3.407 |
From the benchmarks, you can see that the Dual-IDA does not help that much. I am OK with the FSB overclock. It gives me similar performance to my x61.
Conclusion
First, I am super happy that the repair and the mod worked. There is something magical about the x300/x301. The size is already quite close to T420s/T430s but the x301 looks somehow better. Second, is it still good? Well, not sure about Windows but it’s quite snappy with my favorite MX Linux. Browsing the web as well as Youtube is OK. The 10 years old battery still lasts 2.5 hours and the screen resolution and aspect ratio are bless. I wish somebody took this chassis, put the 2020 hardware in and made it right (!=Lenovo).
Further resources
Visit x301.mcdonnelltech.com for further x301 resources.
Gallery


